HT66F3185 Timer Interrupt Jitter: Troubleshooting Clock Source and Prescaler Pitfalls
Expert guide on HT66F3185 Timer Interrupt Jitter: Troubleshooting Clock Source and Prescaler Pitfalls. Technical specs, applications, sourcing tips for engineers and buyers.
HT66F3185 Timer Interrupt Jitter: Troubleshooting Clock Source and Prescaler Pitfalls
When Timer Interrupts Go Jittery: Real-World Failure Signals
A motor-controller prototype running on the HT66F3185 has been passing bench tests for weeks. Then the production firmware adds a 1 ms timer interrupt to handle a control loop. Suddenly, the motor speed drifts by a few percent, and the audible PWM whine picks up an irregular warble. The oscilloscope reveals that the timer interrupt period bounces between 980 µs and 1020 µs — a jitter band wide enough to destabilize the entire control loop.
This is not a peculiarity of the Holtek MCU. Timer jitter is a universal hardware challenge, and the same root causes appear across platforms. Over on the STM32 community, engineers have wrestled with prescaler counter reset issues that introduce unexpected one-cycle delays when the timer is stopped and reconfigured. Another long thread details timer interrupt confusion on an STM32G4, where a misunderstanding of the prescaler and auto-reload relationship caused the interrupt to fire at nearly double the intended rate. Even mechanical timers aren’t immune — a troubleshooting guide for mechanical timer switches reminds us that contact bounce, wear, and thermal drift create jitter in any timing system.
When you’re working with the HT66F3185, the jitter story centers on its clock source chain. A detailed walkthrough of STM32 clocks and timers shows how a poorly chosen prescaler-to-APB ratio can inject unnecessary latency. The same principle applies to the Holtek MCU: if you don’t map the actual oscillator accuracy onto the prescaler and counter register values, the timer interrupt will never hit your target period precisely. In the sections that follow, we’ll break down the HT66F3185 timer clock chain, pinpoint where jitter gets amplified, and deliver a practical roadmap for specifying, sourcing, and validating a jitter-free design.
How the HT66F3185 Timer Clock Chain Creates (and Amplifies) Jitter
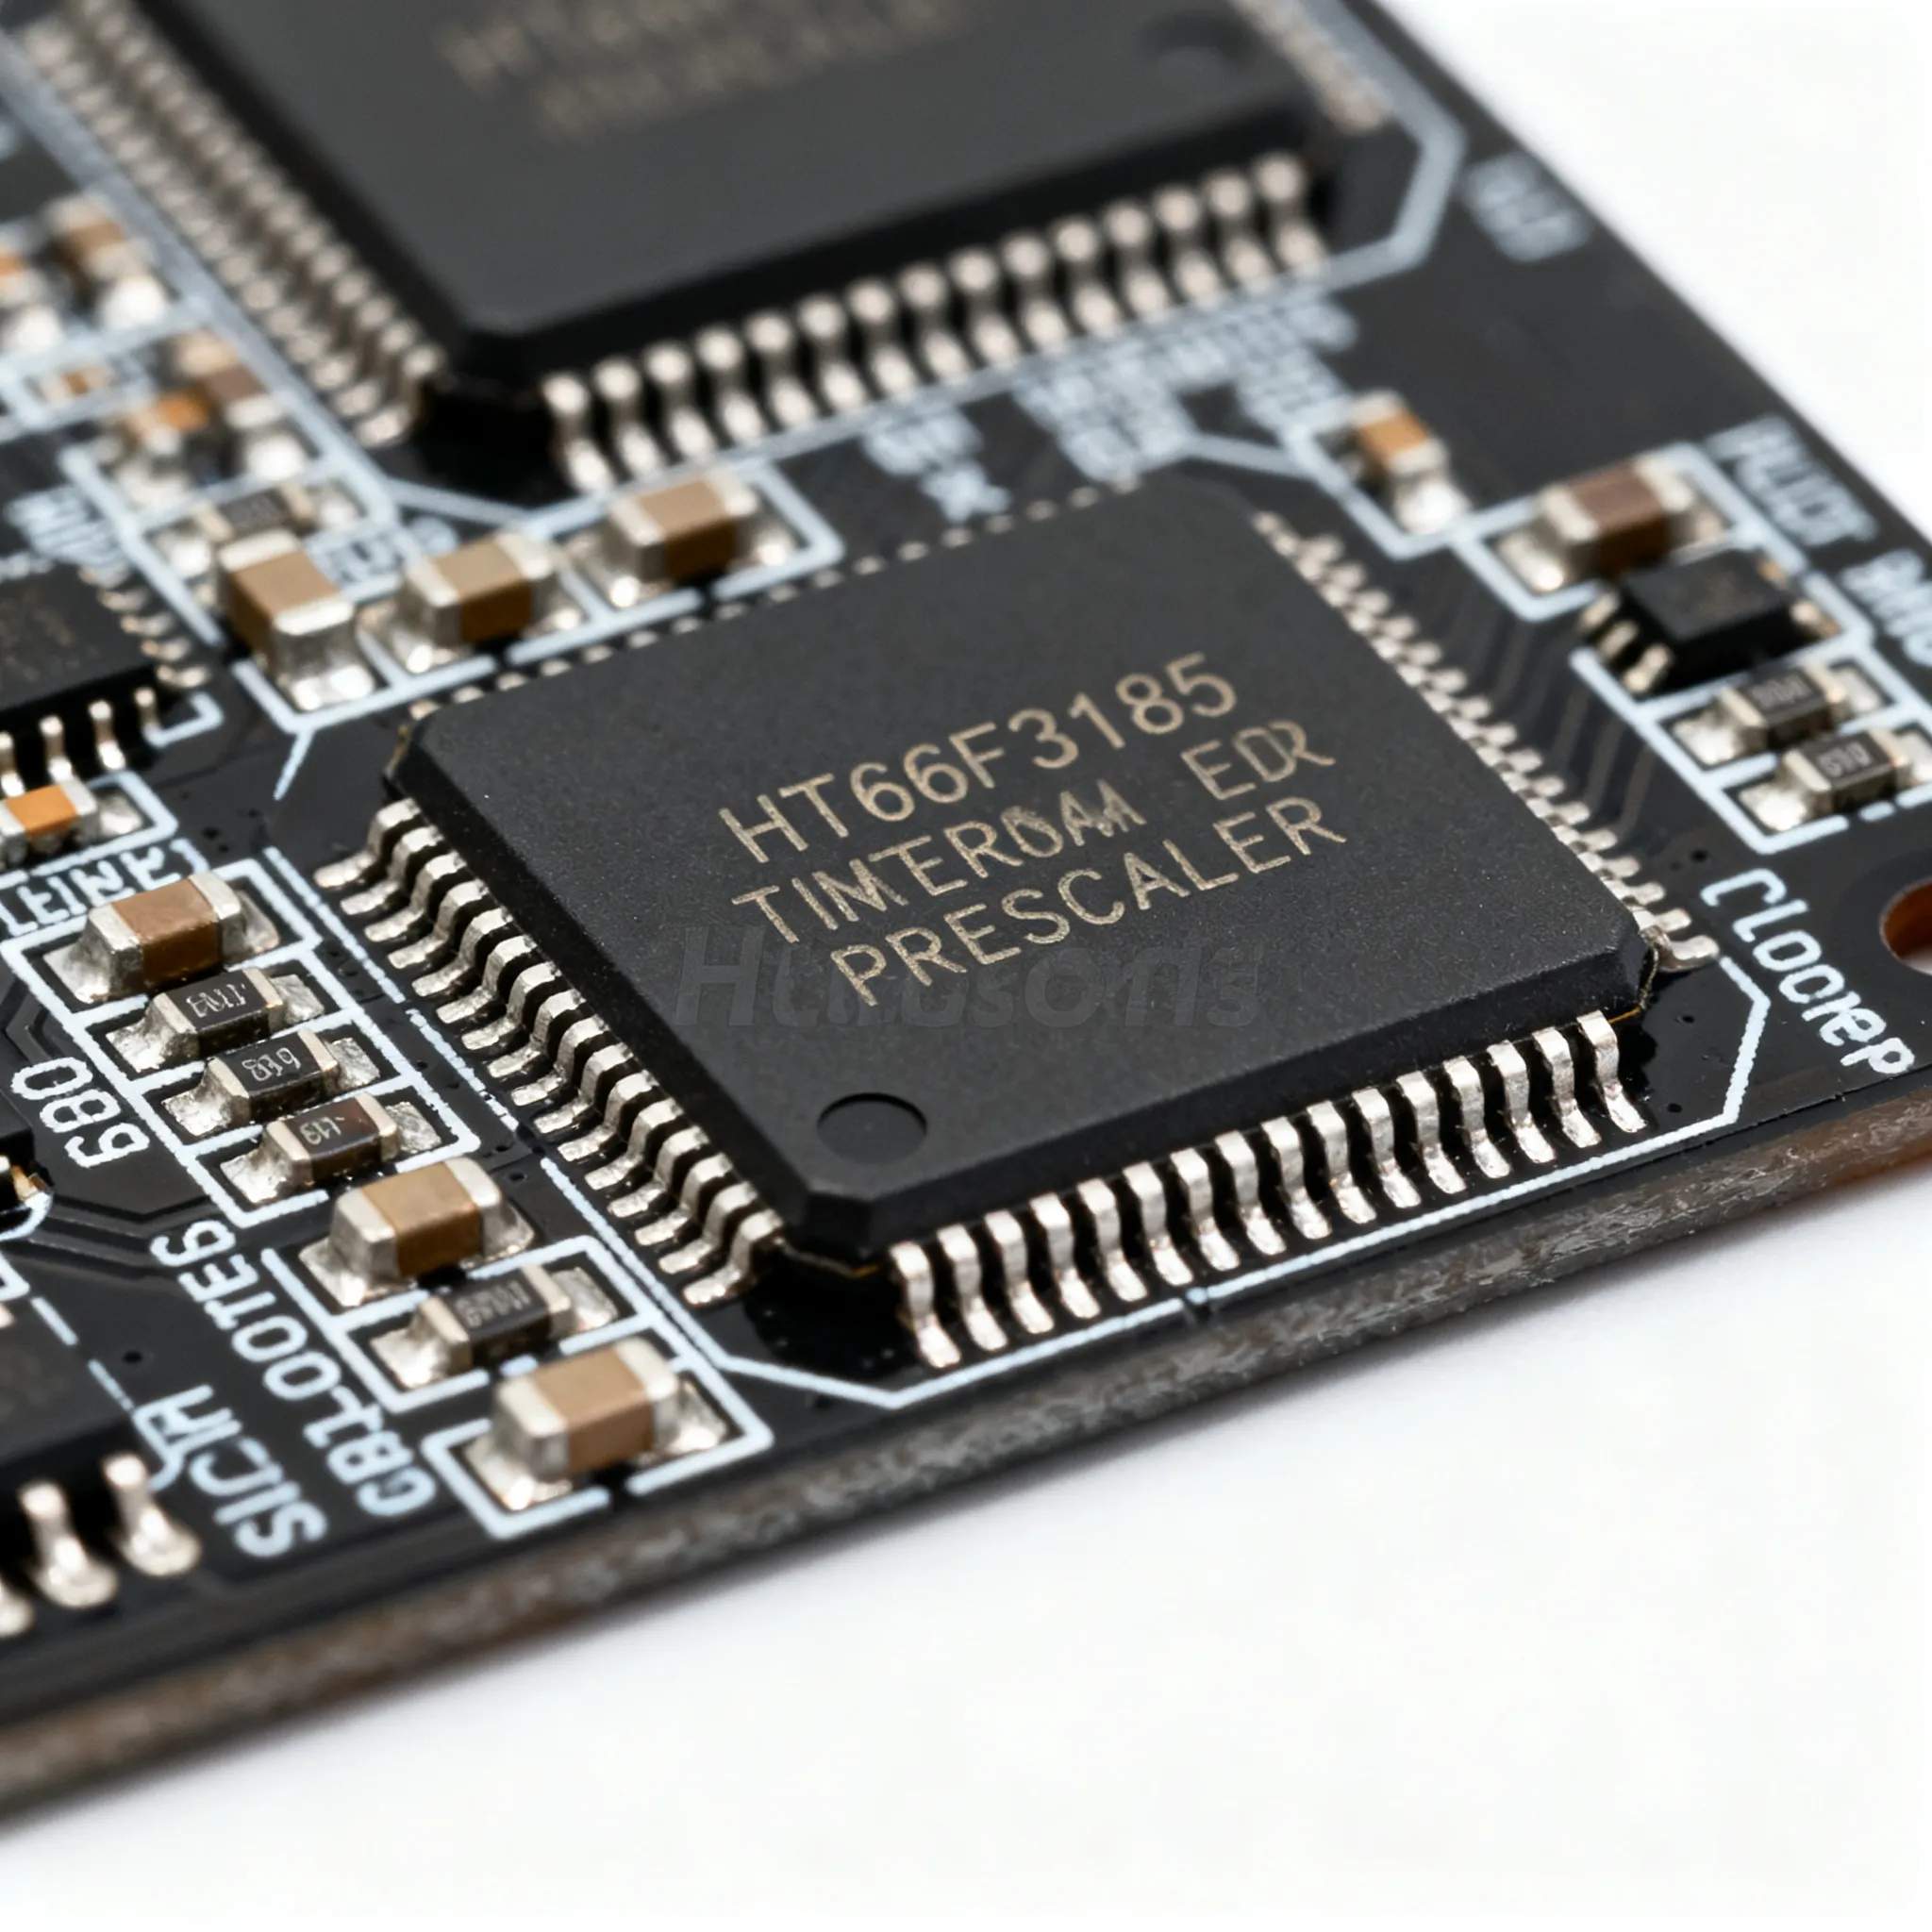
The HT66F3185 timer peripheral is straightforward: a clock source feeds a programmable prescaler, which drives a down-counter. When the counter reaches zero, an interrupt is generated, and the auto-reload value is loaded for the next cycle. But every element in this chain contributes to timing uncertainty.
The clock source can be the internal high-speed RC oscillator (HIRC), an external 32.768 kHz crystal on the LXT pins, or an external clock signal applied to a dedicated pin. The HIRC is factory-trimmed to a nominal frequency, typically 8 MHz or 12 MHz depending on the part number variant. It offers a fast start-up and zero external component cost, but its accuracy is limited. A typical HIRC specification is ±2% at room temperature and ±5% over the full operating voltage and temperature range. That means a 1 ms interrupt can stretch to 1.05 ms or compress to 0.95 ms just from the oscillator alone.
The prescaler divides the clock source down to a slower tick rate, setting the counter decrement frequency. The HT66F3185 prescaler is a simple integer divider — commonly 1, 4, 16, 64, or 256, depending on the timer mode. The prescaler itself is a ripple counter; it resets whenever the timer is stopped or when a write to the timer control register occurs. If the prescaler is not synchronized with the auto-reload event, you can get a one-tick variation in the interrupt period. This is the same phenomenon discussed in the STM32 prescaler counter reset thread. The Microchip clock jitter application note explains that even a perfectly clean clock source can be degraded by the counter’s quantization noise. In a typical MCU timer, a single count error translates to one clock period of jitter. For a 4 MHz timer clock, that’s 250 ns. If the prescaler is not cleanly reset, the error can accumulate to multiple ticks.
To visualise the trade-offs, consider the clock sources side by side:
| Parameter | Internal HIRC (8 MHz) | External 32.768 kHz Crystal | External Clock Pin |
|---|---|---|---|
| Typical frequency tolerance | ±2% (25°C), ±5% (–40 to +85°C) | ±20 ppm (±0.002%) | Depends on source |
| Temperature stability | –0.05%/°C typical | –0.04 ppm/°C2 (tuning fork) | N/A |
| Start-up time | <10 µs | 300–500 ms | Instant (after external signal stable) |
| Cycle-to-cycle jitter | 0.5–1% typical | <50 ns (with proper layout) | Determined by external source |
| 1 ms interrupt period error | ±20–50 µs | ±0.02 µs | Entirely dependent on source |
| Component cost | None | Two capacitors + crystal | External oscillator IC |
Tip: The Arduino timer interrupts guide provides a clean formula for calculating the prescaler and counter value: desired interval = (prescaler × counter) / timer clock frequency. The same math applies to the HT66F3185, but you must then budget the oscillator tolerance. If your application demands 1% timing accuracy, the internal HIRC may be sufficient. For anything tighter than 0.5%, an external crystal is mandatory.
HT66F3185 Timer Architecture vs. STM32, Arduino, and Common MCU Timers
Every MCU architect handles the timer clock tree differently. Understanding where the HT66F3185 sits relative to more familiar platforms helps you avoid conceptual pitfalls and select the right clock strategy.
In the STM32 world, the timer peripherals connect to the APB bus, but with a clever twist: the timer clock is doubled when the APB prescaler is not 1. This allows a timer running on a slower APB to still get a 72 MHz clock, preserving PWM resolution. The STM32 timers also offer a 16-bit auto-reload with a separate prescaler register that can be updated on the fly without stopping the timer, as shown in the STM32 timers explained tutorial.
Arduino’s ATmega328P, by contrast, ties the timer directly to the system clock with a limited set of prescaler options (1, 8, 64, 256, 1024). The Arduino Timer Interrupts tutorial shows how to compute the output compare match value, but the fixed 16 MHz clock and coarse prescaler steps often force a trade-off between period resolution and maximum delay.
The HT66F3185 takes a middle ground. Its timer can be clocked from the HIRC, LXT, or an external pin, but the prescaler is more limited — typically 1, 4, 16, 64, or 256 (depending on the timer and mode). The timer is a simple 8-bit or 16-bit counter with an auto-reload that is loaded only when the counter underflows. The bare-metal STM32 timer post reminds us that 16-bit counters impose a hard cap on the maximum period: at 8 MHz, a 16-bit counter can only reach 8.192 ms without a prescaler. The HT66F3185 faces the same arithmetic limit, so achieving a 1 ms interrupt with a 4 MHz clock is straightforward, but a 100 ms interrupt may require cascading timers or a slower clock source.
The jitter metrics across these platforms can be compared using the same methodology from the Microchip clock jitter application note. The table below summarises the key architectural differences with a focus on interrupt jitter control.
| Comparison Metric | HT66F3185 (Holtek) | STM32G4 (ARM Cortex-M4) | ATmega328P (Arduino Uno) | Selection Criteria & Failure Boundary |
|---|---|---|---|---|
| Prescaler range | 1, 4, 16, 64, 256 (typical) | 1 to 65535 (16-bit) | 1, 8, 64, 256, 1024 | Coarse prescaler steps limit period resolution; choose a clock source that gives integer counts |
| Auto-reload resolution | 8-bit or 16-bit (timer-dependent) | 16-bit (32-bit via timer pairing) | 8-bit or 16-bit | 16-bit allows sub-µs resolution at MHz clocks; 8-bit timers force short periods or low resolution |
| Clock source flexibility | Internal RC, external 32.768 kHz crystal, external pin | Internal HSI, HSE, PLL, APB with doubling | 16 MHz system clock only | External crystal eliminates jitter from RC tolerance; external pin allows synchronous clocking from a master |
| Maximum timer period (without prescaler) | 8.192 ms (8 MHz, 16-bit) | 0.91 ms (72 MHz, 16-bit); 59 s with prescaler | 4.096 ms (16 MHz, 16-bit) | Longer intervals require cascading or a slower clock; evaluate prescaler × counter product |
| Jitter sources | RC tolerance, prescaler reset skew, interrupt latency | APB clock jitter, prescaler reload race, NVIC priority | System clock jitter, timer overflow race | Always measure GPIO toggling in ISR; if jitter >1 tick, check prescaler synchronization |
Key takeaway: The HT66F3185’s timer is simpler than an STM32’s, but that simplicity means you have fewer knobs to compensate for jitter. You must nail the clock source selection and prescaler arithmetic upfront. The STM32’s APB doubling trick, while absent in the Holtek, also adds complexity that can mask a poor clock choice. The Arduino’s rigid clock tree forces you to accept the system clock’s accuracy, which is often a ceramic resonator with ±0.5% stability — better than the Holtek’s internal RC but still not crystal-grade.
Specifying and Sourcing the Right Clock Components for Jitter-Free HT66F3185 Designs
Once you’ve decided that your application needs better than the internal RC, the component selection and layout become critical. Here’s a step-by-step guide to nail the clock chain and verify the timer performance before you commit to a production BOM.
1. Choose the crystal or resonator. For sub-0.1% timing accuracy, a 32.768 kHz tuning-fork crystal with ±20 ppm stability is the gold standard. It also enables the HT66F3185’s RTC function if you need a time-of-day clock. For higher-frequency timers, a 4 MHz or 8 MHz AT-cut crystal provides fast start-up and excellent jitter. Avoid ceramic resonators unless you can tolerate ±0.5% initial accuracy and significant aging drift.
2. Match load capacitance. The crystal’s specified load capacitance (CL) must be matched by the external capacitors on the XTAL pins. The formula is CL = (C1 × C2)/(C1 + C2) + Cstray, where Cstray is typically 3–5 pF. An incorrect CL pulls the oscillation frequency, adding a permanent offset. The Getting Started with TIM wiki from STM32 offers universal timer setup advice that applies equally to Holtek MCUs: always verify the crystal oscillator has started and stabilized before enabling the timer.
3. Validate prescaler and auto-reload with a spreadsheet. The STM32 Timers Explained tutorial provides a methodology that you can adapt to the HT66F3185: calculate the timer clock frequency, divide by the desired interrupt rate, and factor the result into prescaler and counter values. For a 4 MHz clock and a 1 ms interrupt, you need a total count of 4000. A prescaler of 4 and an auto-reload of 999 gives 4e6 / (4 × 1000) = 1000 Hz. Check that the counter and prescaler values are within the hardware limits.
4. PCB layout to minimize jitter. Keep the crystal and load capacitors as close as possible to the MCU pins. Use a ground plane under the oscillator circuit, and avoid running high-speed digital traces near the crystal. Noisy ground bounce can inject phase noise into the oscillator, increasing cycle-to-cycle jitter. A guard ring connected to ground is a good practice for 32.768 kHz crystals.
5. Verify with an oscilloscope or logic analyzer. Toggle a spare GPIO inside the interrupt service routine, and measure the pulse period over several seconds. A logic analyzer with deep memory can capture thousands of cycles and compute the period histogram. If the standard deviation exceeds 0.1% of the target period, investigate the clock source integrity and prescaler reset conditions. The STM32 timer interrupt confusion thread shows how a simple miscalculation can produce a period error that looks like jitter but is actually a systematic offset — always double-check the math.
6. Procurement and supply chain. The HT66F3185 is in active production at Holtek, with typical lead times of 8–12 weeks through authorized distributors. The compatible clock components are standard commodities. The table below lists recommended parts that are widely available and have been validated in Holtek reference designs.
| Component | Example Part Number | Frequency | Tolerance / Stability | Load Capacitance | Procurement Notes |
|---|---|---|---|---|---|
| 32.768 kHz crystal | ECS-32-20-33-JGN-TR | 32.768 kHz | ±20 ppm | 12.5 pF | Widely stocked; 2 x 6 pF capacitors for CL = 12.5 pF |
| 4 MHz crystal | ABM3-4.000MHZ-D2Y-T | 4.000 MHz | ±20 ppm | 18 pF | Standard HC-49/USM package; check lead time |
| 8 MHz crystal | ABM3-8.000MHZ-D2Y-T | 8.000 MHz | ±20 ppm | 18 pF | Use with HT66F3185 HIRC bypass; verify oscillator mode |
| Ceramic resonator (low-cost) | Murata CSTCE8M00G15-R0 | 8.00 MHz | ±0.5% initial, ±0.3% aging | Built-in capacitors | Only for applications where 0.5% jitter is acceptable |
When sourcing the HT66F3185 and its clock components, using a mixed-BOM distributor like IC-Online can simplify procurement with flexible MOQs and consolidated shipping. Always request the latest Holtek datasheet and errata sheet before finalizing the design; the timer prescaler behavior is well-characterized but varies slightly between mask ROM versions.
HT66F3185 Timer Jitter FAQ: What Engineers and Buyers Ask
Q: What is the most common cause of timer interrupt jitter on the HT66F3185?
A: The number one cause is a mismatch between the configured clock source and the actual oscillator frequency, or prescaler reload uncertainty when the timer is not stopped before a register write. The internal RC oscillator typically has ±2% to ±5% tolerance, which directly translates to interrupt timing drift. Even if the prescaler and auto-reload values are calculated perfectly, the oscillator inaccuracy shifts the entire period. The fix is to either use an external crystal, measure and calibrate the HIRC using a reference, or avoid stopping the timer while reconfiguring the prescaler.
Q: How does the internal RC oscillator affect timer accuracy compared to an external crystal?
A: The internal RC oscillator is factory-calibrated but subject to temperature and voltage variations, causing several percent frequency error. A 32.768 kHz crystal with 20 ppm stability yields jitter below 1 µs for long intervals, making it essential for RTC or precise PWM. For a 1 ms interrupt, the RC-based period could span 0.98–1.02 ms, while the crystal-based period will be 1.000 ± 0.00002 ms. The Microchip jitter app note explains that the oscillator’s phase noise also contributes to short-term jitter, but this is usually negligible compared to the frequency error.
Q: Can I use the HT66F3185's prescaler to achieve precise 1 ms interrupts without jitter?
A: Yes, with careful prescaler and auto-reload value selection. For a 4 MHz internal RC, a prescaler of 4 and a count of 1000 gives 1 ms. However, the RC tolerance means the actual period may be 0.98–1.02 ms. Use an external crystal if tighter tolerance is needed. The Arduino timer interrupts tutorial shows the same calculation method — confirm that the prescaler and counter values are within the hardware limits.
Q: What are the lead times and availability concerns for HT66F3185 and compatible clock sources?
A: As of now, the HT66F3185 is in active production from Holtek with typical lead times of 8–12 weeks. Compatible 32.768 kHz crystals and 4–8 MHz crystals are standard commodities, but sourcing from authorized distributors reduces the risk of counterfeit parts. The ceramic resonator market is also stable. When planning a production run, consider ordering the crystal and MCU together from a distributor that can handle mixed BOMs, such as IC-Online, to avoid split shipments and multiple handling fees.
Q: How do I debug timer interrupt jitter using an oscilloscope or logic analyzer?
A: Toggle a GPIO pin in the interrupt service routine and measure the pulse period. Use a logic analyzer with long capture to observe cycle-to-cycle jitter. Compare with the calculated period; if jitter is >1%, check the clock source, prescaler reset conditions, and interrupt latency. The STM32 prescaler counter reset thread demonstrates that a one-cycle delay can appear when the prescaler is written while the timer is running — the same principle applies to the HT66F3185. Always stop the timer, clear the prescaler, and then restart it in a controlled sequence.
Q: Does the HT66F3185 have any known errata related to timer prescaler reset?
A: No publicly documented errata directly affect the timer prescaler, but similar MCUs can exhibit a one-cycle delay when the prescaler is written while the timer is running. Always consult the latest Holtek errata sheet and reinitialize the timer with a full stop/reset sequence. The bare-metal STM32 timer post illustrates the importance of disabling the timer before changing prescaler values to avoid unpredictable partial updates.