How to Achieve Cost-Effective Low Volume PCB Assembly for Prototyping
You can reduce your prototyping costs by choosing low volume PCB assembly. This approach gives you flexibility to make design changes quickly.
You can reduce your prototyping costs by choosing low volume PCB assembly. This approach gives you flexibility to make design changes quickly. You will see faster turnaround times and better control over your budget. Startups and innovators often use low volume PCB assembly to test ideas and improve products. You can balance cost, quality, and speed by using smart strategies.
Key Takeaways
-
Low volume PCB assembly lets you build small batches quickly and flexibly, saving money and supporting fast design changes.
-
Choosing standard parts and simple designs helps control costs and avoid delays during prototyping.
-
Designing your PCB for easy manufacturing reduces setup time, labor costs, and errors, speeding up production.
-
Working closely with experienced manufacturers ensures better quality, faster turnaround, and smoother problem-solving.
-
Testing every board and maintaining clear communication with your supplier prevents costly mistakes and improves product reliability.
What Is Low Volume PCB Assembly

Key Features
You can use low volume PCB assembly when you need to build small batches of printed circuit boards. This process usually covers runs from just a few boards up to about 250 units. You will find it helpful for testing new designs or making custom products. The process uses both manual and automated steps, so you get flexibility and control.
Here is a table that shows how low volume PCB assembly compares to high volume production:
|
Aspect |
Low Volume PCB Assembly |
High Volume PCB Assembly |
|---|---|---|
|
Production Quantity |
More than 1000 PCBs per run |
|
|
Typical Use |
Prototyping, customized orders |
Bulk production for high-demand applications |
|
Manufacturing Process |
More manual or mixed technologies |
Automated for efficiency and eco-friendliness |
|
Industry Applications |
Aerospace, medical, industrial, automotive, military |
High-end electronics manufacturing |
|
Flexibility and Creativity |
High adaptability and design creativity |
Less flexible, focused on efficiency |
|
Labor Intensity |
More labor-intensive |
Less labor-intensive due to automation |
You can see that low volume PCB assembly gives you more flexibility and supports creative changes. You can also use different assembly methods, such as surface mount, through-hole, or mixed technology.
Prototyping Advantages
You will benefit from low volume PCB assembly when you need to test and improve your product. Here are some advantages:
-
You can order small batches, which helps you save money and avoid waste.
-
You can make design changes quickly before moving to large production.
-
You get support for advanced testing, like X-ray inspection and ball grid array checks.
-
You can use both automated and manual assembly, which helps with custom or complex designs.
-
You can work with suppliers who help you find the best parts and manage fast delivery.
Tip: Use low volume PCB assembly to try out new ideas and fix problems early. This approach helps you make better products and reduces risk before you invest in large-scale manufacturing.
Cost Drivers
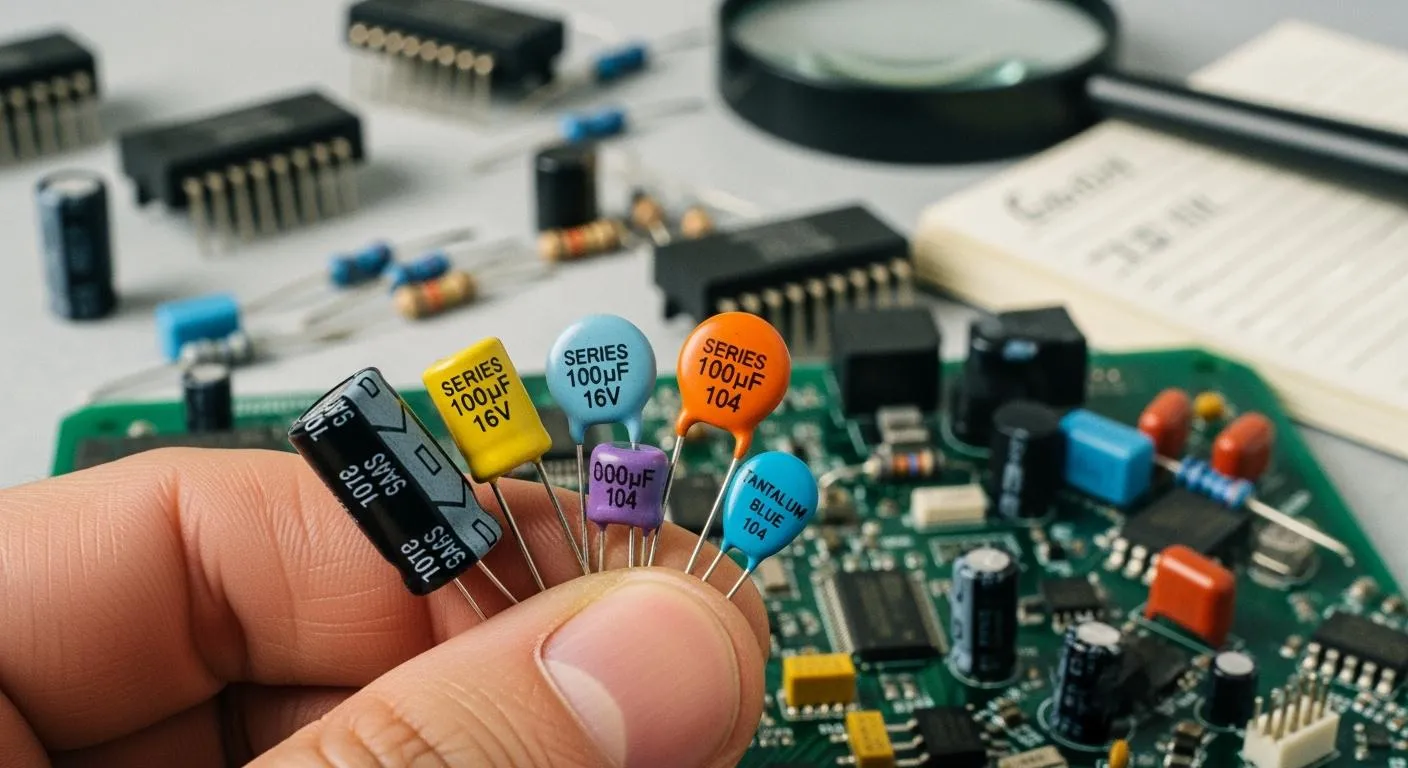
Components and Sourcing
You need to pay close attention to the parts you choose for your project. The cost of Low Volume PCB Assembly depends a lot on the quality and source of your components. High-quality parts may cost more at first, but they help you save money in the long run. These parts last longer and work better, so you avoid repairs and replacements. Certified components also keep your boards safe under stress from heat, chemicals, or electricity. If you use rare or hard-to-find parts, your costs can go up quickly. Keeping your Bill of Materials (BOM) simple and using common parts helps you control costs and avoid delays.
Tip: Always check if your supplier can offer alternate or stocked parts. This step helps you avoid long lead times and keeps your project on track.
Assembly Complexity
The design of your board affects how much you pay for assembly. Simple boards with surface mount technology (SMT) cost less to build than boards with through-hole parts. Complex features like ball grid arrays (BGAs) or extra layers add more steps and increase costs. If your board needs special coatings or testing, you will pay more. You can see the main cost drivers in this table:
|
Cost Driver |
Impact on Cost |
|---|---|
|
Component Type |
SMT is cheaper than through-hole |
|
Design Complexity |
More features and layers raise costs |
|
Standards and Certifications |
Extra tracking and testing increase expenses |
|
Board Size |
Larger boards use more material and cost more |
You can lower costs by following design rules and working with experienced manufacturers.
Setup and Labor
Setup and labor play a big role in your total cost. When you build only a few boards, setup costs like machine programming and stencil creation get spread over fewer units. This makes each board more expensive. Manual assembly can avoid some setup fees, but it takes more time and can lead to mistakes. Labor costs stay high in small runs because you do not get the savings from making many boards at once. Planning your design for easy assembly and testing helps reduce these costs.
Note: Good documentation and clear instructions for your assembly team can prevent mistakes and save money.
Low Volume PCB Assembly Benefits
Flexibility and Customization
You can change your design quickly when you use low volume PCB assembly. This process lets you test new ideas and make updates without waiting for large production runs. Manufacturers use advanced technologies and strong supplier connections to help you adjust your design at any stage. You can mix different assembly methods, such as surface mount and through-hole, on the same board. This flexibility supports rapid prototyping and helps you find the best solution for your project.
Tip: Work closely with your supplier to take advantage of their operational improvements and advanced tools. This teamwork makes it easier to handle design changes and keep your project moving forward.
Fast Turnaround
You can get your prototype boards in just a few days with low volume PCB assembly. Many quick-turn manufacturers deliver basic boards within 24 hours. This speed helps you test and improve your design faster. Smaller batch sizes and streamlined processes reduce waiting times. You can check your design, fix problems, and try again without long delays. Fast turnaround is important when you want to bring your product to market quickly.
Small Batch Support
You benefit from small batch production in several ways. You can order only the number of boards you need, which saves money and reduces waste. Small batch assembly supports startups, research teams, and hobbyists who want to test ideas before scaling up. You get strong quality control, including automated inspection and detailed testing. The table below shows some key benefits of small batch production:
|
Benefit |
Description |
|---|---|
|
Lower Initial Cost |
You avoid large investments by ordering fewer boards |
|
Faster Market Entry |
You can launch products quickly with short lead times |
|
Design Flexibility |
You can change your design between batches |
|
Quality Control |
You get detailed testing and inspection for each batch |
|
Risk Reduction |
You can test and improve before full-scale production |
Note: Many manufacturers offer extra support, like engineering help and optimized part sourcing, to make small batch production even more effective.
Cost-Effective Strategies

Design for Manufacturability
You can lower your costs by designing your PCB for easy manufacturing. This approach is called Design for Manufacturability (DFM). When you use DFM, you make choices that help factories build your boards faster and with fewer mistakes. For example, you can keep your layout simple and avoid features that are hard to produce. You can also use DFM software to check your design before you send it to the manufacturer. This software gives you quick feedback and helps you spot expensive design features early.
Many companies have saved money by using DFM. One aerospace company cut its manufacturing costs by more than half after removing an unnecessary feature. DFM tools also help you work better with your manufacturer. You can share your design and get advice on how to make it easier to build. This teamwork speeds up your project and helps you avoid costly changes later.
Tip: Start using DFM as soon as you begin your design. Early changes are easier and cheaper to make.
Here are some ways DFM helps you save money:
-
Simplifies your design, which reduces setup and labor costs.
-
Helps you avoid features that slow down production.
-
Makes it easier to test and inspect your boards.
-
Supports fast changes and quick feedback.
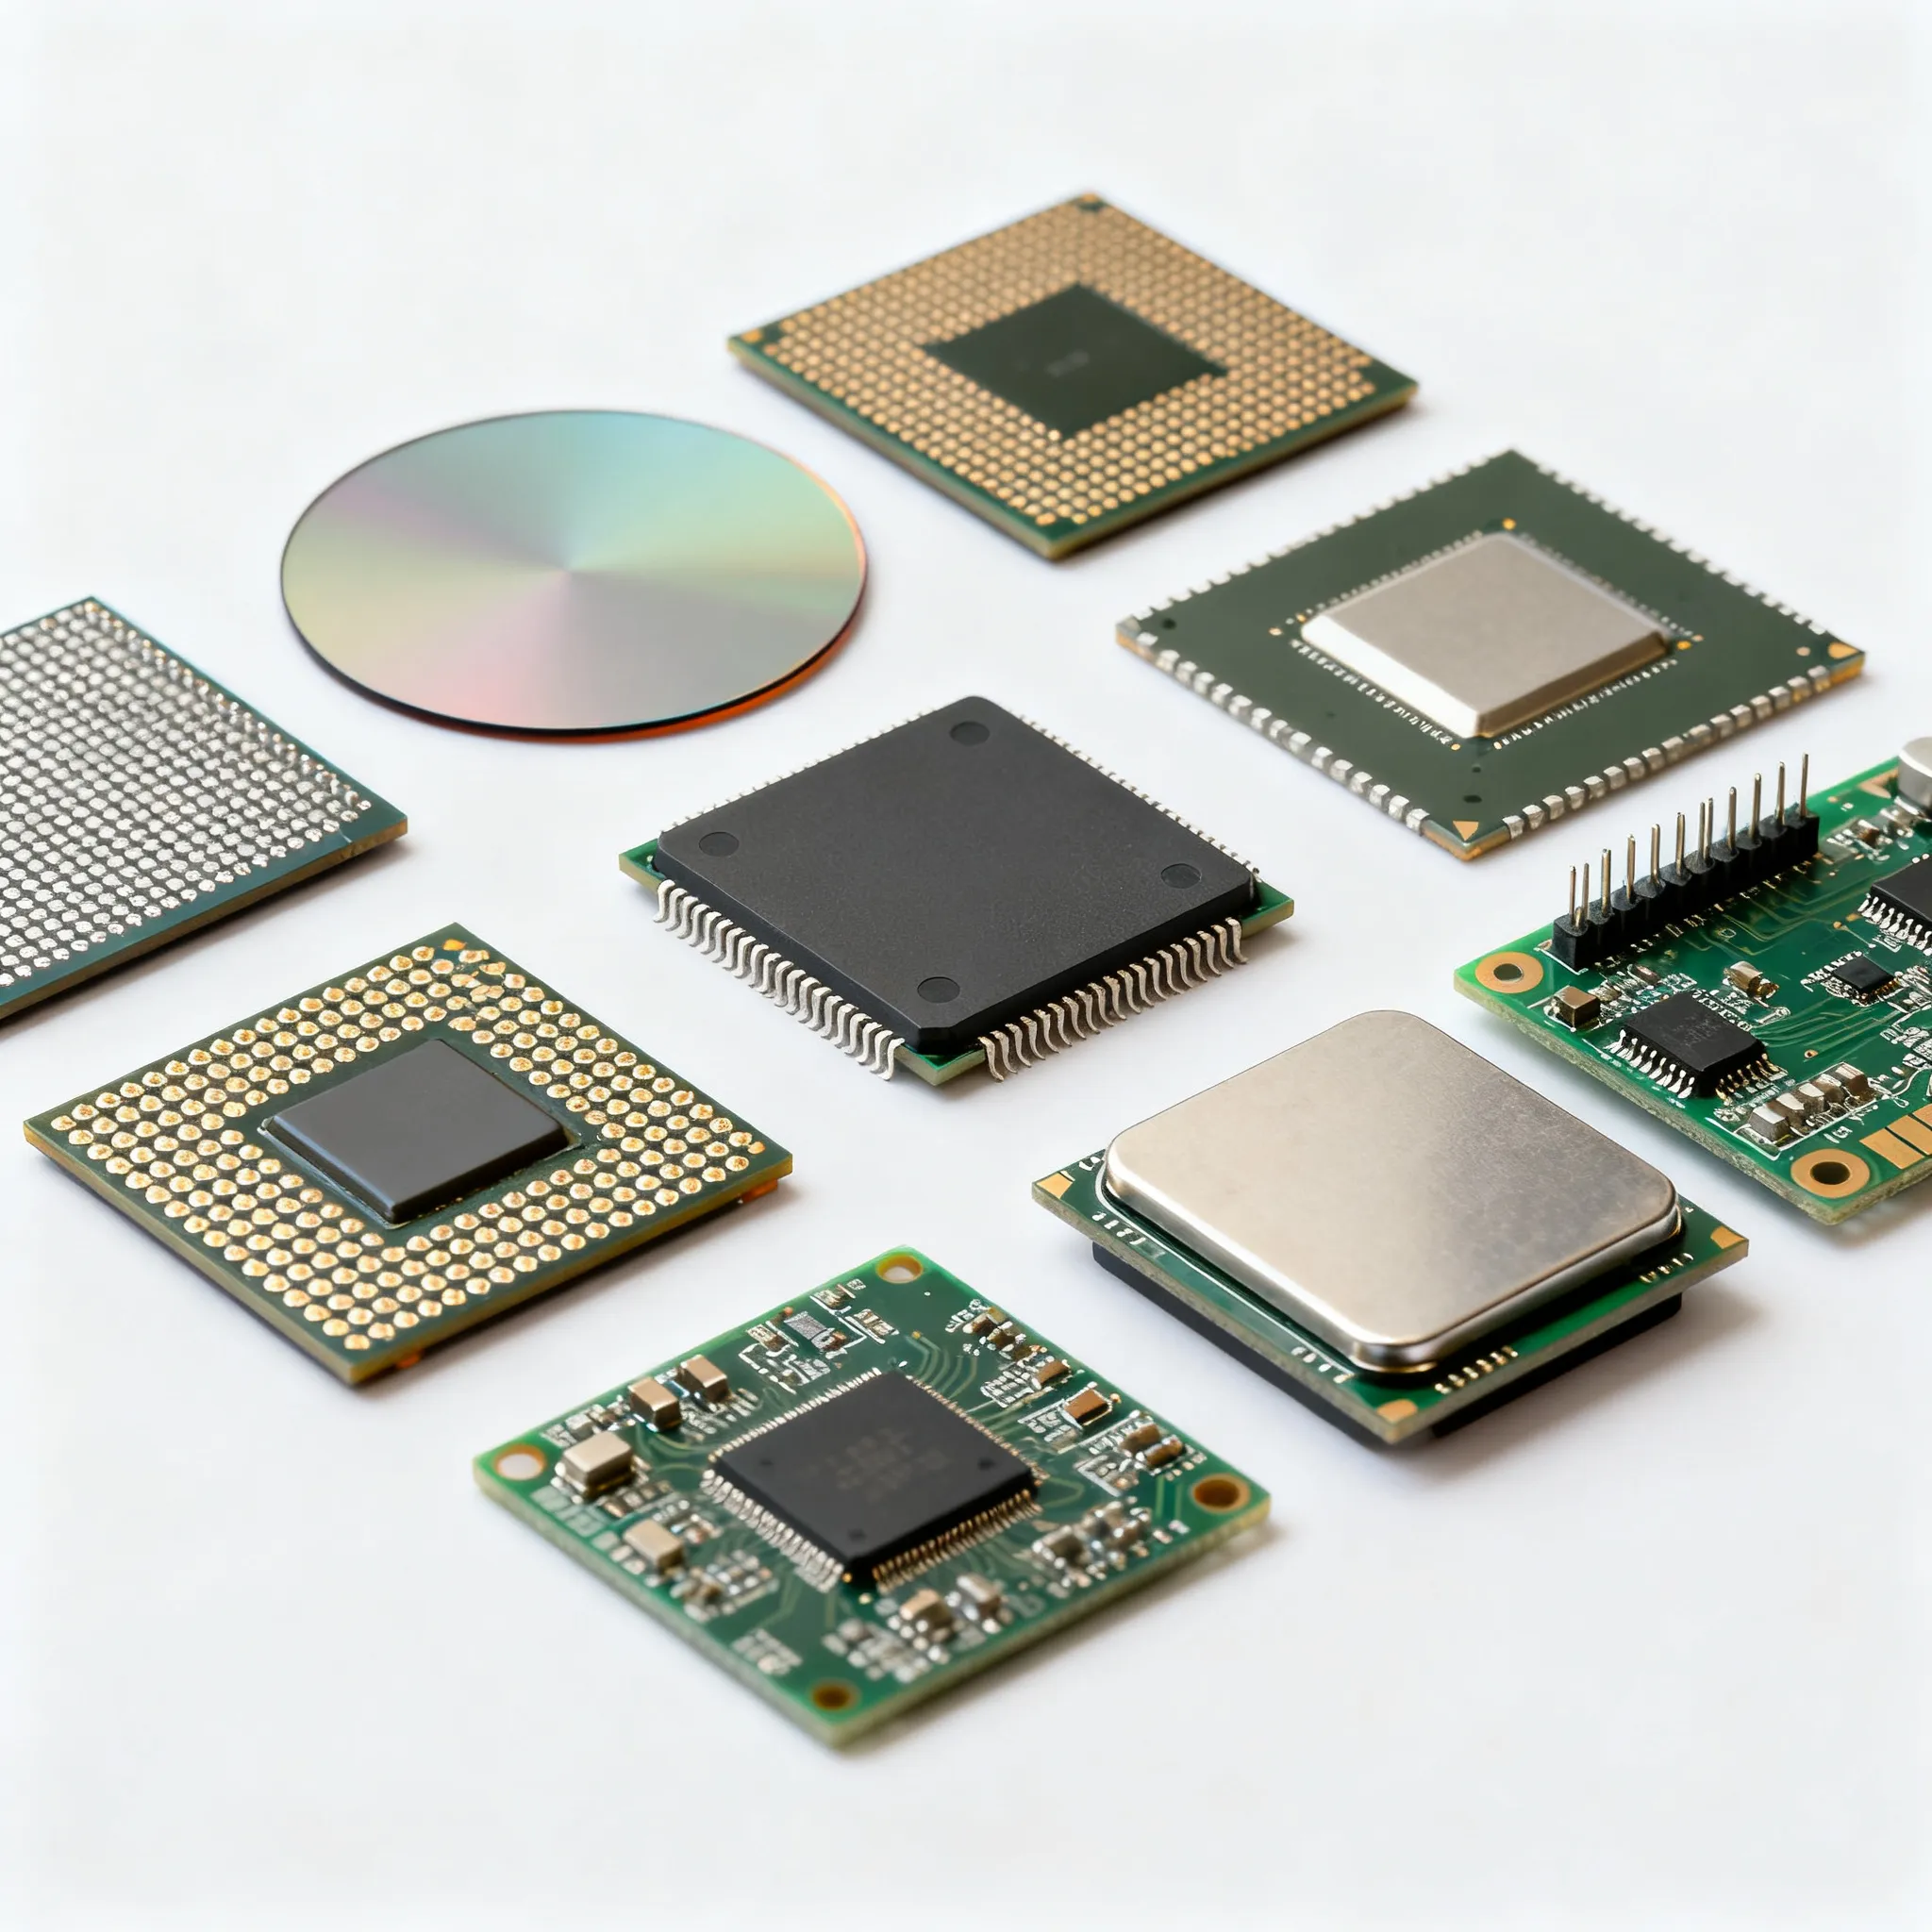
Standard Components
You can cut costs by choosing standard components for your project. Standard parts are easy to find and often cost less than custom or rare parts. When you use these parts, you avoid long waits and high prices. You also make it easier for your manufacturer to build your boards quickly.
Using standard components in Low Volume PCB Assembly gives you more control over your budget. You can order only what you need, which keeps your inventory small and reduces waste. If you need to change your design, you can do it without throwing away expensive parts. Standard parts also help you test your design and fix problems before you move to large production.
Here are some benefits of using standard components:
-
Lower initial investment because you avoid special tooling.
-
Less waste since you only build what you need.
-
Faster turnaround times for prototypes.
-
Easier supply chain management.
-
Early detection of design flaws, which saves money on rework.
Note: Always check if your parts are available from more than one supplier. This step helps you avoid delays and keeps your costs low.
Choosing the Right Partner
You need to pick a manufacturing partner who understands your needs. The right partner helps you save money and avoid problems. Look for a company with experience in Low Volume PCB Assembly. They should offer flexible services and support quick changes.
When you compare manufacturers, check their location, technology, and support. Some factories use advanced machines that cost more at first but save money over time. Others may offer lower prices but have longer lead times or less support. Ask about their quality checks and how they handle mistakes. Good partners help you fix problems fast and keep your project on track.
Here is a checklist to help you choose the right partner:
-
Check their experience with small batch and prototype runs.
-
Ask about their supply chain and how they source parts.
-
Find out if they use modern tools and automation.
-
Review their quality assurance process.
-
Make sure they offer clear communication and support.
Callout: Building a strong relationship with your manufacturer can lead to better prices and faster service. Long-term partnerships often bring extra value, such as priority support and volume discounts.
Common Pitfalls to Avoid
-
Ignoring DFM advice, which leads to costly redesigns.
-
Using hard-to-find or custom parts that delay your project.
-
Choosing a partner based only on price, not on quality or support.
-
Failing to plan for hidden costs like shipping, testing, or post-sale support.
-
Not reviewing your design with your manufacturer before production.
By following these strategies, you can keep your costs low and your project moving forward. You will also reduce risks and improve your chances of success.
Quality vs. Cost
Balancing quality and cost is a key challenge in PCB assembly. You want your boards to work well, but you also need to keep your project affordable. Studies show that your choices in design, materials, and testing all affect this balance. Cheaper parts can lower your costs, but they may not last as long or perform as well. Automation helps reduce labor costs and mistakes, while advanced inspection methods like Automated Optical Inspection (AOI) and X-Ray inspection catch problems early without driving up expenses. Some companies have saved money by redesigning their boards or using smarter materials, all while keeping reliability high.
Testing Methods
You can use several testing methods to make sure your boards meet quality standards. Each method checks for different problems and helps you avoid costly mistakes later. Here are some common tests:
-
Continuity Test: Checks for open or short circuits.
-
Hi-pot Test: Applies high voltage to ensure safe isolation.
-
In-Circuit Testing (ICT): Measures if each part works as it should.
-
ROSE Test: Looks for leftover chemicals from soldering.
-
Time Domain Reflectometry (TDR): Checks signal paths for problems.
-
Flying Probe Testing: Uses moving probes to find faults.
-
Stress Tests: Includes vibration, heat, and electrical stress to test durability.
You also see visual inspections and AOI used to spot issues like bad solder joints or missing parts. These tests give you data on pass/fail rates, component values, and overall board quality. By using these methods, you make sure your boards work well in real-world conditions.
Tip: Always include testing in your process. It may add some cost, but it saves you from bigger problems later.
Supplier Communication
Good communication with your supplier helps you balance quality and cost. You should share your design goals and testing needs early. Ask your supplier about their quality checks and how they handle problems. Clear instructions and regular updates help prevent mistakes and delays. When you work closely with your supplier, you can find ways to save money without cutting corners on quality. Many successful projects use strong supplier relationships to get better prices, faster service, and reliable results.
Note: Building trust with your supplier leads to better support and fewer surprises during production.
You can achieve cost-effective prototyping by following these best practices:
-
Keep your Bill of Materials accurate and updated to avoid mistakes.
-
Start your BOM early to catch errors before production.
-
Use automation tools for BOM management to save time.
-
Check your BOM against your schematic often.
-
Choose miniaturized designs and surface mount parts to lower costs.
-
Use manual routing after auto-routing for better quality.
-
Review your finished boards against your BOM for completeness.
When you use these steps, you gain flexibility, speed, and better results. Take action now to turn your ideas into real products.
FAQ
What is the minimum order for low volume PCB assembly?
You can order as few as one board. Many manufacturers accept small orders. This helps you test your design before making more.
How fast can I get my prototype boards?
You can get prototype boards in as little as 24 hours. Some companies offer quick-turn services. Always check lead times before you order.
Can I use both surface mount and through-hole parts?
Yes, you can mix both types on one board. This gives you more design options. Your manufacturer can help you choose the best method.
How do I keep costs low for small batches?
You should use standard parts and simple designs. Work with your supplier to avoid rare components. Good planning saves money and time.
Do I need to test every board in a small batch?
Testing every board is a good idea. You catch problems early. This step helps you avoid bigger issues later.