Cost Optimization Tips for Microcontroller Arduino Projects in 2026
Expert guide on Cost Optimization Tips for Microcontroller Arduino Projects in 2026. Technical specs, applications, sourcing tips for engineers and buyers.
Introduction
In 2026, the landscape of microcontroller projects using Arduino platforms is increasingly competitive, with cost optimization becoming a critical factor for hobbyists and professionals alike. The global semiconductor industry has seen a significant revenue increase, reaching $595.2 billion, reflecting the growing demand for efficient and cost-effective electronics solutions. This article aims to provide insights into optimizing costs for Arduino projects by focusing on component specifications, datasheets, and application circuits. By understanding the key factors that influence the cost of microcontroller projects, developers can make informed decisions that enhance the performance and affordability of their designs.
Technical Overview
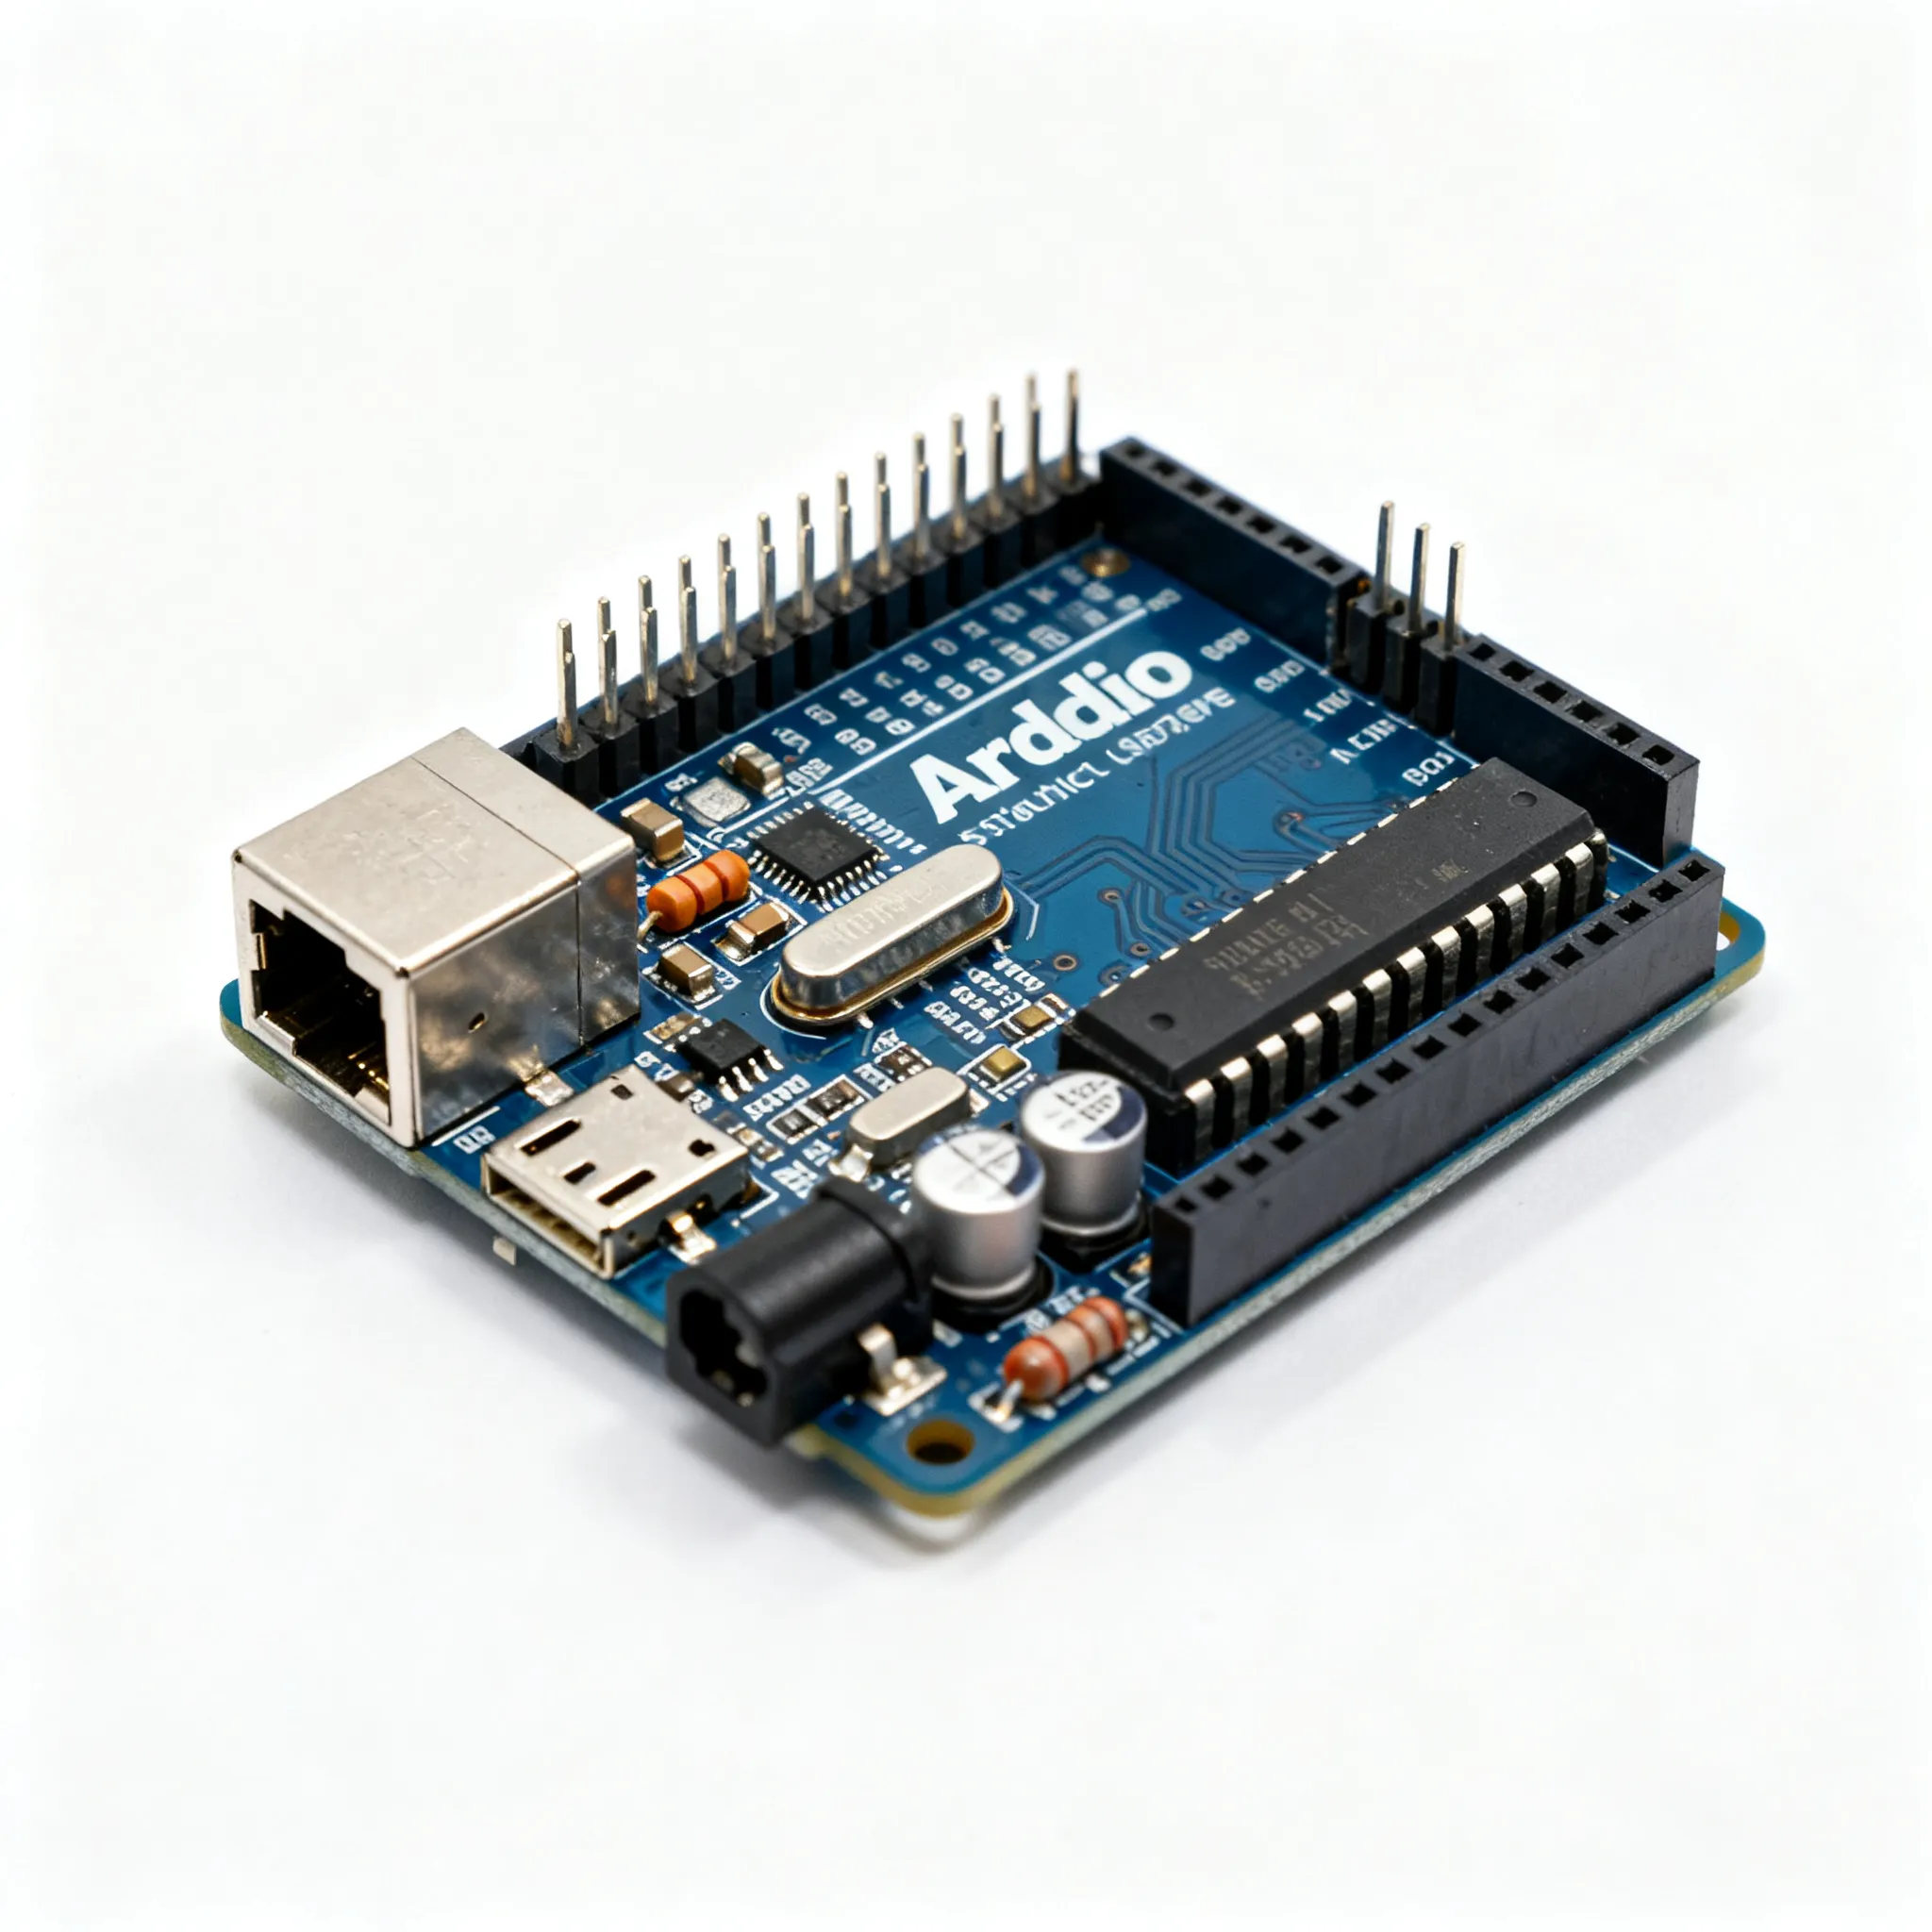
Microcontrollers have become the backbone of many electronic projects, offering versatility and ease of use. The Arduino platform, in particular, has democratized access to microcontroller technology, allowing both beginners and experts to create innovative solutions. Core concepts in cost optimization for Arduino projects include selecting the right components, understanding datasheets, and designing effective application circuits. A critical aspect of this process is balancing performance with cost, ensuring that the selected components meet the project's requirements without unnecessary expenditure.
Cost optimization involves evaluating the electrical, thermal, and mechanical specifications of components. Electrical specifications such as power consumption and clock speed directly impact the efficiency of a project, while thermal and mechanical specs ensure reliability and longevity. Additionally, understanding the application circuits and their specific requirements can help in choosing the most cost-effective components. By leveraging resources like [DigiKey Electronics](https://www.digikey.com/) and [IC Online](https://www.ic-online.com/), developers can access comprehensive databases and competitive pricing to source the ideal components for their projects.
Detailed Specifications
When selecting components for Arduino projects, it's essential to consider detailed specifications to ensure optimal performance and cost-effectiveness. Below are tables outlining key electrical, thermal, and mechanical specifications, as well as an application comparison for various components.
| Specification | Value | Units | Notes |
|---|---|---|---|
| Operating Voltage | 5 | V | Standard for most Arduino boards |
| Input Voltage (recommended) | 7-12 | V | Ensures stable operation |
| Input Voltage (limit) | 6-20 | V | Exceeding can cause damage |
| Digital I/O Pins | 14 | Pins | 6 provide PWM output |
| Analog Input Pins | 6 | Pins | Supports ADC functionality |
| DC Current per I/O Pin | 20 | mA | Maximum current capacity |
| Flash Memory | 32 | KB | 2 KB used by bootloader |
| SRAM | 2 | KB | Available for dynamic data |
| EEPROM | 1 | KB | Non-volatile memory |
| Clock Speed | 16 | MHz | Standard for most projects |
| Specification | Value | Units | Notes |
|---|---|---|---|
| Operating Temperature | -40 to 85 | °C | Suitable for most environments |
| Storage Temperature | -55 to 150 | °C | For safe storage |
| Package Type | DIP | - | Dual in-line package for easy handling |
| Weight | 5 | g | Lightweight for ease of integration |
| Dimensions | 68.6 x 53.4 | mm | Standard Arduino footprint |
| Thermal Resistance | 50 | °C/W | Junction-to-ambient |
| Mounting Type | Through-hole | - | For easy soldering and prototyping |
| Shock Resistance | 1500 | G | Ensures durability |
| Application | Component | Notes |
|---|---|---|
| Basic LED Control | LED1234 | Simple on/off control using digital pins |
| Temperature Sensing | TMP36 | Analog sensor for temperature monitoring |
| Motor Control | L298N | Dual H-bridge motor driver for DC motors |
| Wireless Communication | ESP8266 | Wi-Fi module for IoT applications |
| Display Interface | LCD1602 | 16x2 character LCD for visual feedback |
Design Considerations
When designing Arduino projects, several factors must be taken into account to optimize cost and performance. First, it's crucial to assess the project's power requirements, as this can significantly impact both the choice of components and the overall budget. Selecting components with low power consumption not only reduces costs but also enhances the project's sustainability. Additionally, understanding the thermal properties of components can prevent overheating and ensure reliability, especially in environments with varying temperatures.
Another important consideration is the choice of communication protocols. Depending on the project's needs, selecting the most appropriate protocol (e.g., I2C, SPI, UART) can streamline the design and reduce complexity. Furthermore, leveraging modular components and breakout boards can simplify the assembly process and reduce the need for additional hardware, ultimately lowering costs.
It's also essential to evaluate the mechanical aspects of the project, such as the size and weight of components. Ensuring that the selected components fit within the project's spatial constraints can prevent costly redesigns. Additionally, choosing components with robust mechanical properties can enhance the project's durability and longevity, reducing the need for replacements or repairs.
Finally, sourcing components from reliable distributors like [DigiKey Electronics](https://www.digikey.com/) and [IC Online](https://www.ic-online.com/) can provide access to a wide range of options at competitive prices. These platforms offer comprehensive datasheets and parametric search tools, allowing developers to make informed decisions based on detailed specifications.
Step-by-Step Guide
Creating a cost-effective Arduino project involves several steps, each requiring careful consideration and planning. Below is a step-by-step guide to help navigate this process:
- Define Project Requirements: Start by outlining the specific goals and requirements of the project. Consider factors such as functionality, performance, and budget constraints.
- Select Appropriate Components: Use online resources like [DigiKey Electronics](https://www.digikey.com/) to search for components that meet your project's specifications. Pay attention to electrical, thermal, and mechanical properties to ensure compatibility.
- Design the Circuit: Create a schematic diagram that outlines the connections between components. Utilize software tools such as Fritzing or Eagle to visualize the circuit layout and identify potential issues.
- Prototype the Design: Assemble a prototype using a breadboard to test the circuit's functionality. This step allows for troubleshooting and refining the design before finalizing the build.
- Optimize the Design: Identify areas where cost savings can be achieved, such as using alternative components or simplifying the circuit. Ensure that any changes do not compromise the project's performance or reliability.
- Source Components: Purchase components from trusted distributors like [IC Online](https://www.ic-online.com/) to ensure quality and availability. Consider bulk purchasing for additional cost savings.
- Assemble the Final Product: Once all components are acquired, assemble the final product on a PCB or other suitable platform. Ensure that all connections are secure and that the design meets the original specifications.
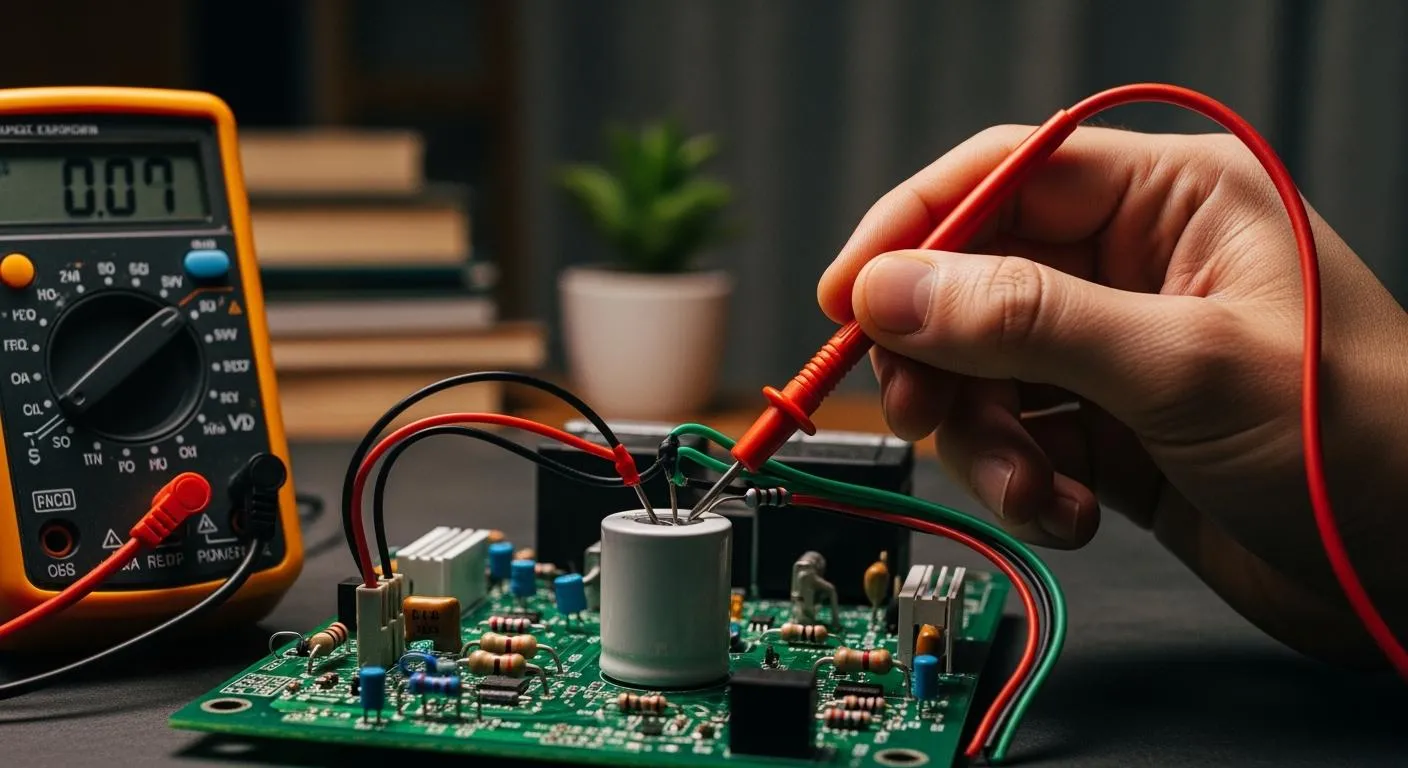
- Test and Validate: Conduct thorough testing to validate the project's performance and reliability. Address any issues that arise and make necessary adjustments to ensure optimal functionality.
Common Issues & Solutions
During the development of Arduino projects, several common issues may arise. Understanding these challenges and their solutions can help ensure a smoother development process:
- Power Supply Issues: Inadequate power supply can lead to unstable performance. Ensure that the power source meets the project's voltage and current requirements, and consider using voltage regulators for stability.
- Component Overheating: Components may overheat if not properly managed. Implement heat sinks or cooling mechanisms to dissipate excess heat and prevent damage.
- Signal Interference: Electromagnetic interference can affect communication protocols. Use shielded cables and proper grounding techniques to minimize interference.
- Incorrect Component Values: Using incorrect resistor or capacitor values can impact circuit performance. Double-check component values against the design specifications to avoid errors.
- Software Bugs: Programming errors can lead to unexpected behavior. Conduct thorough code reviews and testing to identify and resolve software issues.
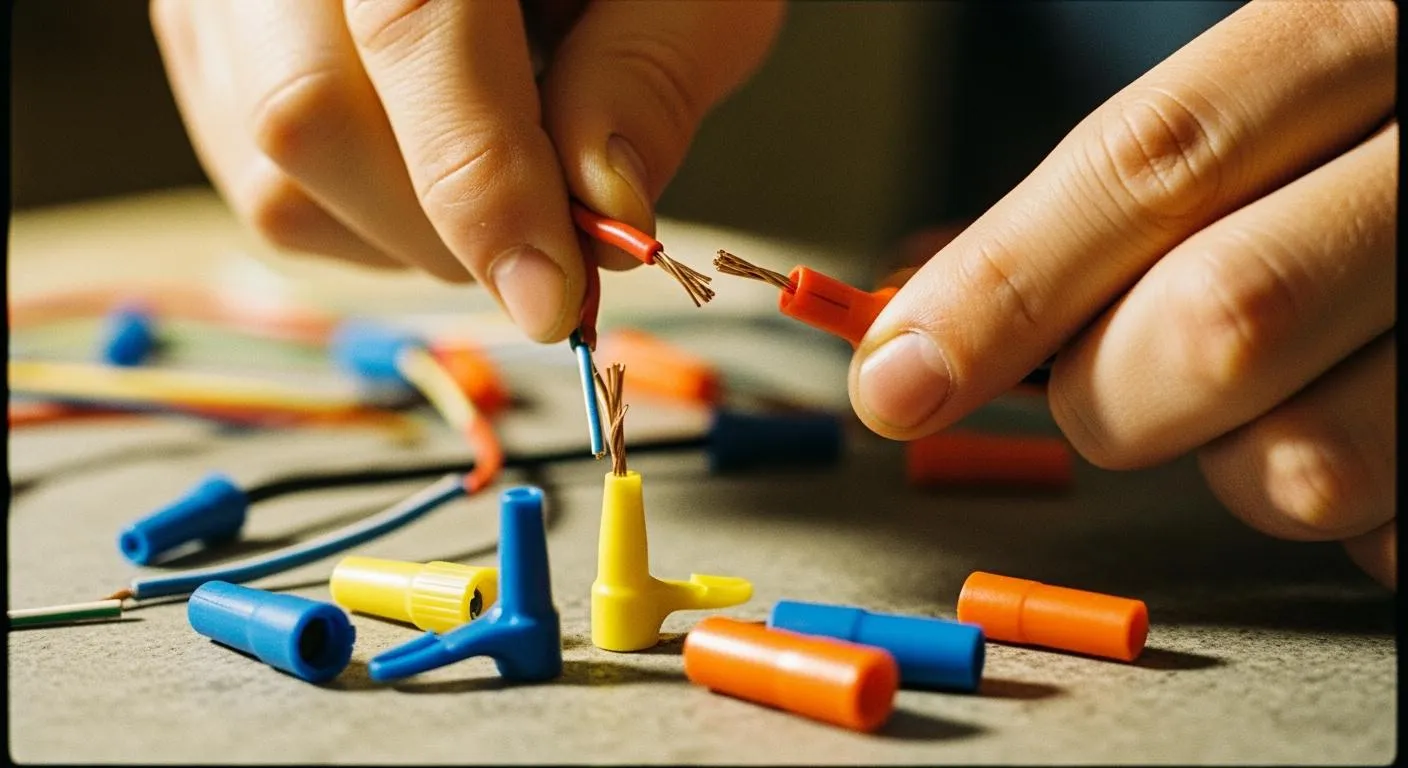
- Mechanical Failures: Poor soldering or loose connections can cause mechanical failures. Ensure that all connections are secure and use appropriate soldering techniques to enhance reliability.
Applications & Use Cases
Arduino projects have a wide range of applications across various industries, from simple hobbyist projects to complex industrial solutions. Some real-world examples include:
- Home Automation: Arduino can be used to automate lighting, temperature control, and security systems, providing convenience and energy efficiency.
- IoT Devices: Integrating Arduino with sensors and communication modules enables the creation of Internet of Things (IoT) devices for smart home and industrial applications.
- Robotics: Arduino serves as a control hub for robotic systems, enabling precise movement and interaction with the environment.
- Educational Tools: Arduino is widely used in educational settings to teach programming and electronics concepts, fostering innovation and creativity among students.
- Prototyping and Research: Arduino's flexibility and ease of use make it an ideal platform for prototyping and research in fields such as engineering and environmental science.
Selection & Sourcing Guide
When selecting and sourcing components for Arduino projects, it's crucial to use reliable distributors to ensure quality and availability. Platforms like IC Online offer a wide range of components, competitive pricing, and fast delivery. By leveraging these resources, developers can access detailed datasheets and parametric search tools to make informed decisions that align with their project's requirements and budget constraints.
FAQ
Here are some frequently asked questions about cost optimization for Arduino projects:
- What are the most cost-effective microcontrollers for Arduino projects? The ATmega328P is a popular choice due to its balance of price, performance, and ease of use.
- How can I reduce power consumption in my Arduino project? Use low-power components, implement sleep modes, and optimize software to minimize power usage.
- What is the best way to manage heat in my project? Use heat sinks, fans, or thermal pads to dissipate heat effectively and maintain component reliability.
- How do I choose the right communication protocol? Consider factors such as data rate, distance, and power consumption to select the most suitable protocol for your application.
- Where can I find reliable datasheets for components? Resources like [DigiKey Electronics](https://www.digikey.com/) provide comprehensive datasheets for a wide range of components.
- How can I ensure the durability of my project? Select components with robust mechanical properties and ensure secure connections to enhance reliability.
- What are common pitfalls in Arduino project design? Common issues include inadequate power supply, overheating, and incorrect component values. Proper planning and testing can mitigate these challenges.
- Can I use alternative components to reduce costs? Yes, but ensure that any alternatives meet the project's specifications and do not compromise performance.
- How do I troubleshoot software issues in my project? Conduct thorough code reviews, use debugging tools, and test the software in stages to identify and resolve issues.
- What are the benefits of using breakout boards? Breakout boards simplify connections and reduce the need for additional hardware, making the design process more efficient and cost-effective.
Conclusion
Cost optimization in Arduino projects is a critical consideration for developers seeking to balance performance and affordability. By understanding component specifications, leveraging detailed datasheets, and designing effective application circuits, developers can create innovative solutions that meet their project's requirements and budget constraints. With resources like [DigiKey Electronics](https://www.digikey.com/) and [IC Online](https://www.ic-online.com/), sourcing the right components has never been easier. As the global semiconductor industry continues to grow, embracing cost optimization strategies will be essential for success in the ever-evolving electronics landscape.