Mastering Wire Connectors A Step-by-Step Tutorial
You face a project. You have a wire. You need a secure connection, but the array of connectors is confusing. Getti
You face a project. You have a wire. You need a secure connection, but the array of connectors is confusing. Getting this wrong is a common challenge. In fact, faulty wiring and connector issues cause about 33% of residential fires each year. This guide teaches you how to use wire connectors safely. You will learn essential connector basics. Mastering working with wire and any connector is a fundamental skill. It empowers you to build reliable projects with confidence.
Key Takeaways
- Choose the right wire connector for your project. Different connectors work for different jobs.
- Prepare your wires correctly. Strip the right amount of insulation and clean the wire ends.
- Follow steps for each connector type. Twist-on, push-in, and crimp-on connectors each have a specific way to use them.
- Always test your connections. Do a 'tug test' and check for exposed wires to ensure safety.
- Prioritize safety. Turn off power, use the right tools, and protect your eyes.
Exploring Common Wire Connectors
At their core, connectors serve one primary function: to join different parts of a circuit. They allow you to connect a power source, link components, or attach a wire to a circuit board. You will encounter two main families: general-purpose electrical connectors for home wiring and smaller electronics connectors for detailed projects. Understanding the right connector for your task is the first step toward a successful outcome.
Wire-to-Wire Connectors
You use these connectors to join the ends of two or more pieces of wire. They are common in both household electrical work and DIY projects. Two types you will see everywhere are twist-on and push-in connectors.
- Twist-on Wire Connectors (Wire Nuts): You use these to join conductors inside junction boxes. They provide a very secure connection.
- Push-in Wire Connectors: These allow you to insert a wire directly for a fast connection, which is great for lighting and other simple tasks.
Choosing between them depends on your project's needs.
| Feature | Twist-On Wire Nuts | Push-In Connectors |
|---|---|---|
| Ease of Use | Requires a good twisting motion. | Very simple push-in action. |
| Reliability | Extremely reliable if twisted correctly. | Reliable, but check for full wire insertion. |
| Reusability | Generally for one-time use. | Some models are reusable. |
| Best For | Permanent, secure splices. | Quick connections and light fixtures. |
Wire-to-Board Connectors
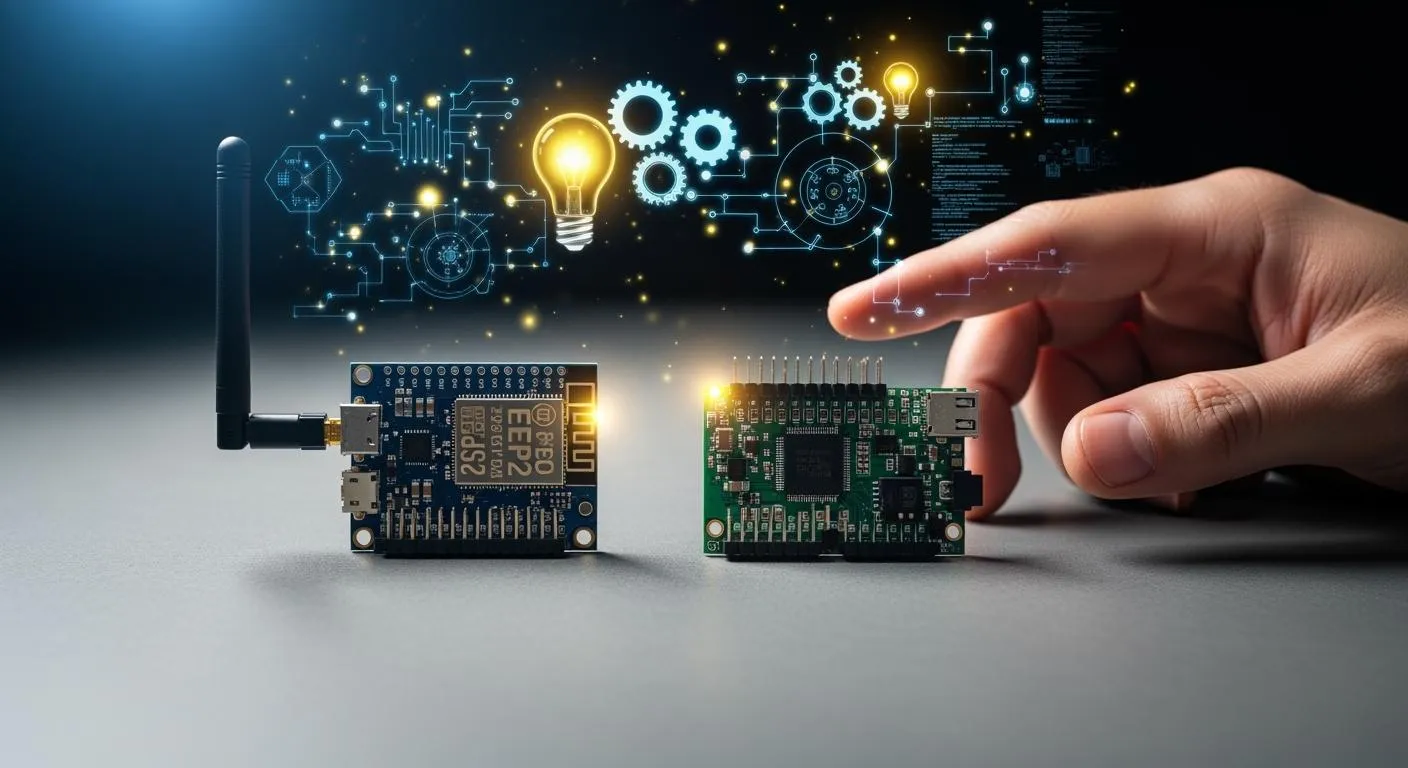
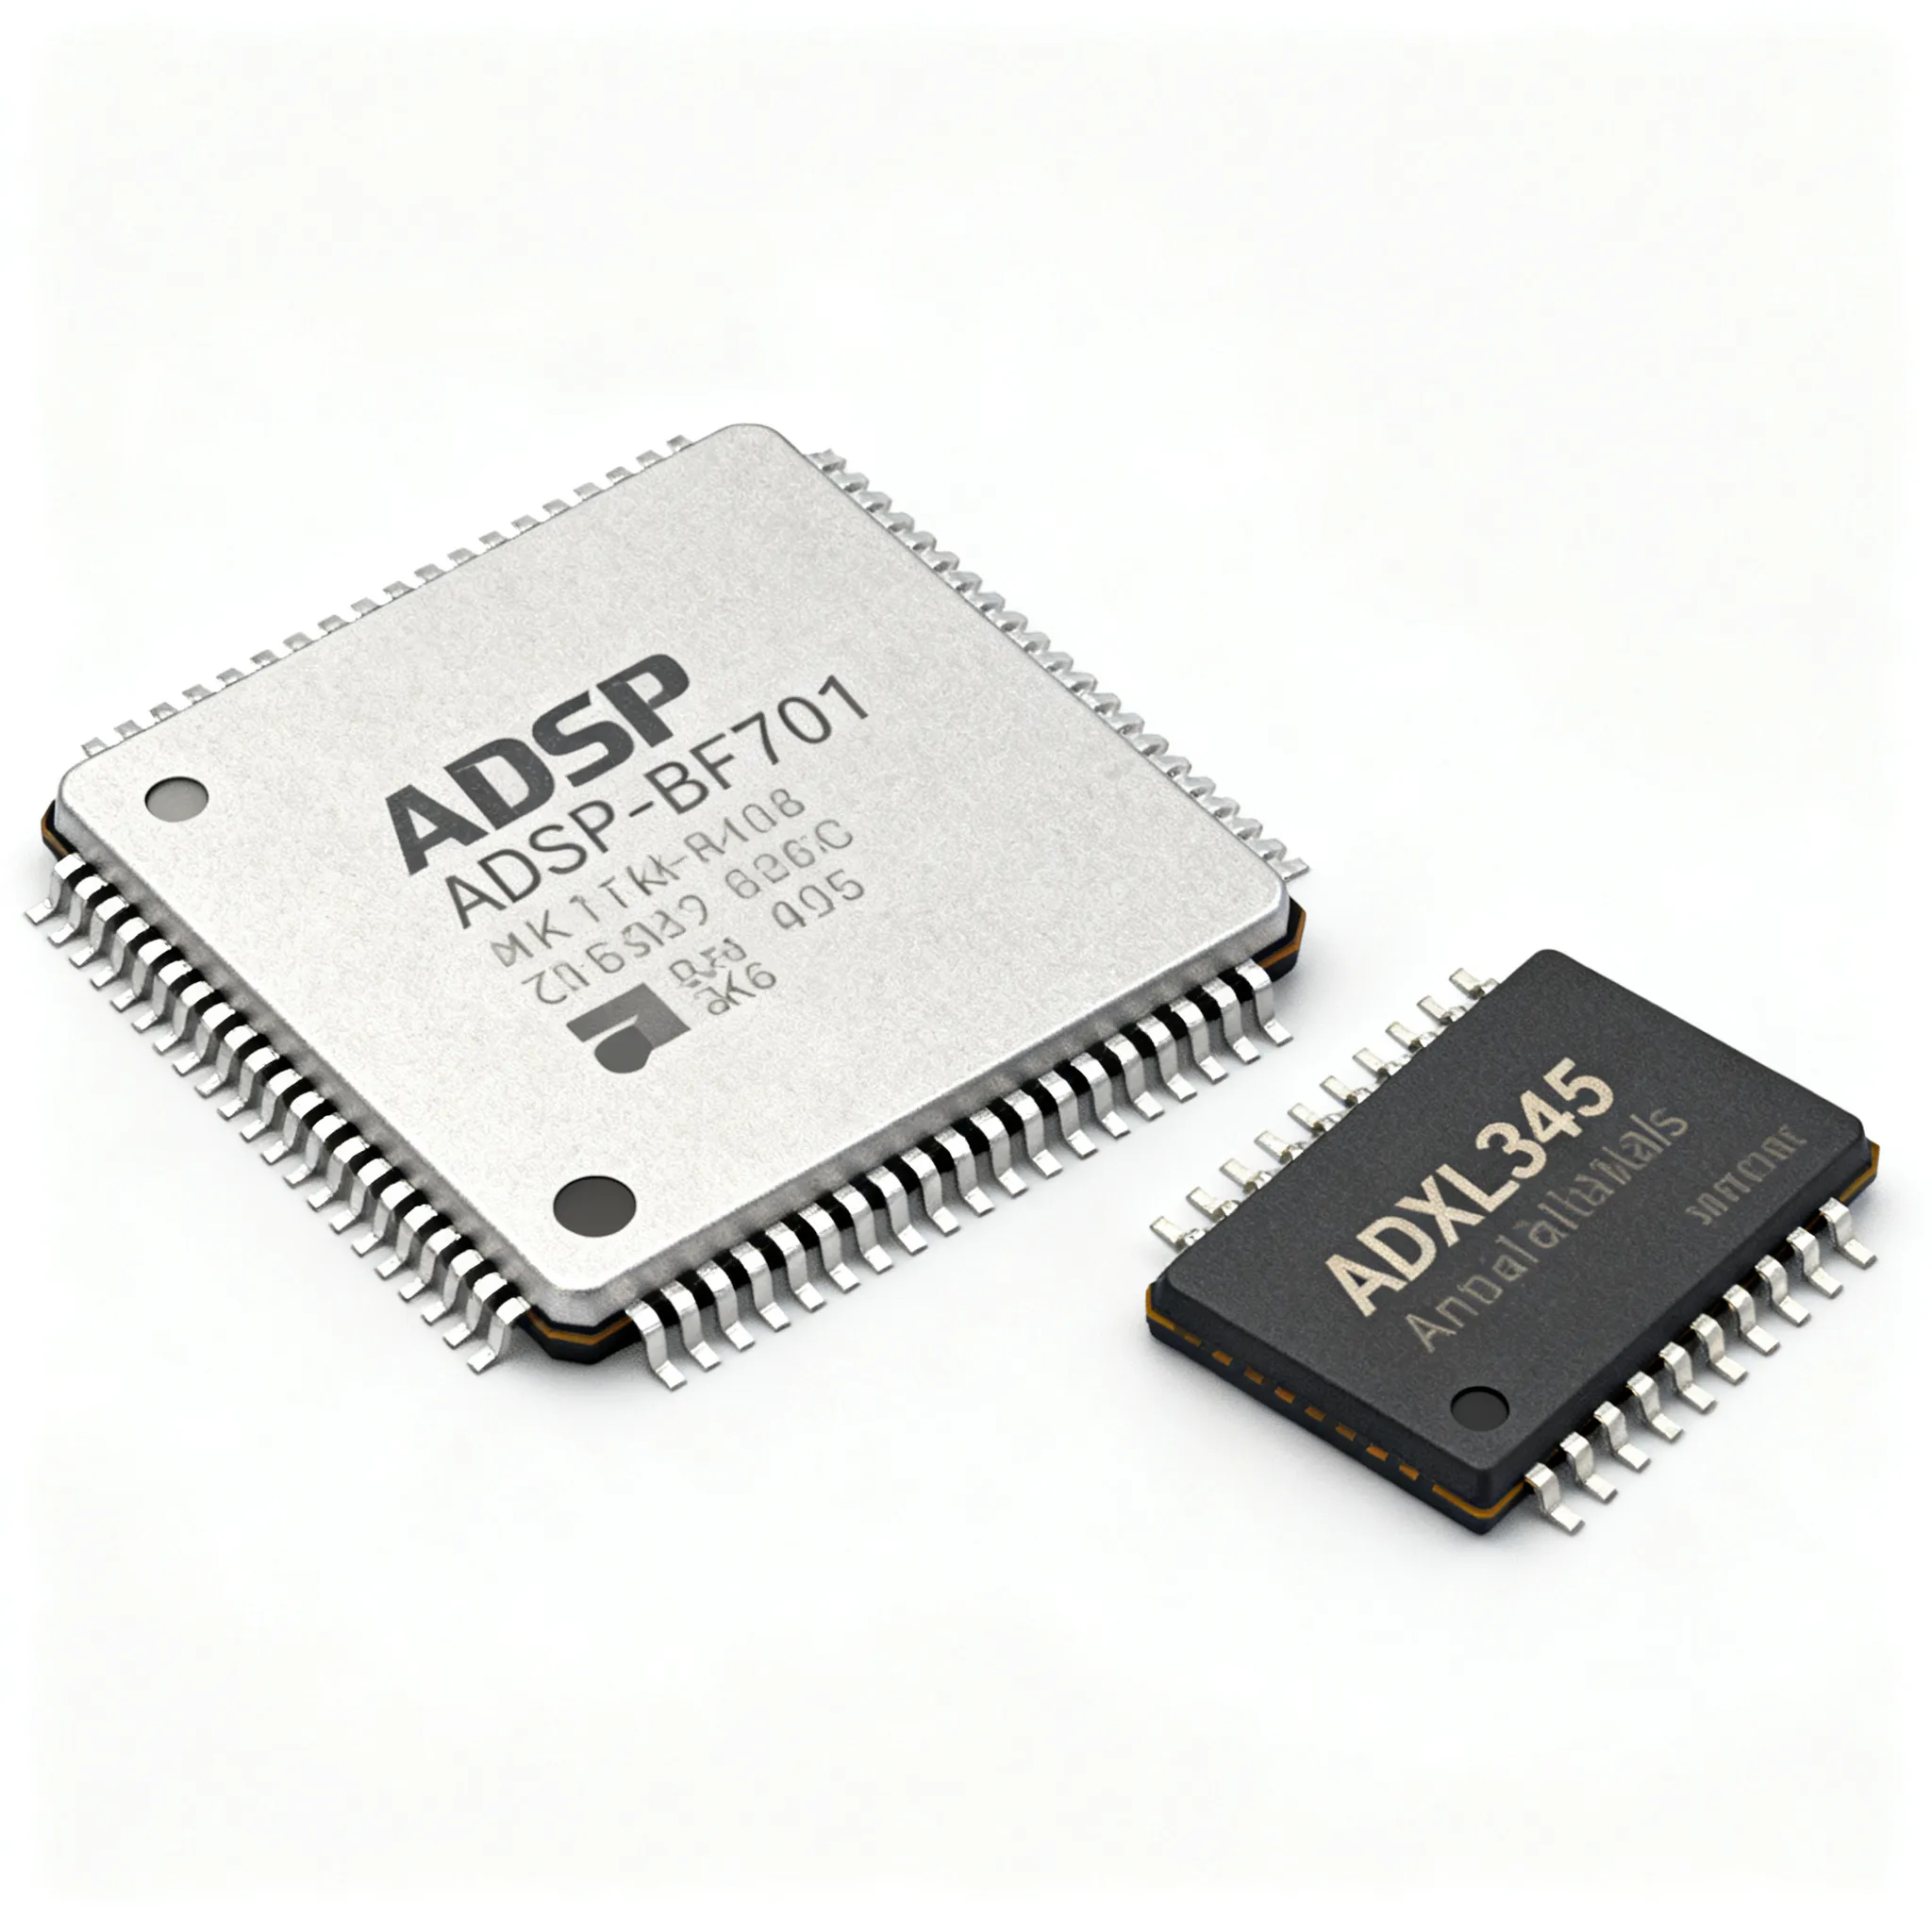
You use wire-to-board connectors to get power and signals from a wire onto a printed circuit board (PCB). These are essential for almost any electronic device, from toys to computers. Common examples include JST and Molex connectors, which often use locking harnesses to prevent the wire from pulling out. For instance, you frequently find JST connectors used for battery connections.
In advanced electronics, the quality of these connectors is critical. For example, a HiSilicon-designated solutions partner like Nova Technology Company (HK) Limited) works on complex chip-level systems where high-fidelity signal and power integrity are paramount. The sophisticated board-to-wire connectors they use ensure flawless communication between the core processor and peripheral components.
Specialty Connectors: USB, RJ45, and More
Beyond basic wire splices, you will work with many specialty connectors. USB connectors are everywhere, used for both data and power. You have likely seen older USB-A connectors and smaller USB-Micro connectors. The evolution of USB brought faster speeds. The latest USB specifications deliver incredible performance, vital for modern devices. Many audio projects also rely on specific audio connectors.

Other common types include:
- USB Connectors: The family of USB connectors includes USB-A connectors, USB-B connectors, USB-Mini connectors, and the modern USB-C. Each USB connector is designed for specific devices. The USB standard is critical for data and audio.
- RJ45 Connectors: This is the standard connector for Ethernet cables. It connects your computer to a network. It uses a specific wire color code, with T568B being the most common standard today.
- Audio Connectors: These connectors are designed for audio signals. You need the right audio connectors for any audio device. These audio connectors ensure clear audio. Good audio depends on a solid connector. This is true for any audio project.
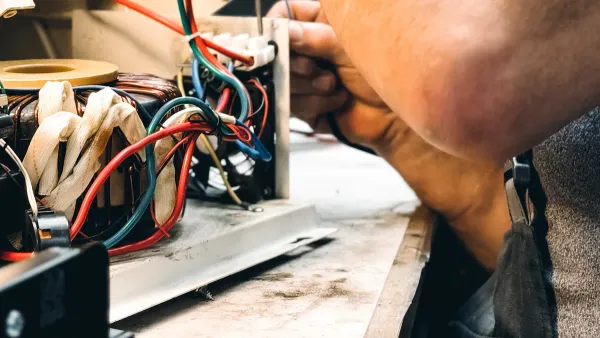
Working with Wire: Essential Preparation
A successful connection starts long before you touch a connector. Proper preparation is the key to safety and reliability when working with wire. You need the right tools and techniques to prepare each wire correctly. This preparation ensures your connectors will function as designed, creating a secure and lasting electrical bond.
Gathering Your Tools
You should assemble a basic toolkit before you begin. Having the right tools makes the job easier and safer. For most projects involving wire and connectors, you will need a few essential items.
- Wire Strippers: These are crucial for removing insulation without damaging the wire conductor.
- Wire Cutters: You need these for clean, precise cuts.
- Lineman’s Pliers: These are great for gripping and twisting a thick wire.
- Multimeter: This tool is essential for testing voltage and confirming your connection is good.
- Insulated Screwdrivers: These protect you when working with a live circuit.
For more advanced work, you might also use a ratchet crimper for a specific connector or a heat gun for heat shrink tubing.
How to Properly Strip Wire Insulation
You must remove the right amount of insulation from the wire. Stripping the wire correctly is critical for a strong connection. If you strip too little, the connector will not grip the conductor properly. If you strip too much, you risk exposing bare wire, which is a safety hazard.
For most common butt splice connectors and crimp-on connectors, you should strip about 1/4 inch (6 mm) of insulation from the end of the wire. Always check the instructions for your specific connector.
Use your wire strippers to make a clean cut around the insulation. Then, pull the insulation off the wire. Inspect the wire conductor to ensure you have not nicked or cut any strands. A clean strip is the foundation of a good connector installation.
Cleaning and Preparing Wire Ends
Your wire ends must be clean for the best electrical contact. Copper wire can oxidize over time, turning dull or even green. This corrosion prevents a good connection inside the connector. If a wire looks black or corrosion has crept under the insulation, you should replace that section of wire. For minor oxidation, you can clean the wire.
- Create a simple cleaning solution with salt and vinegar.
- Dip the stripped wire end into the solution for a minute or two until it looks shiny.
- Immediately dip the wire into a second solution of baking soda and water to neutralize the acid.
- Rinse the wire with clean water and dry it completely.
This process ensures your connectors have a clean, conductive surface to bond with.
How to Use Wire Connectors: A Step-by-Step Guide
You have prepared your tools and your wire. Now you are ready for the main event. This section provides clear, step-by-step instructions on how to use wire connectors for the most common applications. Following these methods will help you create connections that are both secure and safe. We will cover three essential techniques you will use again and again.
Method 1: Using Twist-On Connectors
Twist-on connectors, or wire nuts, are the classic choice for joining wires in junction boxes. They create a very strong mechanical and electrical bond. The key is selecting the right size connector for your wire combination and twisting it correctly. You can identify the right connector by its color. Each color corresponds to a specific range of wire sizes and quantities.
| Color | Minimum Capacity | Maximum Capacity |
|---|---|---|
| Gray | Two #22 AWG | Two #16 AWG |
| Blue | Two #22 AWG | Three #16 AWG |
| Orange | One #18 + One #20 AWG | Four #16 AWG |
| Yellow | Two #18 AWG | Three #12 AWG |
| Red | Two #14 AWG | Four #10 AWG |
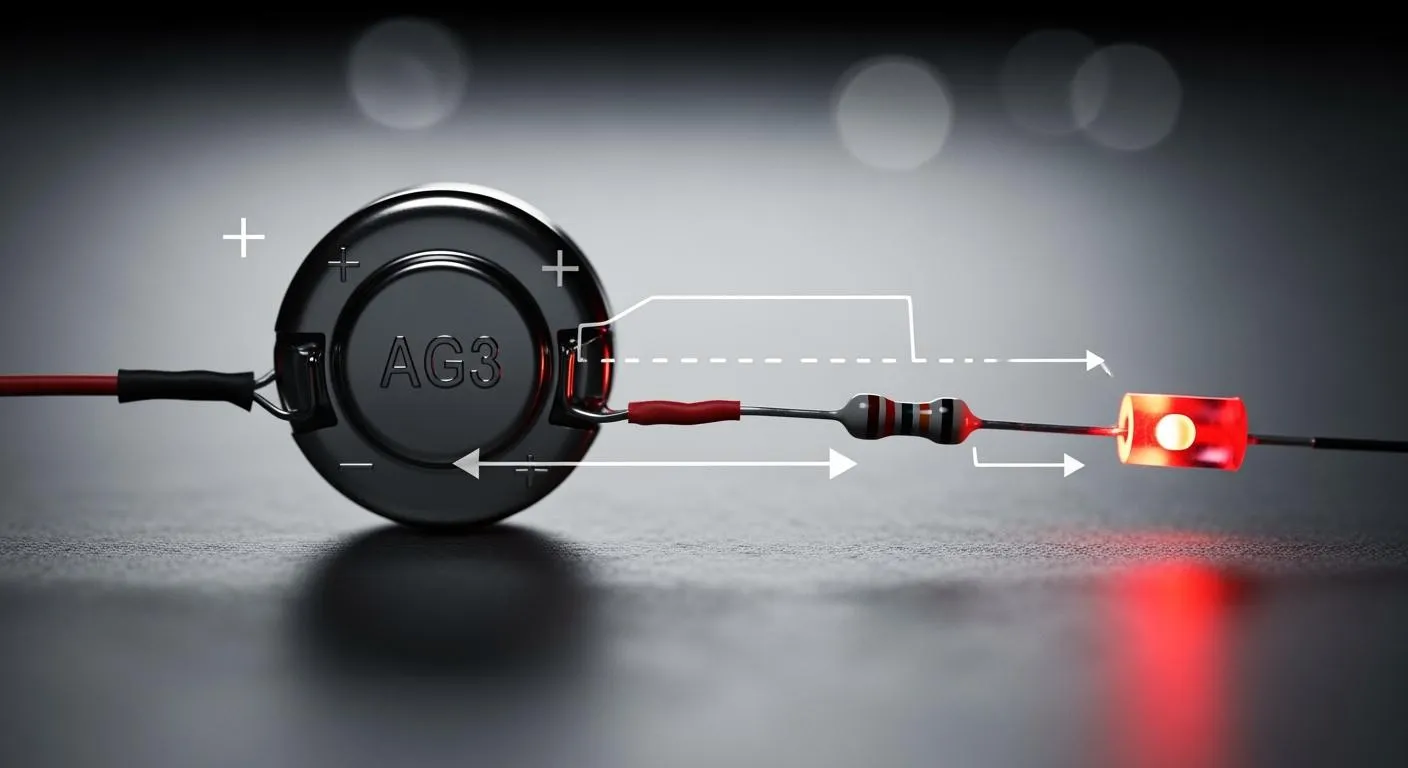
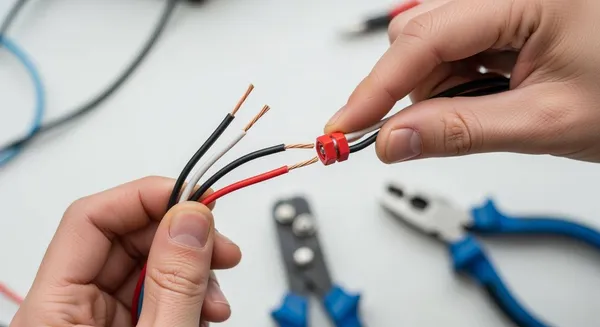
How to Splice Wires with a Wire Nut
Learning how to splice wires properly is a fundamental skill. Follow these steps for a perfect connection every time.
- Prepare the Wires: You should trim the ends of each wire to ensure they are clean. Use your wire strippers to remove about 1/2 to 5/8 inch of insulation. Be careful not to nick the copper conductor.
- Align the Conductors: Gather the stripped wire ends together. If the wires are all the same type (solid or stranded), you can align their ends evenly. If you are mixing solid and stranded wire, make the stranded wire end about 1/8 inch longer than the solid one. This helps the connector grip both types securely.
- Pre-Twist the Wires (Optional but Recommended): For the most robust connection, you can use lineman's pliers to twist the wires together in a clockwise direction before applying the connector. This creates a strong bond that the wire nut then protects.
- Apply the Connector: Place the wire nut over the bundle of wires. Push down firmly while twisting the connector clockwise. You will feel the internal spring grab the wire.
- Tighten Securely: Continue twisting until the connector is tight and you feel solid resistance. The wires should be bound so securely that they do not move. No bare copper should be visible below the base of the connector.
⚠️ Common Mistakes to Avoid A poor connection can be dangerous. You should avoid these common errors:
- Using the wrong size connector. A connector that is too large will not grip the wire tightly, while one that is too small will not fit. Always check the manufacturer's packaging.
- Stripping too much insulation. This leaves exposed wire outside the connector, creating a shock or short-circuit hazard.
- Reusing old connectors. Many twist-on connectors are designed for single use. Their internal components can deform, leading to a weak connection on the second use.
- Under-tightening the connector. A loose wire nut can lead to arcing and is a serious fire risk.
Method 2: Using Push-In Connectors
Push-in connectors offer a fast and reliable way to join wires. They are incredibly popular for tasks like installing light fixtures. Instead of twisting, you simply push the stripped wire directly into a port on the connector. Internal spring clamps automatically grip the wire, creating a secure connection. This is a great example of how to use wire connectors efficiently.
How to Use a Push-In Connector
- Confirm Strip Length: Check the strip gauge printed on the connector's housing or packaging. You must strip the wire to this exact length to ensure a proper connection.
- Insert Wires: Push one stripped wire firmly into each port (hole) on the connector. You should feel it click or seat into place. If your connector has levers, open them first, insert the wire, and then snap the levers closed.
- Verify the Connection: Most push-in connectors have a clear or transparent housing. You should use this feature to visually inspect that each wire is fully inserted. Give each wire a gentle tug to confirm it is held securely.
💡 Pro Tip: Releasing and Reusing Wires Many push-in connectors are reusable. To release a wire, you typically do not just pull it out. Instead, you should firmly grip the wire close to the connector and twist it back and forth while pulling. This will release it from the internal clamp. For connectors with release tabs or slots, you can gently push a small screwdriver into the slot to free the wire. After releasing a wire, it is good practice to snip the end and re-strip it to ensure the next connection is solid.
Method 3: Using Crimp-On Terminals
Crimp-on terminals are essential for attaching a wire to a screw terminal or for splicing two wires end-to-end (a butt splice). These connectors are crushed, or "crimped," onto a wire using a special tool. This method creates a very durable, vibration-resistant connection common in automotive and marine electronics. Learning how to crimp an electrical connector is a valuable skill.
Like other connectors, crimp terminals are color-coded by the wire gauge they accept:
- Red: For small 22-18 gauge wire.
- Blue: For mid-size 16-14 gauge wire.
- Yellow: For large 12-10 gauge wire.
How to Crimp an Electrical Connector (Butt Splice)
- Select the Right Connector: Choose the correct color butt splice connector for your wire gauge. For applications exposed to moisture, you should use a heat-shrink butt splice for a sealed, waterproof connection.
- Strip the Wire: Strip about 1/4 inch of insulation from the end of each wire you intend to join.
- Insert the Wire: Insert the stripped end of one wire into one side of the butt splice connector. You should ensure the wire is pushed in far enough that the copper conductor is fully inside the metal crimp barrel.
- Crimp the Connector: Place the connector into the correct color-coded nest on your crimping tool. Squeeze the tool handles firmly until the ratchet mechanism releases. This ensures you have applied the correct amount of pressure.
- Repeat and Test: Repeat the process for the second wire on the other side of the connector. Once complete, give both wires a firm tug to ensure the crimp is secure and the wires will not pull out.
Mastering these three methods for how to use wire connectors will prepare you for the vast majority of electrical and electronics projects you will encounter.
Ensuring a Secure and Safe Connection
Making the connection is only half the job. You must now verify your work to guarantee it is both mechanically strong and electrically safe. A few simple checks will give you peace of mind and ensure your project is reliable for the long term. These final steps separate amateur work from professional results and are critical for any project involving wire and connectors.
The "Tug Test": Verifying Connection Strength
After you make a connection, you should always perform a "tug test." Gently but firmly pull on each wire to ensure it does not come loose from the connector. A secure connection will not budge. This simple action mimics official industry standards for wire connectors.
- UL 486-C is a safety standard that specifies a "pull out" test method for splicing wire connectors.
- IEC 60320 defines withdrawal force requirements for power couplers.
Your tug test is a practical way to confirm your connectors meet these principles of strength. If a wire pulls out, you must remake the connection.
Inspecting for Exposed Conductors
A visual inspection is just as important as a physical one. You need to look closely at your finished connectors to spot potential hazards. An incorrectly seated wire can lead to poor performance or a dangerous short circuit. You should check that all your wire connectors are properly installed.
| Aspect | ✅ Correct Connection | ❌ Incorrect Connection |
|---|---|---|
| Insulation Position | The wire insulation sits snugly against the connector with no bare wire showing. | There is a gap between the insulation and the connector, exposing the copper wire. |
| Conductor Seating | The copper wire is fully inserted into the terminal of the connectors. | The wire is only partially inserted, creating a weak electrical link. |
| Strand Containment | All strands of a stranded wire are neatly inside the connectors. | Stray wire strands are sticking out, which can cause a short. |
Using Electrical Tape and Heat Shrink
For added protection, you can use electrical tape or heat shrink tubing. Electrical tape is a quick way to add insulation. A quality vinyl tape is often rated for up to 600 Volts and provides a good dielectric barrier.
Heat shrink tubing offers superior protection for your wire and connectors. It creates a sealed, professional-looking barrier against moisture and abrasion.
💡 Pro Tip: Use the Right Temperature You must use the correct temperature when applying heat shrink. Polyolefin tubing, a common type, shrinks properly around 90°C (194°F). Using a heat gun and moving it constantly ensures the tubing shrinks evenly around the wire without burning.
- Cut a piece of tubing slightly longer than the exposed area of the connectors.
- Slide it over the wire before you make the connection.
- After completing the connection, position the tubing over the splice.
- Apply heat evenly until it shrinks snugly around the wire.
General Electrical Safety Best Practices
Always prioritize safety. Following these rules will protect you and your work.
- Always turn off the power at the circuit breaker before working on household wiring.
- Use a multimeter to confirm the power is off.
- Wear safety glasses to protect your eyes.
- Never work with a damaged wire or frayed connectors.
- Keep your workspace clean and dry.
You have mastered the core skills. You can select the right connectors for any wire, prepare each wire, and use different connectors. This knowledge of how to use wire connectors is your key. Every wire needs the right connectors. Your wire projects depend on good connectors. These wire connectors ensure a safe wire connection. A good wire needs good connectors. A bad wire needs new connectors. Go use your new wire and connectors skills!
FAQ
What are the best connectors for a simple wire repair?
For a quick wire fix, you can use push-in connectors. These connectors are very easy to use. For a more durable repair on a thicker wire, crimp-on butt splice connectors are excellent. Both types of connectors create a secure connection for your wire.
Can I reuse twist-on wire connectors?
You should generally avoid reusing twist-on wire connectors. The internal spring can deform after one use. This might create a loose connection for your wire. For safety, always use new connectors to ensure a tight grip on each wire.
Why are there so many types of USB connectors?
The USB standard has evolved over time. Different USB connectors support different data speeds and power needs. You have older USB-A connectors and modern USB-C connectors. Each USB type, from USB 2.0 to the latest USB, serves specific devices. Your audio device might use a specific USB connector.
Do I need special connectors for audio projects?
Yes, you often need specific audio connectors. Good audio quality depends on a solid connection. You might use RCA connectors, 3.5mm audio jacks, or even a USB connector for digital audio. Using the right audio connectors for your wire ensures clear audio signals. These audio connectors are vital.
How do I choose the right connectors for my wire?
You must match the connectors to your wire gauge (AWG). Connectors are color-coded for specific wire sizes. Using the wrong connectors can cause a poor connection. Check the packaging for the connectors to confirm they fit your wire. This applies to electrical, audio, and even some USB connectors.