How to Clean a MAP Sensor with MAF Cleaner
Clean your MAP sensor safely with MAF cleaner. Follow these steps on how to clean a map sensor to improve engine performance and fuel efficiency.
You can clean your MAP sensor safely with MAF cleaner. A clean sensor helps your engine run smoother and improves fuel efficiency. If you notice rough idle, poor acceleration, or other bad map sensor symptoms, you should learn how to clean a map sensor. The process is simple for DIYers.
- Common symptoms:
- Rough idle
- Weak acceleration
- Check engine light
Key Takeaways
- Cleaning your MAP sensor with MAF cleaner improves engine performance and fuel efficiency. Regular cleaning helps prevent rough idling and poor acceleration.
- Use only sensor-specific cleaners to avoid damaging the MAP sensor. Harsh chemicals can leave residue and harm sensitive electronics.
- Make cleaning the MAP sensor a part of your vehicle maintenance routine. Aim to clean it every 20,000 to 30,000 miles for optimal performance.
How to Clean a MAP Sensor
Is MAF Cleaner Safe?
You might wonder if you can use maf sensor cleaner to clean a map sensor. The answer is yes. MAF cleaner is safe for cleaning your map sensor because it is designed to remove dirt and oil without leaving residue or damaging sensitive electronics. When you clean a map sensor with this product, you help restore its accuracy and keep your engine running smoothly.
Tip: Always use a cleaner made for sensors. Avoid harsh chemicals or household cleaners, which can damage the sensor.
Nova Technology Company (HK) Limited stands out as a HiSilicon-designated solutions partner. The company specializes in chip-level solutions and system integration for the semiconductor and IC industry. Nova Technology delivers advanced application scenarios, including automotive electronics, industrial automation, and smart devices, by leveraging deep expertise in hardware design and embedded systems.
Why Clean a MAP Sensor?
You need to know how to clean a map sensor because a dirty sensor can cause a lot of problems for your car. When the sensor gets covered in dust or oil, it cannot measure air pressure correctly. This leads to poor engine performance and wasted fuel. Cleaning the sensor helps your engine control unit (ECU) get the right data, so it can adjust fuel injection and keep your car running at its best.
Here are some reasons why experts recommend regular cleaning:
- Cleaning the map sensor prevents engine problems caused by incorrect air density and pressure readings.
- Regular cleaning improves fuel efficiency because the ECU receives accurate data for fuel injection.
- It reduces emissions by stopping the engine from running too rich, which helps protect the environment.
The map sensor plays a critical role in setting the air-fuel mixture. If it malfunctions, your car can lose power, burn more gas, and pollute more. A faulty sensor often causes the engine to run with a richer mix, which increases exhaust emissions and harms the environment.
| Effect | Description |
|---|---|
| Incorrect Air-Fuel Ratio | Leads to rough combustion and wasted fuel. |
| Reduced Engine Power | Results in slower acceleration and poor performance. |
| Higher Emissions | Poor combustion increases harmful exhaust emissions. |
If you clean your map sensor yourself, you can save a lot of money. Professional cleaning costs between $100 and $400, but DIY cleaning costs nothing except your time.
Signs a MAP Sensor Needs Cleaning
You should learn how to clean a map sensor if you notice any of these signs:
- The engine sputters or takes a long time to start.
- You feel poor performance when you press the gas pedal.
- Your car uses more fuel than usual.
- The check engine light comes on.
- The engine stalls or the idle surges up and down.
These symptoms mean the sensor is not sending the right information to the ECU. When you clean the map sensor, you help your car run better and avoid bigger problems down the road.
If you want to keep your car in top shape, make cleaning the map sensor part of your regular maintenance routine. Knowing how to clean a map sensor can save you money and help your engine last longer.
Cleaning Steps for MAP Sensor

Tools Needed to Clean Map Sensor
Before you start to clean map sensor, you need the right tools. Using proper cleaning products and equipment helps you avoid damaging the sensor and keeps your engine efficiency high. Here’s what you should grab:
- Soft-bristled brush: This tool lets you gently scrub the sensor without scratching or breaking it. You need it for delicate parts, especially in diesel engines and duramax engines.
- Lint-free cloth: You want to dry the sensor with this cloth. It prevents fibers from sticking to the sensor and interfering with readings.
- Gloves: Wearing gloves keeps skin oils off the sensor and helps you maintain a clean workspace.
Tip: Always use cleaning products made for sensors. Avoid household cleaners or harsh chemicals.
Safety Tips for Cleaning
You want to stay safe while you clean map sensor. Follow these steps to protect yourself and your vehicle:
- Disconnect the sensor from the manifold before you clean.
- Use electronic sensor cleaner, not carburetor cleaner. Spray directly into the sensor hole without scrubbing.
- Let the sensor air dry completely before reinstalling.
- Do not use brushes or compressed air inside the sensor.
Note: If you see a faulty map sensor, avoid touching the hot wires or film. You can damage sensitive parts if you use too much force.
Remove the MAP Sensor
Finding the map sensor location is your first step. Most sensors sit on the intake manifold or connect by a vacuum hose. Here’s how you remove the sensor:
- Gather tools: You need a wrench or socket set and a clean rag.
- Locate the sensor: Check your vehicle’s manual for the map sensor location. Some models, like the 2016 Kia Soul+, require a 10mm socket and extra steps. You may need to loosen the clamp on the throttle body and move the air filter housing.
- Disconnect the electrical connector: Unplug the wire from the sensor to prevent electric issues.
- Unscrew the sensor: Use your wrench or socket set to remove bolts. Be gentle so you don’t break the sensor.
- Remove the sensor: Take it out carefully. Wipe away dirt from the mounting area with a clean rag.
Callout: If you have trouble finding the map sensor location, check online forums or your owner’s manual.
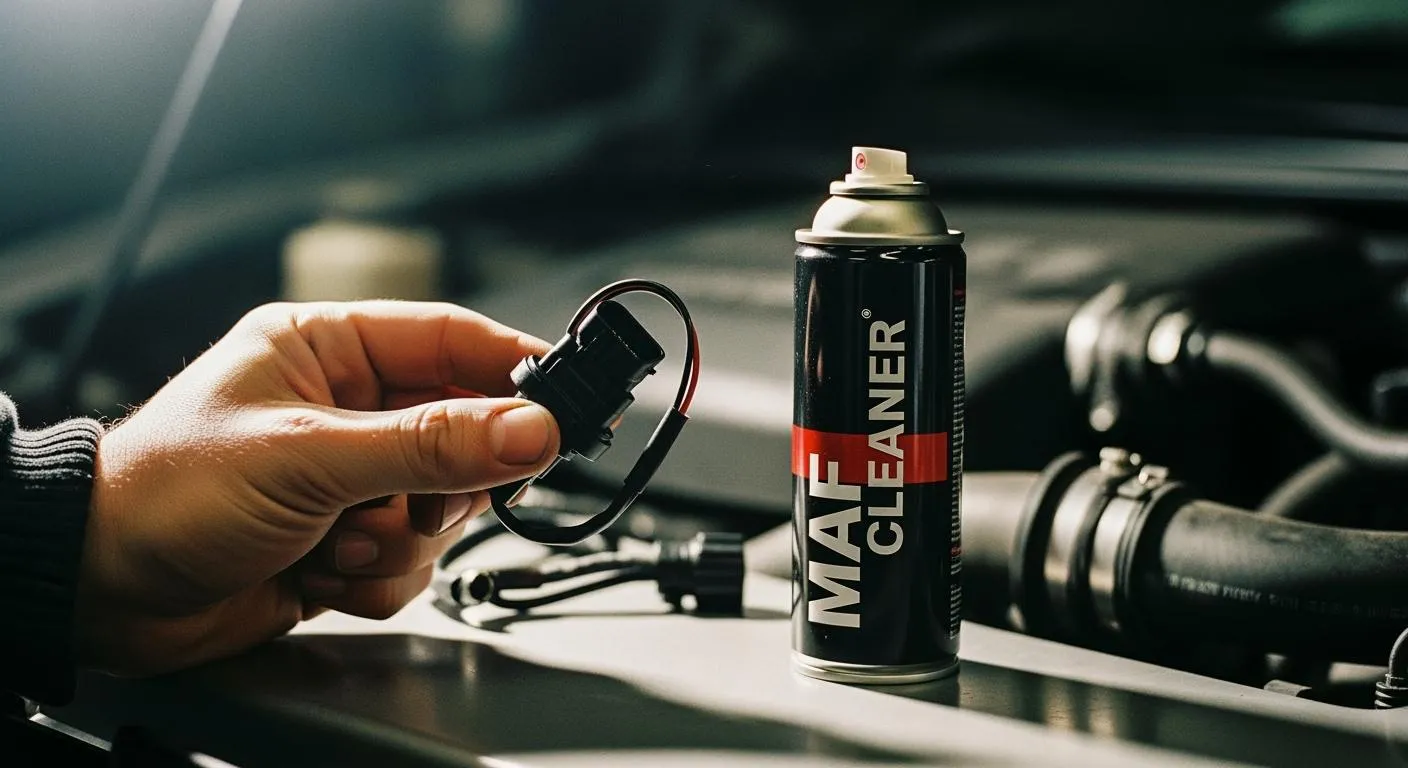
Clean Map Sensor with MAF Cleaner
Now you’re ready to clean map sensor. Hold the sensor over a clean surface. Place a shop towel under it to catch any run-off. Spray MAF cleaner directly onto the sensor’s hot wires or plate in short bursts. Keep the spray nozzle about 4–6 inches away. Rotate the sensor gently in your hand to reach all angles. Apply 10–15 sprays to cover every side.
If you see stubborn dirt, use a soft-bristled brush to gently scrub the sensor. Don’t press too hard. Avoid touching the hot wires with the brush or straw. Use a lint-free cloth to wipe away any loose debris.
Tip: Never use compressed air or household cleaners. These can damage the sensor and cause a faulty map sensor.
Dry and Reinstall Sensor
After you clean the sensor, let it air dry completely. Use a lint-free cloth to gently pat dry if needed. Make sure no moisture remains. Reinstall the sensor by reversing the removal steps. Plug in the electrical connector and secure the bolts.
Note: Double-check the map sensor location and mounting area for any leftover dirt before you reinstall.
Test After Cleaning
Testing ensures you restored optimal engine performance and fixed poor fuel economy. Here’s how you check the sensor:
- Use a multimeter to verify the sensor has power.
- Check the ground connection.
- Manually apply and release vacuum to see if the sensor responds to pressure changes.
- Apply about 20 psi to the sensor and watch for voltage changes using a scanner.
If your engine control module receives accurate readings, you’ll notice better fuel efficiency and improved air fuel ratio. Cleaning the sensor helps maintain engine efficiency and prevents issues caused by a faulty map sensor.
Callout: After you clean map sensor, you should see smoother idling, stronger acceleration, and optimal engine performance.
| Step | Action | Tool Needed |
|---|---|---|
| Remove Sensor | Locate, unplug, unscrew, and remove | Wrench, rag |
| Clean Sensor | Spray, brush, wipe, and rotate | MAF cleaner, brush, lint-free cloth |
| Dry & Reinstall | Air dry, pat dry, reinstall, secure bolts | Lint-free cloth |
| Test Functionality | Check power, ground, vacuum, voltage | Multimeter, scanner |
Cleaning the map sensor is a simple maintenance task that keeps your vehicle running at its best. You can avoid poor fuel economy and keep your air fuel ratio balanced. Make this part of your regular maintenance routine for optimal engine performance.
You can keep your MAP sensor working well by cleaning it with MAF cleaner. Experts say you should clean it every 20,000 to 30,000 miles or when you notice rough idling or poor acceleration. Watch for issues like sensor damage or incorrect readings after cleaning. If problems continue, ask a professional for help.
FAQ
Can you use MAF cleaner on a MAP sensor?
Yes, you can use MAF cleaner on your map sensor. It removes dirt safely and helps restore accurate readings.
How often should you clean a MAP sensor?
You should clean your MAP sensor every 20,000 to 30,000 miles or when you notice rough idling or poor acceleration.
What happens if you don’t clean a MAP sensor?
If you skip cleaning, your engine may run rough, use more fuel, and lose power. You risk bigger problems down the road.