Essential Design Tips for 120VAC to 3.3VDC Schematics
When you work with a 120VAC to 3.3VDC schematic, safety must come first. High-voltage AC can be dangerous, so you need stron
When you work with a 120VAC to 3.3VDC schematic, safety must come first. High-voltage AC can be dangerous, so you need strong isolation and proper protection in your design. Designing circuits for this conversion brings challenges like voltage spikes, noise, and electromagnetic interference. For example, relay switching can create back EMF noise, and poor noise suppression can cause output swings or even damage sensitive circuits. You can reduce these risks by using small AC capacitors at the input, adding RC snubber circuits, and choosing the right components for your pcb.
Key Takeaways
- Always prioritize safety by using strong isolation, fuses, and surge protection like MOVs to prevent shocks and damage.
- Follow a clear design process: step down voltage with a transformer, convert AC to DC with a rectifier, smooth voltage with capacitors, and regulate output to 3.3V.
- Choose components carefully—transformers must match voltage and current needs, regulators should handle load and heat, and capacitors must reduce noise.
- Design your PCB with separate high-voltage and low-voltage areas, wide traces for high current, and good grounding to reduce noise and improve reliability.
- Follow safety standards and spacing rules, use thermal management, and double-check wiring diagrams before powering your circuit to ensure a safe, efficient design.
Safety and Compliance
Isolation
You must protect yourself and your devices from the dangers of high-voltage AC. Isolation keeps the 120VAC side separate from the 3.3VDC output. Galvanic isolation is a common method. It uses transformers or isolated DC-DC converters to block direct electrical paths. This technique prevents accidental shocks and damage if you connect the AC line to the DC circuit by mistake. Many power supplies offer dual or triple isolated outputs. These models use galvanic isolation and meet UL safety certifications. You should always check for UL marks when choosing a power supply. The table below shows examples of isolated models:
| Model Type | Isolation Type | Input Voltage Range | Output Voltage Range | Output Current Range | Safety Certification |
|---|---|---|---|---|---|
| Dual Isolated Outputs | Galvanic Isolation | 105-125 VAC (option for 210-250 VAC) | 3.3 VDC to 150 VDC | 50 mA to 2 A | UL Recognized Units, UL478 |
| Triple Isolated Outputs | Galvanic Isolation | 105-125 VAC (option for 210-250 VAC) | 5 VDC to 15 VDC | 250 mA to 20 A | UL Recognized Units, UL478 |
Fusing
You need to use a fuse to protect your circuit from overloads and faults. Slow blow glass body fuses work well for 120VAC input. They handle surges and prevent nuisance trips. Choose a fuse with a current rating at least 20% higher than your expected load. This margin helps avoid accidental opening during normal operation. You can combine a series fuse with a parallel MOV (Metal Oxide Varistor) for extra protection. MOVs absorb voltage spikes and keep your circuit safe. For DC power supplies with power factor correction, slow blow ceramic fuses rated 10 to 30 A are suitable. Always select fuses that have UL or CSA recognition. These marks show that the fuse meets strict standards.
Tip: Derate your components to about 75% of their maximum rating. This practice adds a safety margin and helps prevent fire or damage.
- Use slow blow glass body fuses for AC input.
- Add a MOV in parallel for surge protection.
- Pick fuses with UL or CSA marks.
- Set fuse ratings at least 20% above expected current.
Standards
You must follow strict standards when designing power supplies for 120VAC to 3.3VDC conversion. In North America, each supply needs a dedicated fused branch circuit rated at 15A. The input voltage range should cover 85 to 132 VAC, and the frequency must support both 50Hz and 60Hz. In Europe, you must meet local and national codes, with input ranges from 180 to 264 VAC. Since 2016, the U.S. Department of Energy requires Level VI efficiency for new adapters. You will see a Roman numeral VI in a circle on compliant products. Europe has similar rules. You must also check for output voltage accuracy, ripple voltage, insulation voltage tolerance, and EMI shielding. Meeting these standards keeps your design safe and reliable.
120VAC to 3.3VDC Schematic Design
Conversion Steps
You need to follow several key steps when you create a 120vac to 3.3vdc schematic. Each stage in the process plays a critical role in making sure your circuit works safely and efficiently. Here is a simple outline of the main stages:
-
Transformer Step-Down
The transformer lowers the 120VAC mains voltage to a safer level. You must select a transformer that matches your input and output voltage needs. The transformer also provides isolation, which protects you and your devices from dangerous AC. -
Rectification
After the transformer, the rectifier changes AC to DC. Most designs use a bridge rectifier for this step. The rectifier ensures current flows in only one direction, which is important for DC circuits. -
Filtering
The DC output from the rectifier still has ripples. You add filter capacitors to smooth out these ripples. This step gives you a more stable DC voltage. -
Voltage Regulation
The regulator keeps the output at a steady 3.3v dc. You can use a linear regulator or a switching regulator. The regulator protects your sensitive components from voltage swings. -
Protection and Output
You should add fuses, MOVs, and sometimes relays for extra safety. These components protect your circuit from surges, overloads, and faults.
Tip: Always check your wiring diagram and board layout before powering up your circuit. A clear diagram helps you spot mistakes early.
Circuit Design Tips
When you design a 120vac to 3.3vdc schematic, you must pay attention to efficiency, safety, and reliability. Here are some practical tips:
- Use a transformer with the correct voltage and current ratings. The transformer must handle the maximum load and provide good isolation.
- Choose a bridge rectifier that can handle the peak current. Make sure it matches your transformer’s output.
- Select filter capacitors with enough capacity to smooth the DC voltage. Low ESR capacitors work best for this job.
- Pick a voltage regulator that can supply enough current for your load. Switching regulators often give you higher efficiency than linear types.
- Add relays if you need to switch high-power loads or isolate parts of your circuit. Relays protect your low-voltage side from the high-voltage AC.
- Always include fuses and MOVs for protection. These components help prevent damage from surges and faults.
- Draw a clear diagram and wiring diagram for your design. Good diagrams make troubleshooting much easier.
Modern 120vac to 3.3vdc schematic designs can reach high efficiency. You can expect these typical ranges:
- Dedicated high-power ac to dc converters: about 95% efficiency.
- Switcher wall-warts: around 85% efficiency.
- DC-DC buck converters: about 90% efficiency.
Most modern ac to dc circuits reach between 85% and 95% efficiency, depending on the design and power level.
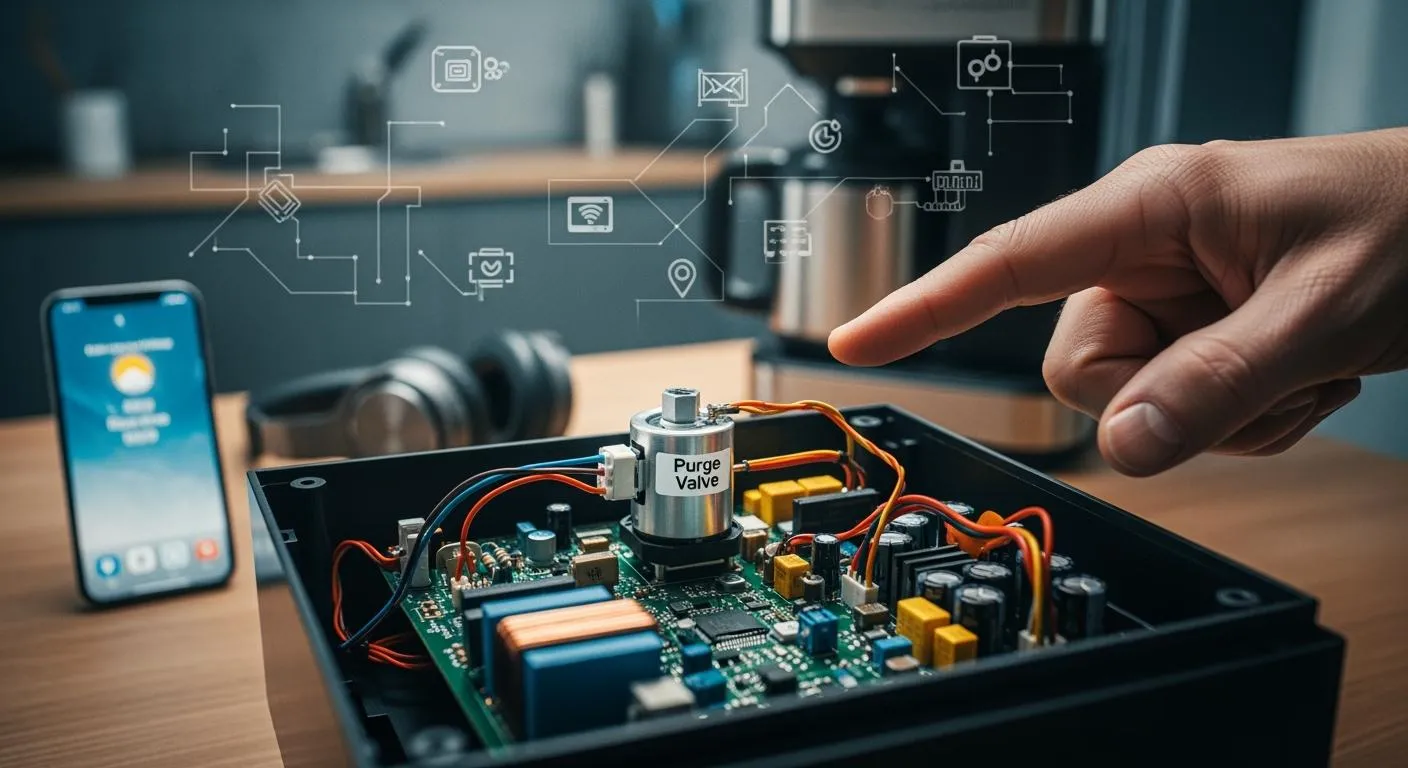
You can also use integrated modules to simplify your design. For example, the HLK-PM03 Hi-Link module is a popular choice for small projects. It supports 120VAC input, outputs 3.3v dc, and provides high-security isolation. This module offers overload and short-circuit protection, low ripple, and high reliability. You can mount it directly on your board, which saves space and reduces wiring errors.
| Feature / Specification | Description |
|---|---|
| Product Name | HLK-PM03 Hi-Link 3.3V 3W AC to DC Power Supply Module |
| Input Voltage Range | 90 - 264 VAC (supports 120VAC and up to 230VAC) |
| Output Voltage | 3.3 V DC |
| Output Current (Max) | Long-term: ≥1000mA; Short-term: ≥1200mA |
| Power Rating | 3 Watts |
| Efficiency | ≥69% at 110VAC full load; ≥70% at 220VAC full load |
| Protection Features | Overload protection, short circuit protection |
| Ripple and Noise | Low ripple and low noise |
| Isolation | High-security isolation (switching power supply with isolation) |
| Size and Mounting | Ultra-thin, ultra-small, PCB mounted |
| Environmental Conditions | Operating Temp: -20 to +60°C; Storage Temp: -40 to +80°C; Humidity: 5-95% |
| Compliance | Meets EMC and Safety Test requirements |
| Additional Features | Low power consumption, no-load loss <0.1W, high reliability (MTBF ≥100,000h) |
Flyback Topology
You can use a flyback topology for efficient and isolated ac to dc conversion in your 120vac to 3.3vdc schematic. The flyback converter combines the transformer, rectifier, and regulator into a single compact design. This topology works well for low to medium power levels and gives you strong isolation between the AC input and the DC output.
The flyback transformer stores energy when the switch is on and releases it when the switch is off. This action allows you to control the output voltage with high precision. The flyback design also lets you add multiple outputs if you need more than one voltage.
Many modern flyback converters use integrated ICs. These ICs handle switching, regulation, and protection. You can find wiring diagrams for these ICs in their datasheets. A clear diagram helps you connect the transformer, relay, and other components correctly.
Note: Always follow the recommended wiring diagram for your flyback IC. This step ensures safe operation and meets safety standards.
You often see relays in flyback-based circuits. Relays help you switch loads or disconnect the output during faults. The transformer in a flyback design must match your voltage and current needs. You should always check the diagram and wiring diagram before building your board.
A well-designed 120vac to 3.3vdc schematic with flyback topology gives you high efficiency, strong isolation, and reliable performance. You can use this approach for smart home devices, automation, and other applications that need a compact and safe power supply.
Key Components
When you design a 120VAC to 3.3VDC circuit, you need to choose the right components necessary to transform high-voltage AC into safe, stable DC power. Each part on your power supply board plays a special role. If you understand how these components work, you can build a reliable and safe power supply.
Transformer
The transformer is the first and most important part of your circuit. It steps down the 120VAC input to a lower AC voltage and provides isolation between the dangerous AC side and your low-voltage DC output. You must select a transformer that matches your voltage and current needs. The transformer also keeps you safe by meeting strict insulation standards.
Here is a table to help you choose the right transformer:
| Criterion | Description |
|---|---|
| Insulation Voltage | The transformer must provide electrical isolation between the AC input and DC output. Look for at least 3kVAC insulation for safety. |
| Operating Temperature | Make sure the transformer works well in your environment. Check the temperature range for both the transformer and your board. |
| Efficiency | High efficiency means less wasted power and less heat on your board. |
| No-load Input Power | Pick a transformer that uses little power when no load is connected. This saves energy. |
| Output Voltage/Accuracy | The output voltage must match your 3.3VDC target within ±5% for your devices to work properly. |
| Output Current | The transformer must handle the maximum current your circuit will draw. |
| Output Ripple Voltage | Low ripple voltage is important for sensitive circuits, especially at 3.3VDC. |
You should always check the datasheet for your transformer. For example, if you use a Triad VPS16-1600, you get 3A at about 8VAC, which gives you enough current and voltage headroom for your regulator.
Rectifier
After the transformer, you need a rectifier to turn AC into DC. Most circuits use a bridge rectifier for this job. The bridge rectifier uses four diodes to let current flow in only one direction. This step is important because your voltage regulator and other components need DC power.
When you pick a bridge rectifier, make sure it can handle the peak current from your transformer. Also, check the voltage rating so it does not break down during power surges. A good bridge rectifier keeps your board safe and helps your circuit run smoothly.
Voltage Regulator
The voltage regulator keeps your output steady at 3.3VDC. You can use a linear regulator or a switching regulator. The regulator protects your devices from voltage swings and noise. When you choose a regulator, you must think about several factors:
- The transformer must handle the total load current. For example, if you have both 5V and 3.3V loads, you may need a 3A transformer.
- You need enough voltage headroom. After the transformer and bridge rectifier, the voltage must be higher than 3.3V plus the dropout voltage of your regulator.
- The regulator must supply enough current for your load. For a 3.3V output, you often need at least 1A.
- Cascading regulators is common. You can first regulate to 5V, then use a low-dropout (LDO) regulator to step down to 3.3V. This method reduces stress on the 3.3V regulator.
- Thermal dissipation is important. The regulator can get hot, especially if the voltage drop is large. You must use heatsinks or attach the regulator to a large part of your board to manage heat.
Tip: Oversizing your linear regulator does not always help. Match the regulator size to your expected load for better efficiency.
Here is a table to help you select a voltage regulator:
| Factor | Explanation & Example |
|---|---|
| Transformer Ratings | The transformer must handle the total load current. For example, use a 3A transformer for both 5V and 3.3V loads. |
| Voltage Headroom | Make sure the input voltage after the transformer and bridge rectifier is higher than the regulator's dropout voltage. |
| Current Requirements | The 3.3V regulator should handle at least 1A. If you cascade from a 5V regulator, the 5V stage must supply both loads. |
| Cascading Regulators | First regulate to 5V, then use an LDO for 3.3V. This setup reduces stress on the 3.3V regulator. |
| Thermal Dissipation | Calculate heat as voltage drop times current. Use heatsinks or the board body to manage heat. |
| Heatsinking & Layout | Attach the regulator to a large thermal mass for better cooling. |
You can use LDO regulators like the Microchip MIC29300-5.0WT for the 5V stage. Always check the datasheet for current and voltage ratings.
Filter Capacitor
The filter capacitor smooths out the ripples in your DC voltage after the bridge rectifier. You need a capacitor with enough capacity to keep the voltage steady, even when your load changes. Low ESR (Equivalent Series Resistance) capacitors work best for this job. They help reduce noise and keep your 3.3VDC output clean.
When you pick a filter capacitor, check the voltage rating. It should be higher than your maximum DC voltage. Also, make sure the capacitor can handle the ripple current from your circuit. A good filter capacitor helps your board deliver stable power to all components.
Protection Devices
Protection devices keep your power supply board safe from faults, surges, and overloads. You should always use a fuse at the AC input. Slow blow glass body fuses work well for 120VAC. Add a metal oxide varistor (MOV) in parallel to absorb voltage spikes. These devices protect your transformer, bridge rectifier, regulator, and other components.
You can also use relays for extra safety. Relays help you disconnect the output during faults or switch high-power loads. In flyback and other isolated designs, relays add another layer of protection between the AC and DC sides. Always check the relay ratings for voltage and current to match your circuit.
Note: Integrated power supply ICs combine many of these functions into one package. These ICs make your board simpler and more reliable. For example, the HLK-PM03 module includes a transformer, bridge rectifier, regulator, filter capacitor, and protection devices. You only need to connect the AC input and DC output, which saves space and reduces wiring errors.
If you understand each component and how it fits into your circuit, you can design a safe and efficient power supply board for your project.
PCB Circuit Design
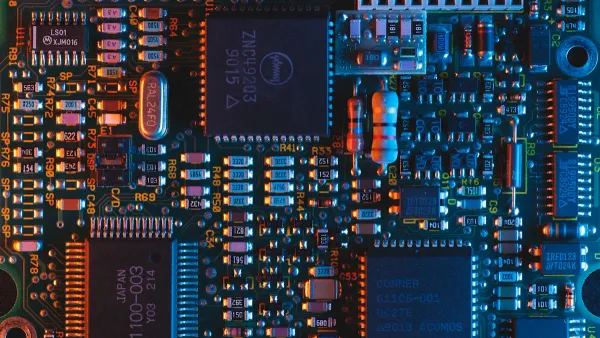
Layout
When you start designing a pcb for a 120VAC to 3.3VDC circuit, you must separate high-voltage and low-voltage areas on your board. This step keeps your design safe and helps prevent accidental shorts. Place the AC input section far from the DC output. Use clear silkscreen labels to mark these zones. You should always keep relay contacts and relay coils away from sensitive traces. This reduces noise and stops unwanted signals from reaching your low-voltage circuit.
For high-current traces, make them as wide as possible. If your relay switches 12.5A, use a trace width of at least 366 mils with 2oz copper. This width keeps your board cool and safe. Always use polygon fills for high-current paths. Add multiple vias when you need to cross layers. This lowers both thermal and electrical stress.
Tip: Keep minimum component separations and follow the 3W principle. Make the spacing at least three times the trace width to reduce arcing risk.
Grounding
Good grounding is key for a reliable pcb power supply. Use a single ground plane for the low-voltage side. Keep the AC ground separate from the DC ground. Connect them only at one point if needed. Place relay grounds close to the relay coil and contact pads. This step helps stop ground loops and reduces EMI.
Remote sensing can help you get precise voltage at your load. Run separate sense lines from your board output to the load. This method corrects for voltage drops in the traces. Always keep relay control traces short and away from noisy AC lines.
Here is a table with recommended clearances:
| Parameter | Recommended Clearance (mm) | Recommended Creepage (mm) |
|---|---|---|
| Up to 150V AC | 0.5 | 0.8–2.5 |
| 150V–300V AC | 1.5 | 1.5–4.7 |
Follow standards like UL 61010 and IPC-2221 for safety.
Thermal
Thermal management keeps your board and relay working well. High-current traces and relay contacts can get hot. Use thick copper (at least 2oz) for these traces. Place relays so air can flow around them. Add thermal reliefs under relay pads to help heat escape. If your board runs hot, use larger copper areas or add heat sinks.
You should always check the temperature rise on your board during testing. If you see hot spots near the relay or regulator, increase the copper area or improve airflow. Good thermal design helps your circuit last longer and work safely.
Note: Careful layout, grounding, and thermal planning make your pcb circuit safe and reliable. Always review your relay placement and trace spacing before finalizing your design.
You can create a safe and reliable 120VAC to 3.3VDC schematic by focusing on safety, smart component choices, and following standards. Always review your design with a checklist:
- Follow clearance and creepage rules from UL 61010 and IPC-2221.
- Keep enough space between conductors for your voltage.
- Use strong insulation between high and low voltage parts.
- Avoid sharp angles in traces.
- Pick materials with high breakdown strength.
- Add conformal coating for extra protection.
- Use slots or notches to increase creepage.
- Apply the 3W principle for trace spacing.
- Adjust spacing for high altitudes.
- Plan for good thermal management.
Keep learning by reading datasheets and safety standards. Careful design helps you build circuits that last.
FAQ
What is the safest way to connect 120VAC to my circuit?
You should use a transformer with strong isolation. Always add a fuse and a metal oxide varistor (MOV) at the AC input. These parts protect you from shocks and surges.
How do I choose the right fuse for my power supply?
Pick a slow blow glass fuse with a current rating about 20% higher than your load. Look for UL or CSA marks. These marks show the fuse meets safety standards.
Can I use a switching regulator instead of a linear regulator?
Yes, you can use a switching regulator. It gives you higher efficiency and less heat. Switching regulators work well for most 3.3VDC circuits.
What should I check before powering up my board?
Always double-check your wiring diagram. Make sure you have enough spacing between high-voltage and low-voltage areas. Confirm that all protection devices are in place.
Which standards do I need to follow for safety?
| Region | Main Standard |
|---|---|
| North America | UL 61010 |
| Europe | IEC 60950 |
You should follow these standards to keep your design safe and legal.