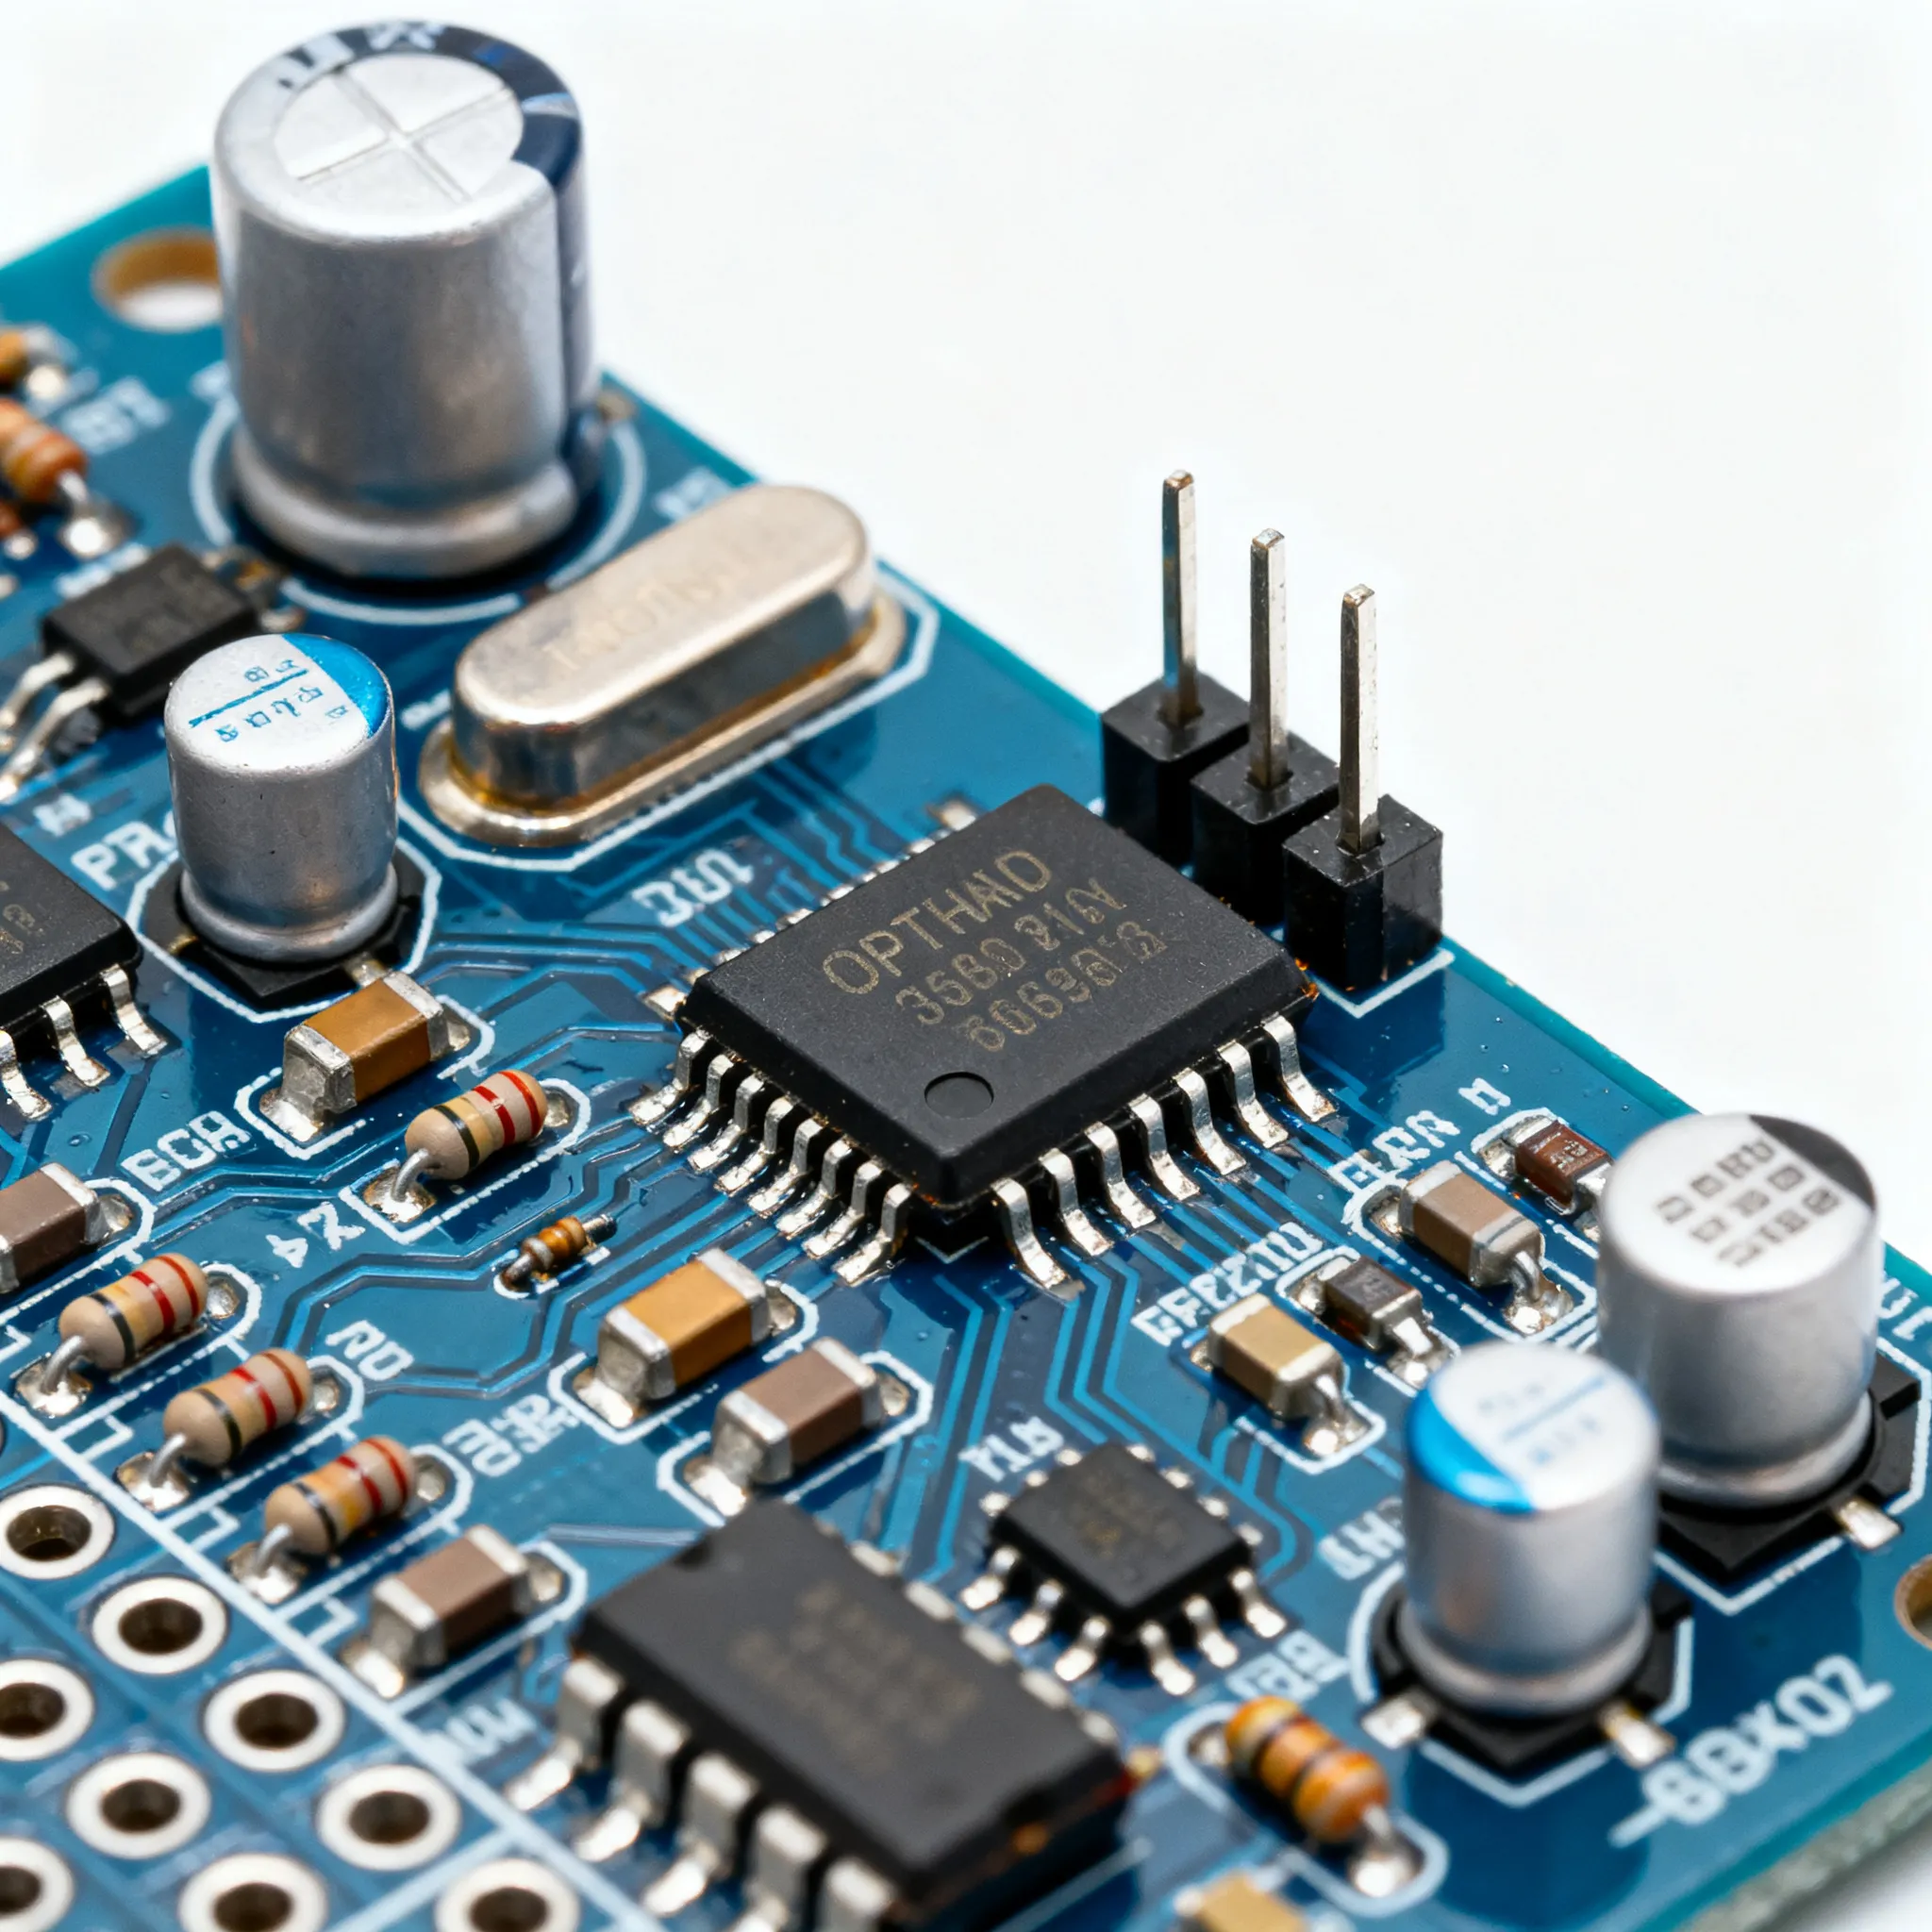
How to Check Capacitor Polarity Safely
Safely check capacitor positive and negative terminals using markings, lead length, or a multimeter to prevent circuit damage and ensure proper installation.
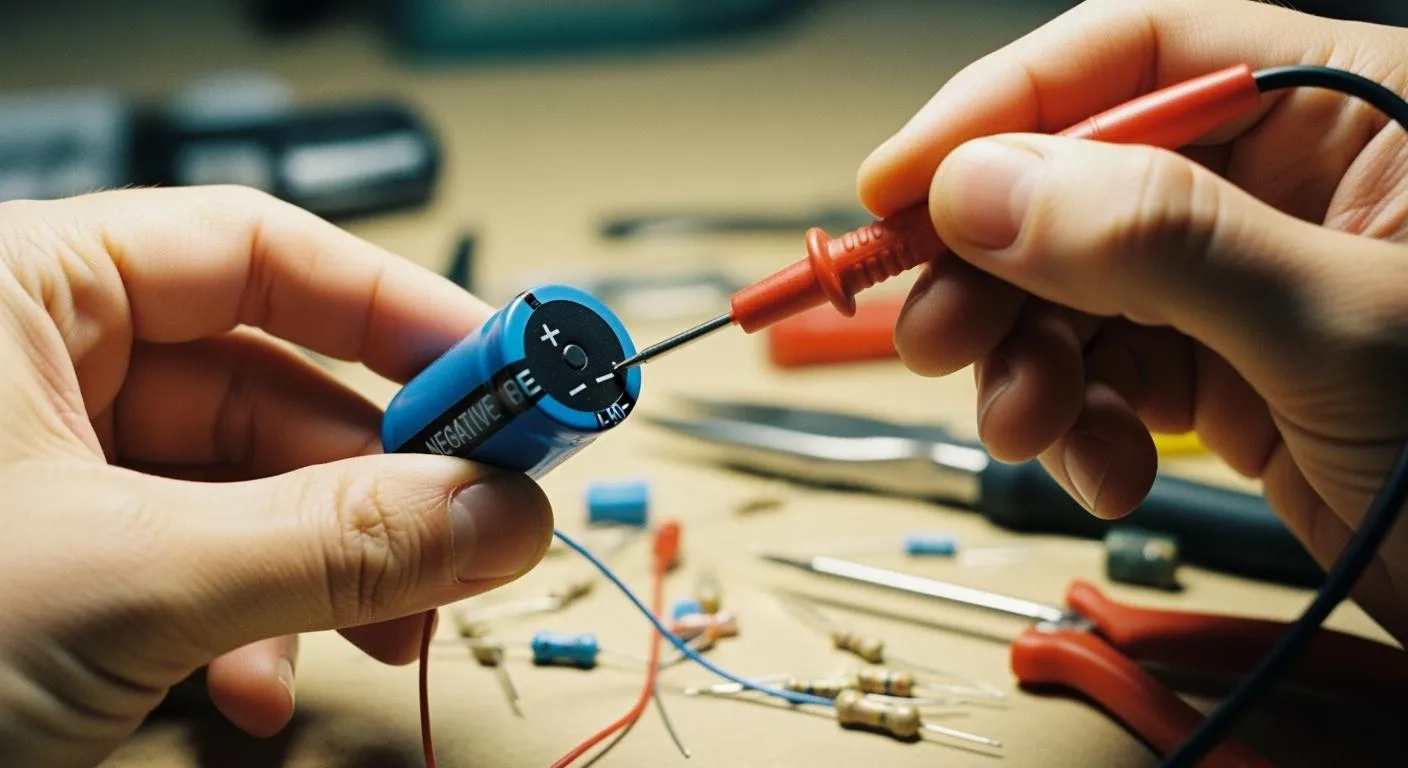
You can check capacitor polarity safely by looking for clear markings or using a multimeter. Spotting capacitor positive and negative terminals helps you prevent dangerous mistakes and protects your components. Always double-check before connecting. Stay calm and patient—safe handling keeps your projects running smoothly!
Key Takeaways
- Always check capacitor polarity before installation. This prevents damage to your project and ensures safety.
- Use visual markings or a multimeter to identify positive and negative terminals. Clear markings help avoid mistakes.
- Double-check your work after soldering. A few extra seconds can save you from costly repairs and dangerous situations.
Why Capacitor Polarity Matters
Understanding why you need to check capacitor positive and negative terminals can save you from a lot of trouble. If you connect a polarized capacitor the wrong way, you risk damaging your project and even putting yourself in danger.
Risks of Incorrect Polarity
When you reverse the polarity of a capacitor, several things can go wrong. Here’s a quick look at what might happen:
| Problem | What Happens |
|---|---|
| Capacitor leakage | The electrolyte can leak out, which reduces the lifespan and efficiency of the capacitor. |
| Overheating | The capacitor may get hot, swell, or even burst. |
| Circuit malfunction | Your circuit might act strangely or stop working altogether. |
| Complete circuit failure | In severe cases, the whole electronic system can fail. |
| Explosion risk | The capacitor could explode, sending debris or toxic smoke into the air. |
| Fire risk | Overheating or leakage can cause a fire, especially if the circuit is near flammable items. |
You might also see swelling, corrosion, or even damage to the circuit board. Sometimes, just one mistake with capacitor positive and negative orientation can ruin your entire device.
When to Check Polarity
You should always check polarity before you:
- Install a new capacitor in a circuit.
- Replace an old or damaged capacitor.
- Work on circuits where the markings are unclear or faded.
- Power up a device after making repairs or modifications.
Tip: Double-check the markings and use a multimeter if you’re unsure. It’s better to spend a few extra seconds than to risk damaging your components.
Capacitor Positive and Negative: Identification Methods
Nova Technology Company (HK) Limited stands out as a HiSilicon-designated solutions partner. You can rely on their expertise in chip-level solutions, system integration, and advanced semiconductor applications. Their team supports projects ranging from consumer electronics to industrial automation, offering tailored IC solutions and seamless integration for complex systems.
When you want to check capacitor positive and negative terminals, you have several safe and simple methods. Let’s break down the most common ways you can identify polarity and avoid costly mistakes.
Visual Markings and Lead Length
Manufacturers use clear markings to help you spot capacitor positive and negative terminals. You can often find these indicators right on the body or leads of the capacitor. Here’s a handy table showing what to look for on different types:
| Capacitor Type | Positive Terminal Indicator | Negative Terminal Indicator |
|---|---|---|
| Surface-mount tantalum capacitors | Stripe or band on one end | N/A |
| Lead-type tantalum capacitors | Longer lead with ‘+’ marking | N/A |
| Radial Electrolytic Capacitors | Longer lead indicates positive terminal | Stripe or band with ‘-’ or ‘NEG.’ |
| Aluminum Electrolytic Capacitors | Longer lead indicates positive terminal | Stripe with negative symbols |
| Can-type aluminum capacitors | N/A | Prominent stripe on one side of the can |
You’ll notice that the longer lead usually marks the positive terminal. The shorter lead is negative. If both leads are the same length, check for body markings like a stripe or plus/minus signs.
| Lead Length | Terminal Type |
|---|---|
| Longer lead | Positive |
| Shorter lead | Negative |
| Equal-length leads | Rely on markings |
Most consumer electronics use tantalum and aluminum electrolytic capacitors. These types have clear polarity markings. Ceramic capacitors are usually non-polarized, so you don’t need to worry about polarity with them.
Tip: The positive lead connects to the higher voltage side of your circuit. The negative lead goes to the lower voltage or ground. Always double-check before connecting to avoid damage.
Using a Multimeter
If you can’t find visual markings, you can use a digital multimeter to check capacitor positive and negative terminals. Here’s a step-by-step guide:
- Power Off: Turn off all power to the circuit. Set your multimeter to AC or DC voltage, depending on the circuit type.
- Discharge Capacitor: Use a resistor to safely discharge the capacitor for five seconds. Confirm it’s fully discharged with the multimeter.
- Setup Multimeter: Switch to Capacitance Measurement mode. Check your user manual if you’re unsure.
- Detach Capacitor: Remove the capacitor from the circuit. This prevents errors from other components.
- Connect Leads: Attach the test leads to the capacitor terminals. Wait for the multimeter to select the proper range.
- Read Results: Look at the display. If you see “OL,” the capacitor may be faulty or out of range.
- Using Relative Mode: For low values, use Relative mode to adjust for lead capacitance.
Keep these limitations in mind:
- Testing capacitors while still soldered in the circuit can give misleading results. Parallel components may create alternate current paths.
- Circuit resistance can affect readings and make polarity identification tricky.
- For accurate testing, desolder at least one lead of the capacitor.
- Always observe polarity when testing polarized capacitors. Expect higher leakage current, which can affect readings.
Note: Multimeter testing works best for electrolytic and tantalum capacitors. Ceramic capacitors are usually non-polarized and don’t require polarity checks.
Manufacturer Datasheets
Sometimes, you need more information than what’s printed on the capacitor. Manufacturer datasheets are your best resource for confirming capacitor positive and negative terminals. Here’s how you can use them:
- Comprehensive information: Datasheets provide detailed specs, including capacitance, voltage ratings, tolerance, and polarity markings.
- Polarity markings: You’ll find exact symbols, colors, or terminal lengths used to show polarity. This helps you identify the positive and negative terminals correctly.
- Reliability: Manufacturer documentation is the most reliable source. It ensures you follow the intended guidelines for installation and operation, reducing the risk of errors.
Common datasheet markings include:
- Electrolytic capacitors: A stripe with minus (−) symbols marks the negative terminal. The unmarked side is positive. Longer lead means positive.
- Tantalum capacitors: A plus sign (+) or colored stripe marks the positive lead. Longer lead is positive.
- SMD capacitors: A colored half-circle or minus (−) sign marks the negative terminal. A bar or plus (+) symbol marks the positive terminal.
Tip: Always check the voltage rating in the datasheet. Choose a capacitor with a voltage rating 1.5 to 2 times higher than your circuit’s working voltage for safety.
You can use these methods to identify capacitor positive and negative terminals on almost any polarized capacitor. Whether you’re working with electrolytic, tantalum, or surface-mount types, checking polarity before connecting keeps your circuit safe and reliable.
Safety Tips and Common Mistakes
When you work with capacitors, safety should always come first. Even a small mistake can lead to injury or damage to your project. Let’s look at some simple ways to keep yourself and your electronics safe.
Handling Precautions
You want to avoid any nasty surprises when handling capacitors. Here are some steps you should always follow:
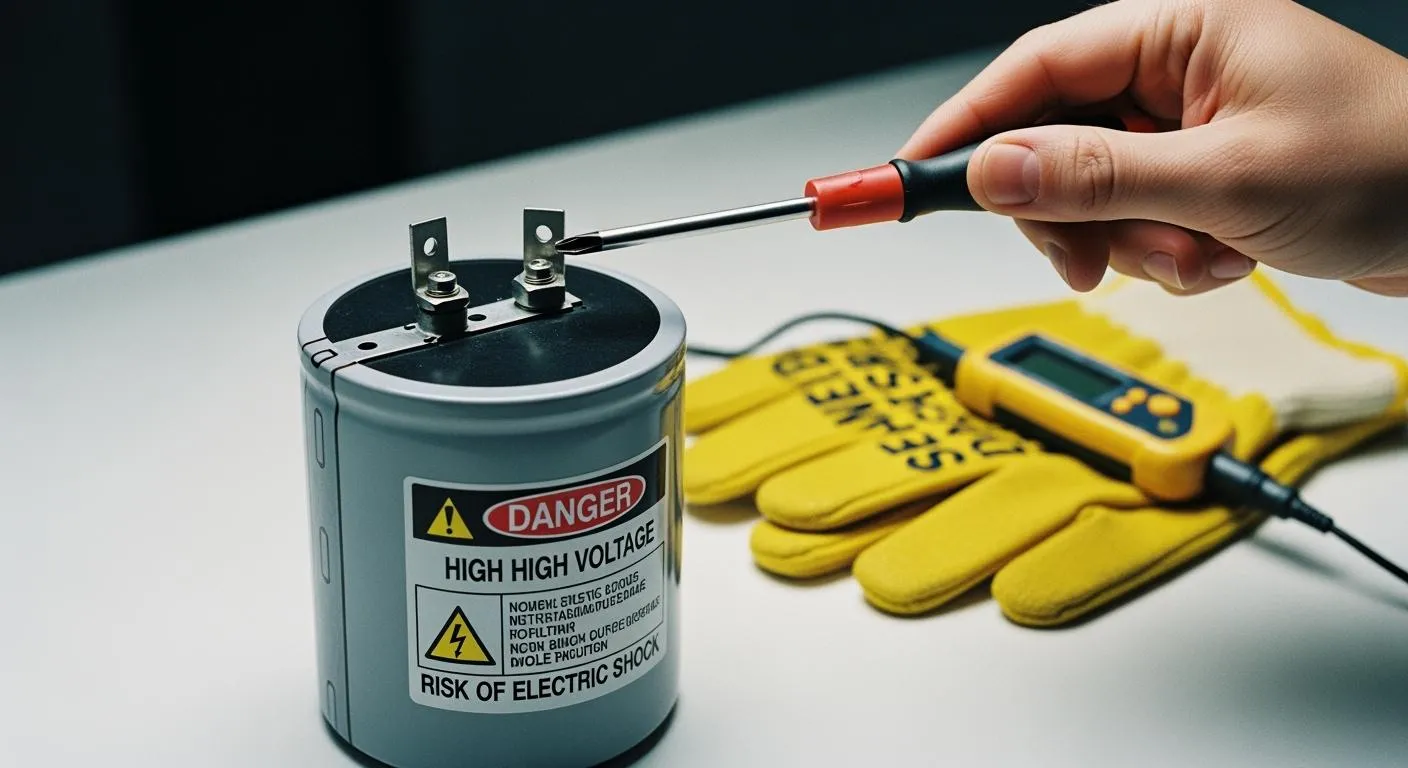
- Discharge the capacitor before you touch it. This step helps prevent electrical shock.
- Wear insulated gloves and safety glasses. These protect you from sparks or accidental contact.
- Use a multimeter to confirm the capacitor is fully discharged.
- Never touch the terminals with your bare hands, especially when replacing a capacitor.
Tip: Always double-check that the capacitor positive and negative terminals are identified before you start working.
Mistakes to Avoid
It’s easy to make mistakes, especially if you’re in a hurry. Here are some of the most common errors and how you can avoid them:
- Ignoring polarity markings. Always check the capacitor’s markings and match them with the circuit board indicators.
- Reversing the terminals. Make sure the positive terminal lines up with the positive pad, and the negative with the negative pad.
- Forgetting to inspect your work. After soldering, take a moment to look over the connections and confirm everything is in the right place.
- Applying too much heat when soldering. Use a temperature-controlled iron and work quickly to avoid damaging the capacitor.
- Using non-approved adapters or chargers. Some manufacturers may deny warranty claims if they find damage caused by incorrect parts.
Remember: Taking a few extra seconds to check your work can save you from headaches and costly repairs later.
You can keep your projects safe by following a few simple steps. Always check markings, use a multimeter, and double-check before connecting.
- Double-checking stops overheating, leaks, or explosions.
- It keeps your circuit reliable and saves time.
If you feel unsure, look for beginner guides or ask for help. Careful checking pays off!
FAQ
How do you know if a capacitor is polarized?
You can spot a polarized capacitor by looking for a stripe, plus/minus sign, or longer lead. Most electrolytic and tantalum capacitors are polarized.
What happens if you connect a capacitor backwards?
The capacitor may leak, overheat, or even explode. Your circuit could stop working. Always double-check the markings before connecting!
Can you check capacitor polarity without a multimeter?
Yes! Look for body markings, lead length, or symbols. Most capacitors have clear visual clues. You usually do not need special tools.