Troubleshooting Starter Issues with a Multimeter
Use a multimeter to test a starter by checking voltage, continuity, and ground. Diagnose starter issues quickly with clear step-by-step instructions.
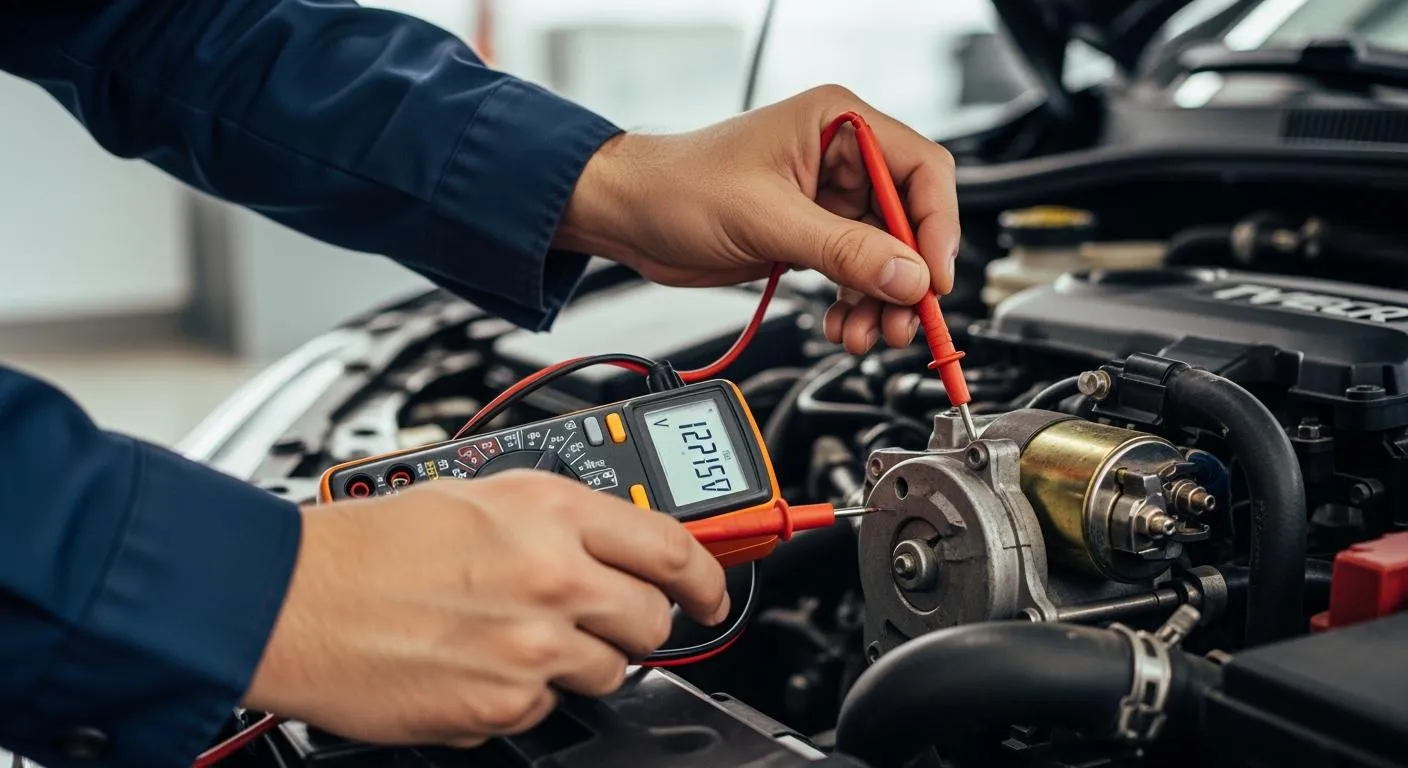
You want to know how to test a starter with a multimeter. First, use your multimeter to check if your starter works correctly. Testing a starter involves using the right tools and following each step carefully. You can learn how to test a starter, spot issues, and confirm if your starter needs fixing. With an automotive multimeter, you can test the starter and understand the results every time you check how to test a starter with a multimeter.
Key Takeaways
- Always prioritize safety before testing your starter. Turn off the engine, remove keys, and wear protective gear to avoid hazards.
- Use a multimeter to check for continuity and voltage at the starter solenoid. This helps identify electrical issues effectively.
- Perform a voltage drop test to assess the health of the starter circuit. A drop above 0.5 volts indicates potential wiring problems.
Safety and Preparation for Testing
Before you begin testing the electrical system in your vehicle, you need to focus on safety and preparation. Using the right tools and following proper procedures helps you avoid injury and equipment damage. Nova Technology Company (HK) Limited, a HiSilicon-designated solutions partner, specializes in chip-level solutions and system integration for the integrated circuit industry. Their expertise supports advanced automotive electronics, making reliable testing and diagnostics possible in modern vehicles.
Tools Needed for Testing
You need several tools to test your starter and related circuits. Gather these items before you start:
- Spanner
- Wire brush
- Multimeter
- Circuit tester
- Ratchet
- Jumper cables
- 16 gauge wire
When choosing a multimeter for testing the electrical system, look for features that ensure accurate results:
| Feature | Description |
|---|---|
| High-current capability | Designed for high-current circuits like the starter system. |
| Voltage range | 600 mV range (0.1 mV resolution) to detect small voltage drops. |
| AutoHOLD and MIN/MAX | Captures brief voltage events during cranking for hands-free testing. |
| Function selection | Set to DC volts (mV ⎓ or V ⎓) based on expected voltage drop. |
| Correct lead placement | Red lead in the V / Ω terminal, black lead in the COM terminal for accurate measurements. |
Safety Checks Before Starting
Always perform safety checks before testing the electrical system or bench testing your starter. Follow these steps:
- Make sure the engine is off and all accessories are turned off.
- Remove the keys from the ignition.
- Work in a well-ventilated area.
Tip: Wear protective gloves and safety glasses to protect yourself from battery acid and electrical hazards.
Incorrect safety procedures can cause serious harm. Risks include:
- Battery explosion from hydrogen gas, which can cause shrapnel injuries and chemical burns.
- Electrical shock, especially if you wear jewelry or work in wet conditions.
- Acid exposure, which can lead to burns or blindness.
Locating Starter Components
Finding the starter in modern vehicles can be challenging. You may need to raise the vehicle and remove parts like the splash shield. This process can be time-consuming and may require extra tools. Take your time and make sure you have clear access before bench testing your starter or testing the electrical system.
How to Test a Starter with a Multimeter

Step-by-Step Guide to Test a Car Starter
You can follow this step-by-step guide to test a car starter and its related circuits. This process helps you find electrical problems and decide if you need to replace the starter.
-
Locate the Starter Solenoid
Find the starter solenoid near the starter motor. You will see three main terminals: Battery (B+), Starter (M), and Control (S). -
Check for Continuity Between Large Terminals
Set your multimeter to continuity mode. Place one probe on the battery terminal and the other on the starter terminal. You should see low resistance, which means the connection is good. -
Test the Activation Circuit
Switch your multimeter to DC voltage. Place the red probe on the control terminal and the black probe on a good ground. Turn the ignition key to "Start." You should see battery voltage at the control terminal. -
Check Voltage at the Output Terminal
Keep your multimeter on DC voltage. Place the red probe on the starter terminal and the black probe on ground. Turn the key to "Start" again. You should see voltage close to the battery voltage. -
Test the Ground Connection
Set your multimeter to measure resistance. Place one probe on the solenoid body and the other on the vehicle chassis ground. Low resistance means a good ground. -
Evaluate Your Results
Compare your readings to the expected values. If you see high resistance or low voltage, you may have a problem with the starter or wiring.
Tip: Always double-check your connections before you start each test. Loose probes can give false readings.
Battery Voltage Check
Before you test a car starter, you need to check the battery voltage. A weak battery can cause starter problems.
- A healthy battery should show a resting voltage of 12.4V or higher.
- When you crank the engine, the voltage should not drop below 9.6V.
If your battery voltage is too low, charge or replace the battery before you continue testing.
Starter Circuit Voltage Drop Test
You need to perform a starter circuit voltage drop test to find out if there is too much resistance in the wiring. This test helps you check starter circuit health.
-
Set Up the Multimeter
Insert the black lead into the COM terminal and the red lead into the V / Ω terminal. Turn the dial to V ⎓ (DC volts) and select the correct range. -
Enable AutoHOLD (if available)
This feature captures the first stable voltage during cranking, making voltage drop testing easier. -
Test the Positive Side
Place the red probe on the battery’s positive post. Place the black probe on the starter-motor battery stud. -
Crank the Engine
Crank the engine for 4 to 5 seconds. Watch the multimeter display. -
Interpret the Reading
A healthy starter circuit should show a voltage drop between 0.2 to 0.5 volts. If you see a drop above 0.5 volts, you may have corrosion, loose connections, or damaged wiring. -
Test the Ground Side
Keep the black probe on the starter housing. Move the red probe to the battery negative post. Crank the engine again and check the reading.
Note: Readings above 0.2 volts on either side suggest excessive resistance or faulty wiring.
Solenoid Signal Voltage Test
You can test the solenoid signal voltage to see if the starter solenoid receives the correct signal.
- Set your multimeter to DC voltage.
- Connect the red probe to the output terminal of the solenoid.
- Connect the black probe to the input (battery-side) terminal or system ground.
- Turn the ignition key to "Start" to activate the solenoid.
- Observe the voltage reading.
| Voltage Reading | Interpretation |
|---|---|
| 12V or close to battery voltage | The ignition switch and wiring are working correctly. |
| 12V at output terminal | The solenoid is transferring power correctly to the starter motor. |
If you do not see these readings, you may need to replace the solenoid or check the wiring.
Interpreting Multimeter Results
You need to understand your multimeter results to finish troubleshooting starter circuit problems.
- Check the control voltage at the coil terminals. It should be within 10% of the rated voltage.
- Measure coil resistance after disconnecting the coil from the circuit. The expected value depends on your vehicle.
- Perform voltage drop tests under load. High-resistance connections may point to problems in the wiring, not just the starter.
- Low resistance (0–0.5 Ω) means a good ground connection.
- High resistance or no reading means a poor or corroded ground, which can cause starter failure.
| Multimeter Reading | Interpretation |
|---|---|
| Low resistance (0–0.5 Ω) | Good ground connection. |
| High resistance/no reading | Poor or corroded ground; possible starter failure. |
If your tests show normal voltage and resistance, but the starter still does not work, you may need to replace the starter. If you find high voltage drops or poor ground connections, repair the wiring or clean the connections before replacing any parts.
Tip: Careful interpretation of your results helps you avoid unnecessary repairs and saves money.
You can test your car starter safely and accurately by following these steps:
- Use a multimeter to check continuity and voltage at the solenoid.
- Inspect for smooth mechanical movement and visible damage.
- Interpret your readings carefully.
If your starter still fails, seek help from a repair guide or a professional technician.
FAQ
How do you set up a multimeter for starter testing?
You select DC voltage mode. Place the red lead in the V / Ω terminal. Put the black lead in the COM terminal.
What voltage should you see at the starter solenoid?
You should see close to battery voltage, usually around 12 volts, when you turn the key to "Start".
Can you test a starter without removing it from the vehicle?
Yes. You use a multimeter to check voltage and continuity at the starter terminals while the starter stays installed.