Mastering Diode Direction For Electronic Projects
A diode acts like a one-way valve for electricity. You must place the diode so its anode (positive side) connects
A diode acts like a one-way valve for electricity. You must place the diode so its anode (positive side) connects to the positive voltage. The diode's cathode, the side with a stripe, must face the negative voltage. On your pcb, every single diode requires this correct orientation. Placing a diode backward on the pcb can cause failure. Mastering the diode direction for each diode on a pcb is a fundamental skill for building a working circuit with any diode.
💡 Pro Tip: Think of a diode like a one-way street. The allowed current flow can only travel in a single direction.
Key Takeaways
- A diode acts like a one-way valve for electricity. It lets current flow in only one direction.
- Always check the diode's stripe. This stripe marks the cathode, or negative side. It must face the negative voltage.
- Placing a diode backward stops your circuit from working. It can also damage the diode or other parts.
- Use a multimeter to test unknown diodes. This helps you find the correct direction before you solder it.
- The diode symbol on your circuit board shows the correct direction. Match the diode's stripe to the line on the symbol.
Identifying Diode Anode & Cathode
You must correctly identify the anode and cathode to place a diode properly. Manufacturers use several standard markings on the component body and on the pcb itself. Learning these visual cues is your first step toward successful circuit building. This initial visual check is the simplest form of diode testing.
The Cathode Stripe Guide
For most common through-hole diodes, the rule is simple: look for the stripe. This painted band on the diode body marks the cathode, or negative, side. The opposite end without a stripe is the anode, or positive, side. Each diode on your pcb needs this check.
A helpful mnemonic you can use is: "Cathy lives at the bar." The "bar" is the stripe on the diode, telling you that's the cathode.
However, not every diode follows the stripe rule. Light Emitting Diodes (LEDs), a very common type of diode, use different indicators. You can identify an LED's polarity in a couple of ways:
- Longer Leg: The longer of the two leads is typically the anode (+).
- Flat Edge: The plastic rim of the LED often has a flat spot. The lead closest to this flat edge is the cathode (-).
When you are unsure, performing diode testing with a multimeter is the best way to confirm polarity. This simple diode testing procedure prevents mistakes.
Decoding the Diode Symbol
The physical diode marking corresponds directly to its schematic symbol. You will see this symbol printed on your pcb to show you where the component goes. The symbol consists of a triangle pointing at a solid line.
- The line in the symbol represents the cathode. It matches the physical stripe on the diode.
- The triangle represents the main body of the diode, and it points toward the cathode. This arrow shows the direction of conventional current flow.
When placing a circuit board diode, you simply align the stripe on the physical diode with the line in the symbol on the pcb. This alignment is a critical part of pre-solder diode testing. The symbol for a printed circuit board diode is the clearest guide for placement. Proper diode testing ensures the component matches the pcb marking.
SMD Diode Markings
Surface-mount device (SMD) diodes are tiny and present a greater challenge. Due to their small size, the markings are often subtle or encoded. You will encounter many different types of pcb diodes in SMD packages. While a stripe is still common, you must also look for other indicators. This is where careful diode testing becomes essential for every single diode.
| Package Type | Common Cathode Marking |
|---|---|
| SMA / SMB | A wide stripe or band on one end |
| SOT-23 | A single dot or a notch near the cathode pin |
| MELF | A colored band on the cathode end |
| SOD-123 | A thin stripe on the cathode end |
Furthermore, some manufacturers like Vishay use cryptic part markings that are type codes, not polarity indicators. An SMD diode might have a code like 'SM' that tells you the model, but not the orientation. In these cases, you have two options for reliable diode testing:
- Consult the Datasheet: The official datasheet for the specific diode part number is the ultimate source of truth. It will show you the package drawing and identify the cathode pin.
- Use a Multimeter: A multimeter's diode testing function is your best friend for confirming the polarity of an unknown SMD diode before you solder it to the pcb. This diode testing step saves you from damaging the component or your pcb.
Understanding Diode Direction in Circuits
Now that you can identify a diode's anode and cathode, you can explore how its orientation affects a circuit. The behavior of a diode changes dramatically based on the voltage polarity you apply across it. This concept is called "biasing." Correctly biasing every diode on your pcb is the key to a functional design. There are two states you must understand: forward bias and reverse bias.
Forward Bias: The "On" State
You put a diode in its "on" state, or forward bias, by connecting its anode to a more positive voltage and its cathode to a more negative voltage. In this configuration, the diode permits electricity to pass through it.
The arrow in the diode schematic symbol points in the direction of conventional current flow. This standard imagines current moving from a positive potential to a negative one. So, when you align the diode correctly on your pcb, you are enabling this flow.
💡 Conventional Current vs. Electron Flow You should know that two models describe electricity. Conventional current assumes flow from positive (+) to negative (-). Electron flow describes what actually happens: electrons move from negative (-) to positive (+). Most electronic schematics and component symbols, including the diode symbol, use the conventional current model. The diode arrow points with the conventional current, which makes circuit diagrams easier to read.
A diode does not turn on instantly. It requires a small amount of voltage to begin conducting. You call this the forward voltage (Vf). Once you apply a voltage that meets or exceeds the Vf, the diode "turns on," and current begins to move. After reaching this point, large increases in current result in only very small increases in voltage across the diode. The specific forward voltage depends on the type of diode you are using on your pcb.
| Diode Type | Typical Forward Voltage Drop |
|---|---|
| Standard Silicon | Around 0.7V |
| Schottky | Between 0.2V and 0.3V |
Temperature also influences a diode's forward voltage. For a standard silicon diode, the forward voltage decreases as the component gets hotter. This negative temperature coefficient can sometimes lead to a dangerous condition called thermal runaway on a pcb, where a diode gets hotter and conducts more current until it fails.
Let's look at a simple example. Imagine you have a battery, a resistor, and an LED on a pcb.
- You connect the battery's positive terminal to the LED's anode (the longer leg).
- You connect the LED's cathode (the shorter leg) to a current-limiting resistor.
- You connect the other side of the resistor to the battery's negative terminal.
In this forward-biased circuit, the LED lights up. The correct diode direction allows current to pass through the components. The resistor is critical on the pcb because it limits the current, protecting the LED diode from burning out.
Reverse Bias: The "Off" State
You put a diode in its "off" state, or reverse bias, when you connect its anode to a negative voltage and its cathode to a positive voltage. This orientation is the opposite of forward bias. In this state, the diode acts like an open switch and blocks almost all current flow. The incorrect diode direction on a pcb will stop your circuit from working as intended.
Using our LED circuit example again:
- You connect the battery's positive terminal to the LED's cathode.
- You connect the battery's negative terminal to the LED's anode.
The LED will not light up. You have placed the diode backward, and it is blocking the current. This simple demonstration shows why checking the orientation of every single diode on your pcb is so important.
While a reverse-biased diode is "off," it is not a perfect insulator. A tiny amount of current, called leakage current, still gets through. If you apply a high enough reverse voltage, you will reach the reverse breakdown voltage. At this point, a phenomenon called avalanche breakdown occurs. A sudden surge of current rushes through the diode in the reverse direction, which can permanently damage a standard diode.
However, some special components are designed to operate in this state.
- Zener Diode: This type of diode is engineered to work safely in reverse breakdown. It maintains a very precise voltage when reverse biased, making it perfect for voltage regulation circuits on a pcb.
- Standard Diode: A standard rectifier diode is not designed for this. Exceeding its breakdown voltage will likely destroy the component.
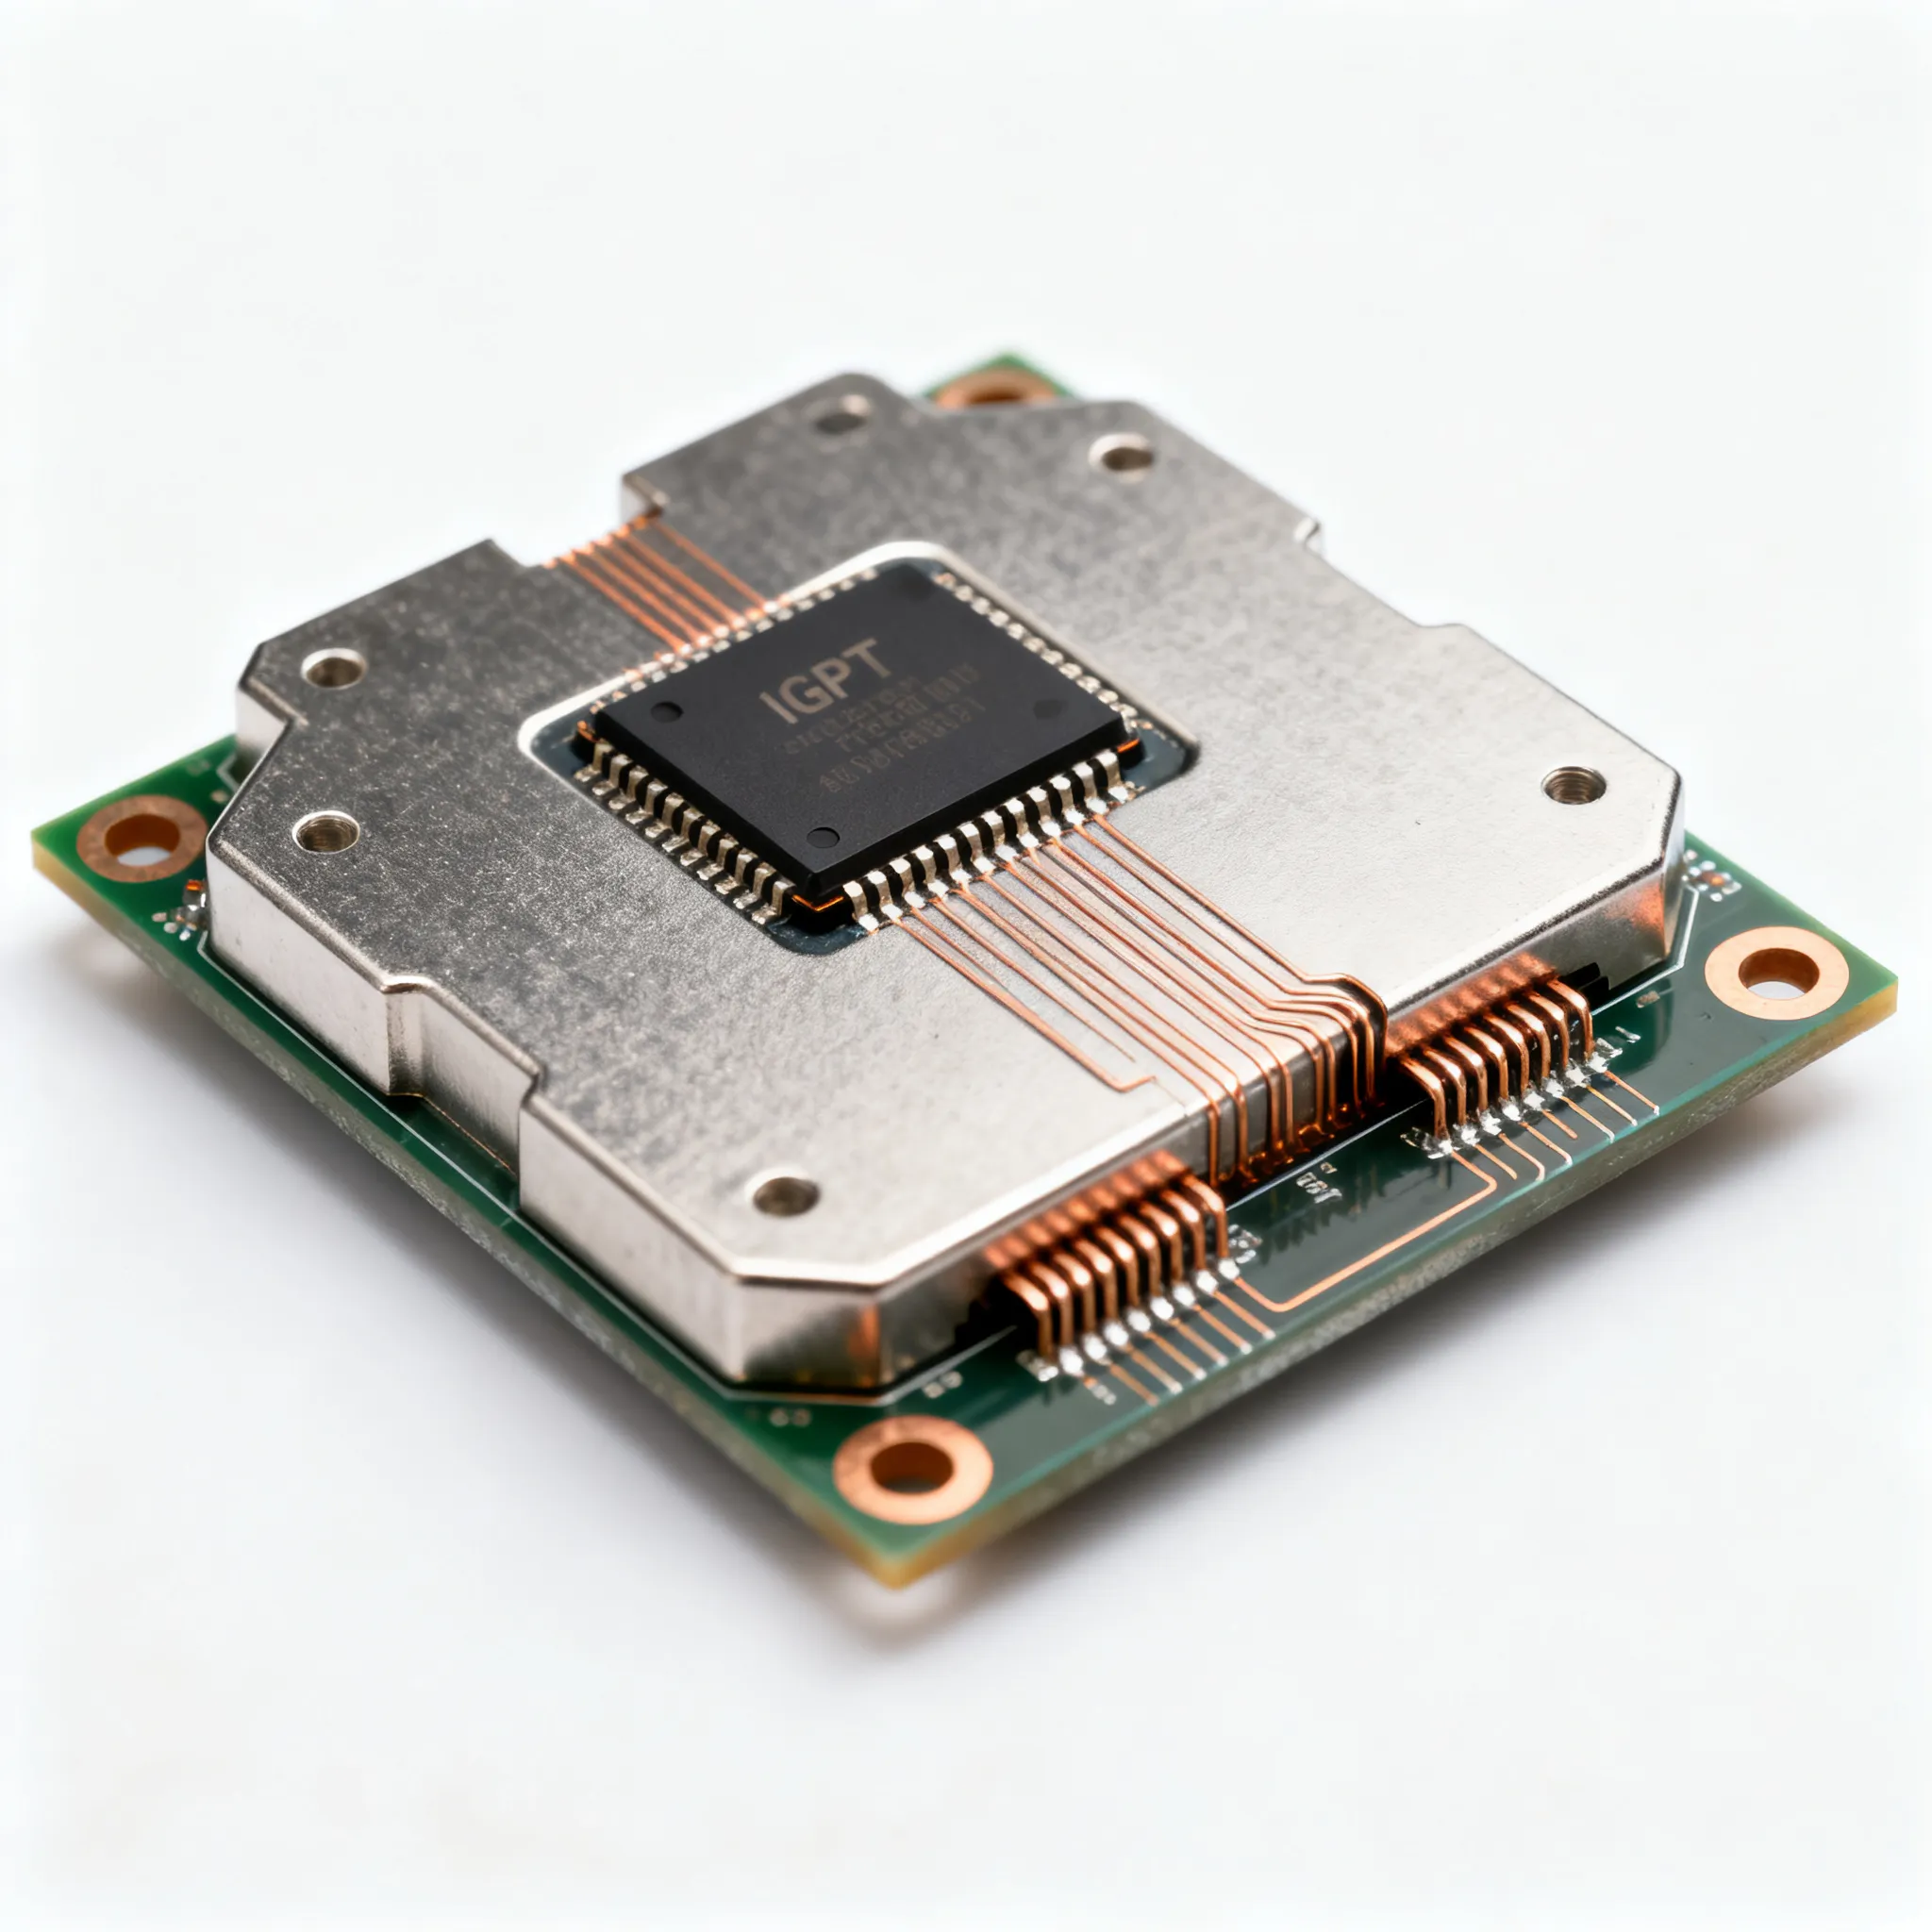
Understanding these fundamental principles of semiconductor physics is crucial. While you might be focused on a single diode on a pcb, these same rules govern the billions of microscopic junctions inside a modern integrated circuit (IC). This is where expert knowledge becomes vital for creating complex electronics. For instance, Nova Technology Company (HK) Limited, a HiSilicon-designated (authorized) solutions partner, specializes in this area. They leverage a deep understanding of chip-level behaviors and system integration to develop advanced solutions, showing how the simple concept of diode direction scales up to the highest levels of the IC industry.
Finally, in high-frequency AC circuits, another factor becomes critical: the reverse recovery time (trr). This is the time it takes for a diode to switch from its "on" state to its "off" state. During this brief transition, some current momentarily flows backward. A long recovery time can cause issues in fast-switching power supplies on a pcb. Diodes like Schottky diodes are ideal for these applications because they are unipolar devices and have virtually no reverse recovery time, making them extremely efficient for high-speed switching.
Consequences of Incorrect Placement
Placing a diode backward on your pcb leads to two major problems. First, your circuit will not work as you designed it. Second, you risk permanently damaging the diode and other components. Careful diode testing before soldering is the only way to prevent these issues.
Circuit Failure
A backward diode acts like an open switch. When you reverse-bias a diode on your pcb, its internal resistance becomes extremely high. This action strengthens the potential barrier inside the component and thickens its depletion layer. As a result, the diode blocks almost all current. This is why thorough diode testing is essential for every single diode. A single incorrect circuit board diode can stop an entire project from functioning.
This failure can manifest in several ways on your pcb:
- In a simple series circuit, no current will flow at all. The entire source voltage drops across the reversed diode.
- If a diode is in parallel with a resistor, the backward diode acts as an open path. This changes the circuit's behavior completely, altering voltage drops across other components.
You must perform diode testing to confirm orientation for every diode. This simple check ensures your pcb works correctly.
Component Damage Risk
Beyond simple circuit failure, an incorrect diode orientation can cause permanent damage. Every diode has a maximum reverse voltage rating. If the voltage you apply across a backward diode exceeds this limit, the diode enters a state called reverse breakdown. This is a critical failure point you can avoid with proper diode testing.
⚠️ Warning: When a diode enters reverse breakdown, it suddenly starts conducting a large amount of current in the wrong direction. This can destroy the diode and even damage sensitive integrated circuits on the same pcb.
Different diodes have different tolerances. You must check the datasheet for each diode on your pcb. Diligent diode testing protects your investment.
| Diode Type | Max DC Reverse Voltage (Vr) |
|---|---|
| 1N4001 | 50V |
| 1N4148 | 75V |
The common 1N4001 diode has a 50V rating, which is often enough for reverse-power protection in 5V or 12V systems on a pcb. However, the 1N4148 can handle up to 75V. Exceeding these values will lead to component failure. Consistent diode testing is your best defense against damaging your pcb and its components. This makes diode testing a non-negotiable step in your workflow.
Always remember the most critical rule for any diode: the stripe marks the cathode and points toward negative. The schematic symbol's arrow shows this path of current, pointing to the cathode line on the diode symbol.
💡 Final Diode Checklist Before powering on, always confirm the diode direction for each diode:
- Align the physical diode with the PCB silkscreen.
- Visually inspect the diode stripe or flat edge.
- Verify automated equipment correctly reads the diode.
This knowledge about the diode is a key building block. You can now create successful electronic projects with confidence.
FAQ
What happens if I install a diode backward on my pcb?
You create a reverse-biased state. The backward diode will block current, causing your circuit to fail. Proper diode testing before soldering prevents this issue. You must confirm the orientation for every diode on your pcb.
How does a multimeter's diode testing function work for a pcb diode?
The diode testing mode sends a small current through the diode. When you connect the probes correctly, the screen shows the forward voltage. A correct diode testing reading confirms the diode works. This is a vital check for any pcb.
Do all different types of pcb diodes use a stripe for marking?
No. While many use a stripe, LEDs use a longer leg for the anode. SMD components use dots or notches. Your diode testing must account for the specific diode you are using on the pcb.
💡 Remember: Always perform diode testing if you are unsure about a component's polarity. This simple step for each circuit board diode on your pcb saves you from damaging the diode or the pcb itself. This diode testing is your best practice.
What does the symbol for a circuit board diode mean on a pcb?
The symbol's arrow points in the direction of conventional current flow, toward the cathode. The line in the symbol represents the cathode. Your diode testing should confirm the physical diode stripe aligns with this line on the pcb.