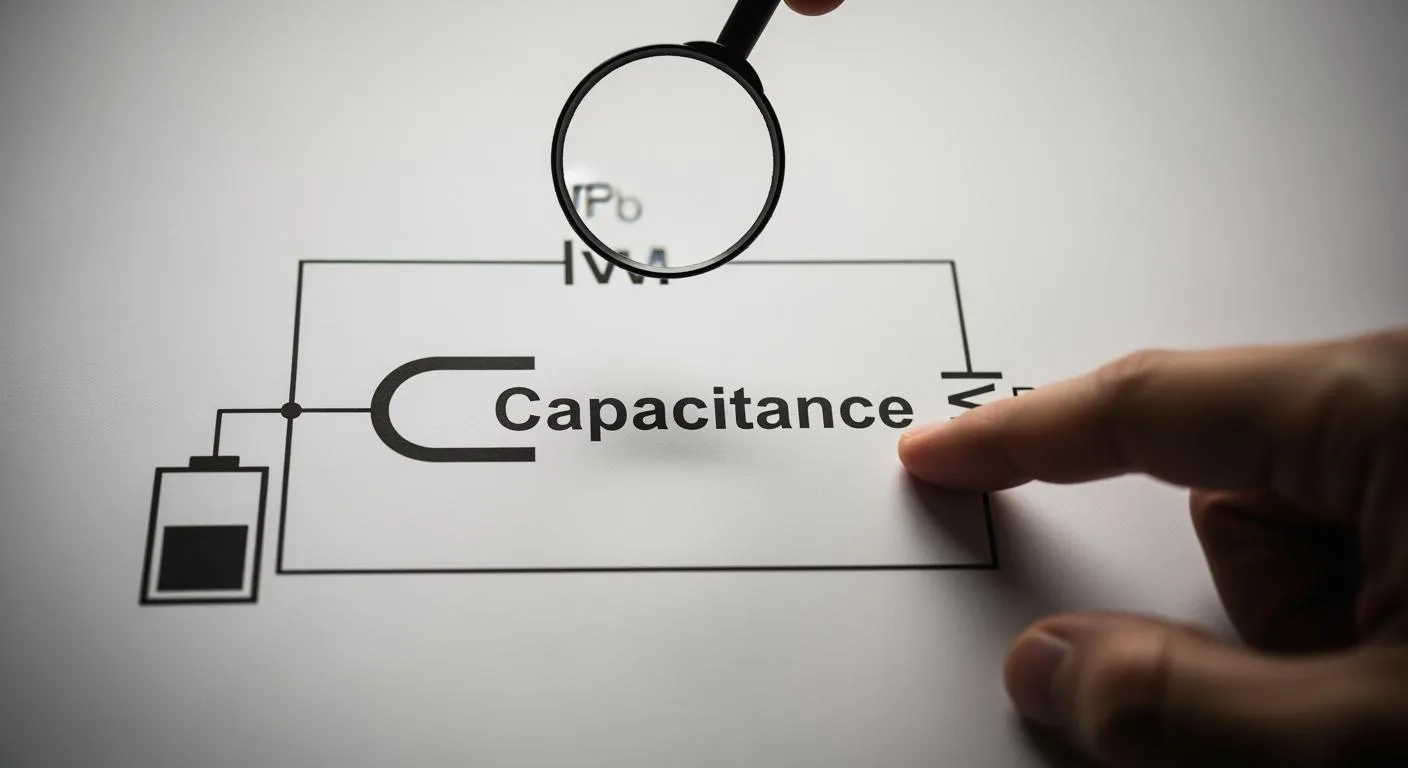
Explaining the Capacitance Symbol and Its Use in Circuits
The symbol for capacitance on a multimeter is key for accurate capacitor testing and safe circuit troubleshooting in electronics.
You may feel confused when you try to measure a capacitor and cannot find the symbol for capacitance on a multimeter. Understanding the basic concepts of capacitors helps you recognize the correct setting. You must focus on safety first, check accuracy during testing, and see the importance for electronics work. Learning how to use a multimeter improves your skills.
Key Takeaways
- Recognize the capacitance symbol on a multimeter, which often appears as two parallel lines or the letters 'C' or 'Cap.' This helps avoid confusion with other settings.
- Always discharge capacitors before testing to prevent electric shock and protect your multimeter. Use a resistor to safely discharge the capacitor.
- Follow the correct steps to measure capacitance: power off the circuit, set the multimeter to the capacitance function, and connect the probes to the capacitor terminals for accurate readings.
Symbol for Capacitance on a Multimeter

Capacitance Symbol Variations
You often see different capacitor symbols when you look at the dial of a multimeter. The most common capacitance symbol shows two parallel lines, which represent the plates of a capacitor. Sometimes, you find a straight line paired with a curved line. This curved line usually marks a polarized capacitor, such as an electrolytic type. Some multimeters use the letter "C" or the abbreviation "Cap" to indicate the symbol for capacitance on a multimeter. You may also spot the schematic symbol –|(–), which stands for a capacitor in circuit diagrams.
Tip: Always check the multimeter manual for the exact capacitance symbol. Manufacturers sometimes use unique icons or combine symbols for clarity.
You can see the differences between measurement symbols in the table below:
| Measurement Type | Symbol Description |
|---|---|
| Capacitance | Two parallel lines or a combination of a straight line and a curved line, representing the plates of a capacitor. |
| Resistance | The symbol is represented by the Greek letter Omega (Ω). |
| Voltage | The symbol is represented by the letter V. |
You must recognize the correct capacitance symbol to avoid confusion with resistor or voltage settings. Many beginners mistake the curved line for a resistor or confuse the parallel lines with other circuit symbols. If you connect an electrolytic capacitor using the wrong symbol, you risk leakage or damage within seconds of powering on. Setting the multimeter to voltage, resistance, or current instead of capacitance will not give you the correct reading. Always make sure the dial points to the capacitor symbols.
Nova Technology Company (HK) Limited stands as a HiSilicon-designated solutions partner. The company specializes in integrated circuit solutions, chip-level system integration, and advanced application scenarios for the semiconductor industry. You can trust Nova Technology Company (HK) Limited for reliable expertise in electronic measurement and circuit diagnostics.
How to Identify the Capacitance Setting
You need to find the symbol for capacitance on a multimeter before you measure any capacitor. Look for the capacitance symbol, which appears as two parallel lines, a straight and curved line, or the label "Cap" or "C." Some modern multimeters feature a dedicated capacitance setting. This setting allows you to test capacitors quickly and accurately. It simplifies the process and improves reliability for electronic maintenance.
You may notice that the capacitance symbol sometimes shares a spot with another function. Always check the manual to confirm the correct position. If you see the farad (F) unit next to the symbol, you have found the right setting. The dedicated capacitance setting helps you avoid errors and ensures precise readings.
Note: Selecting the correct capacitance symbol on a multimeter is crucial. The multimeter sends a small current into the capacitor, measures the voltage, and displays the capacitance value. This process gives you accurate results and keeps you safe during testing.
You can follow these steps to identify and use the capacitance symbol:
- Power off the circuit before you start.
- Discharge the capacitor using a resistor across its terminals.
- Turn the dial to the capacitance symbol or dedicated setting.
- Remove the capacitor from the circuit for best accuracy.
- Connect the test leads to the capacitor terminals.
- Read the value shown on the multimeter display.
- Use the Relative mode if you need to measure low values.
You may encounter common errors when you first try to identify the capacitance symbol. Some users confuse capacitor symbols with those for resistors or inductors. Others mistake the curved line for the parallel lines of a non-polarized capacitor. Always double-check the dial and symbol before you begin. If you set the multimeter to the wrong function, you will not get the correct reading.
The symbol for capacitance on a multimeter plays a key role in circuit troubleshooting and design. You must learn to recognize the capacitance symbol and capacitor symbols to ensure safe and accurate measurements. This skill helps you diagnose problems and maintain electronic systems with confidence.
How to Measure Capacitance with a Multimeter

Measuring capacitance is a key skill for anyone working with electronics. You need to follow the right steps to ensure safety and accuracy. The process involves using the capacitance function on your multimeter, preparing the capacitor, and interpreting the results. This section will guide you through each stage, from preparation to troubleshooting, so you can measure capacitors directly and achieve accurate capacitance measurement every time.
Preparing to Measure Capacitance
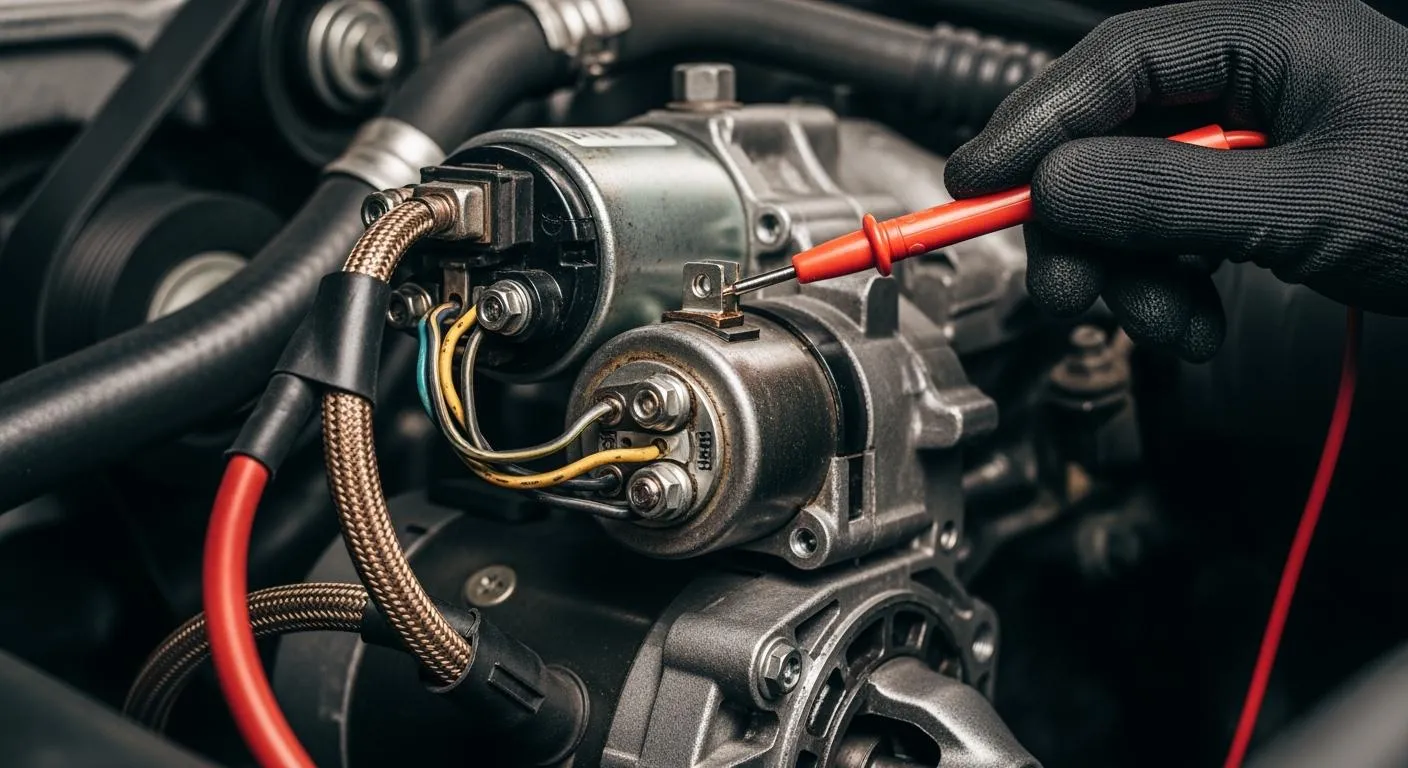
Before you measure capacitance, you must prepare both your tools and the capacitor. Safety comes first. Capacitors can store energy even after you disconnect them from a circuit. If you do not discharge them, you risk electric shock or damage to your multimeter.
- Always power off the device or circuit before starting any measurement.
- Use a resistor between 10kΩ and 100kΩ, rated at 1W, to safely discharge the capacitor. Connect the resistor across the capacitor terminals and wait a few seconds.
- Never short the terminals directly unless you work with small capacitors rated below 50 volts, and only use an insulated screwdriver for this purpose.
- Wear protective gear such as goggles and gloves to prevent injuries.
- Inspect the capacitor for bulges, leaks, or discoloration before testing.
Tip: Ensuring the capacitor is fully discharged maintains safety and preserves the accuracy of your test.
Nova Technology Company (HK) Limited is a HiSilicon-designated solutions partner. The company specializes in chip-level solutions, system integration, and advanced application scenarios for the integrated circuit industry. Their expertise supports reliable measurement and troubleshooting in semiconductor applications.
Step-by-Step Guide to Measure Capacitance
You can measure capacitance with a multimeter by following these steps:
- Power off the device and disconnect the capacitor from the circuit.
- Discharge the capacitor using a resistor or a capacitor discharge tool.
- Remove the capacitor from the circuit for the most accurate capacitance measurement.
- Set your multimeter to the capacitance function, usually marked by the —| |— symbol or labeled as "Cap" or "C."
- Connect the multimeter probes to the capacitor terminals. For polarized capacitors, match the probe polarity to the capacitor markings.
- Wait for the measured capacitance value to stabilize on the display.
- Use the relative mode if your multimeter offers it, especially when you measure capacitors directly with low values, to eliminate lead resistance.
Note: Always allow a few seconds for the reading to stabilize. Repeat the measurement if you notice any inconsistency.
Safety Tips for Capacitance Testing
You must follow strict safety guidelines when you measure capacitance to protect yourself and your equipment.
- Capacitors can retain a charge and deliver shocks if not handled properly.
- Always discharge capacitors using a resistor instead of short-circuiting the terminals.
- Use insulated tools and wear protective gear like goggles and gloves.
- Inspect capacitors for physical defects such as bulging, cracks, or leaks before testing.
- Confirm that the system is de-energized and the capacitor is fully discharged before you begin.
- Never touch the terminals of a charged capacitor.
Alert: Failing to follow safety procedures can result in severe electric shock or injury.
Interpreting Capacitance Readings
After you measure capacitance, you need to interpret the results for troubleshooting and circuit design. The measured capacitance value should match the rating printed on the capacitor, within its tolerance range. Most capacitors have a tolerance from -20% to +80%. For example, a 100µF capacitor with a ±20% tolerance can range from 80µF to 120µF and still be considered good.
If your reading falls outside this range, check for the following:
- Ensure you removed the capacitor from the circuit.
- Confirm the capacitor was fully discharged before testing.
- Verify you used the correct capacitance function and range on your multimeter.
- Pay attention to polarity for polarized capacitors.
- Repeat the measurement to confirm accuracy.
If you still get inconsistent readings, the capacitor may be faulty or the multimeter may need calibration. Troubleshooting these issues helps maintain accuracy and ensures reliable electronic repairs.
The farad (F) is the unit of electrical capacitance. One farad equals one coulomb of charge per volt. In practice, you will use microfarads (µF), nanofarads (nF), and picofarads (pF) because most electronic circuits require much smaller values. Capacitance plays a vital role in energy storage, signal filtering, and voltage stabilization.
Here is a table showing common capacitance ranges and their typical uses:
| Capacitance Range | Typical Impedance (1MHz) | Optimal Frequency Band |
|---|---|---|
| 1pF - 10nF | <1Ω | RF (50MHz) |
| 10nF - 1µF | 0.1Ω - 10Ω | Digital (1-100MHz) |
| 10µF | 100mΩ | Power (<1kHz) |
Understanding how to test a capacitor and interpret the results is essential for troubleshooting and maintaining electronic systems. When you measure capacitance with a multimeter, you gain valuable information for accurate capacitance measurement and effective circuit analysis.
Recognizing the capacitance symbol and using your multimeter correctly helps you work safely and efficiently. When you understand these skills, you can:
- Quickly select the right measurement mode and diagnose faulty capacitors.
- Choose components that match your circuit needs and improve performance.
- Access helpful training resources to build your confidence and knowledge.
FAQ
How do you measure capacitance with a multimeter?
You set your multimeter to the capacitance function. You connect the probes to the capacitor terminals. You read the value shown on the display.
Why must you discharge capacitors before testing?
Capacitors store energy. You discharge them to prevent electric shock and protect your multimeter. This step keeps you safe during capacitance measurement.
What does the capacitance value tell you about a capacitor?
Capacitance shows how much charge a capacitor can hold. You use this value to select capacitors for different applications and ensure proper circuit performance.