Why 1 Ounce Copper Thickness Matters in PCB Design
When you select 1 ounce copper thickness for your pcb design, you follow a standard trusted by the electronics industry. This thickness measures about
When you select 1 ounce copper thickness for your pcb design, you follow a standard trusted by the electronics industry. This thickness measures about 35 microns and offers a balance between performance and cost. Copper thickness shapes how much current your pcb traces can carry and how well your board handles heat. You benefit from reliable connections and manageable manufacturing steps when you use 1 ounce copper thickness.
1 ounce copper thickness matches industry standards for pcb reliability and current handling.
Changes in copper weight can affect trace width, spacing, and the overall design.
You need to consider copper thickness carefully. The right choice supports safe operation, strong conductivity, and stable performance in your pcb.
Key Takeaways
1 ounce copper thickness means one ounce of copper covers one square foot of PCB, creating a layer about 35 microns thick.
This thickness balances good electrical conductivity, heat management, and mechanical strength for reliable PCB performance.
Using 1 ounce copper keeps manufacturing costs reasonable and supports most standard electronics and low-to-moderate current designs.
Thicker copper layers increase current capacity and heat dissipation but raise cost and design complexity.
Always match copper thickness to your PCB’s current, thermal, and mechanical needs and communicate clearly with your manufacturer.
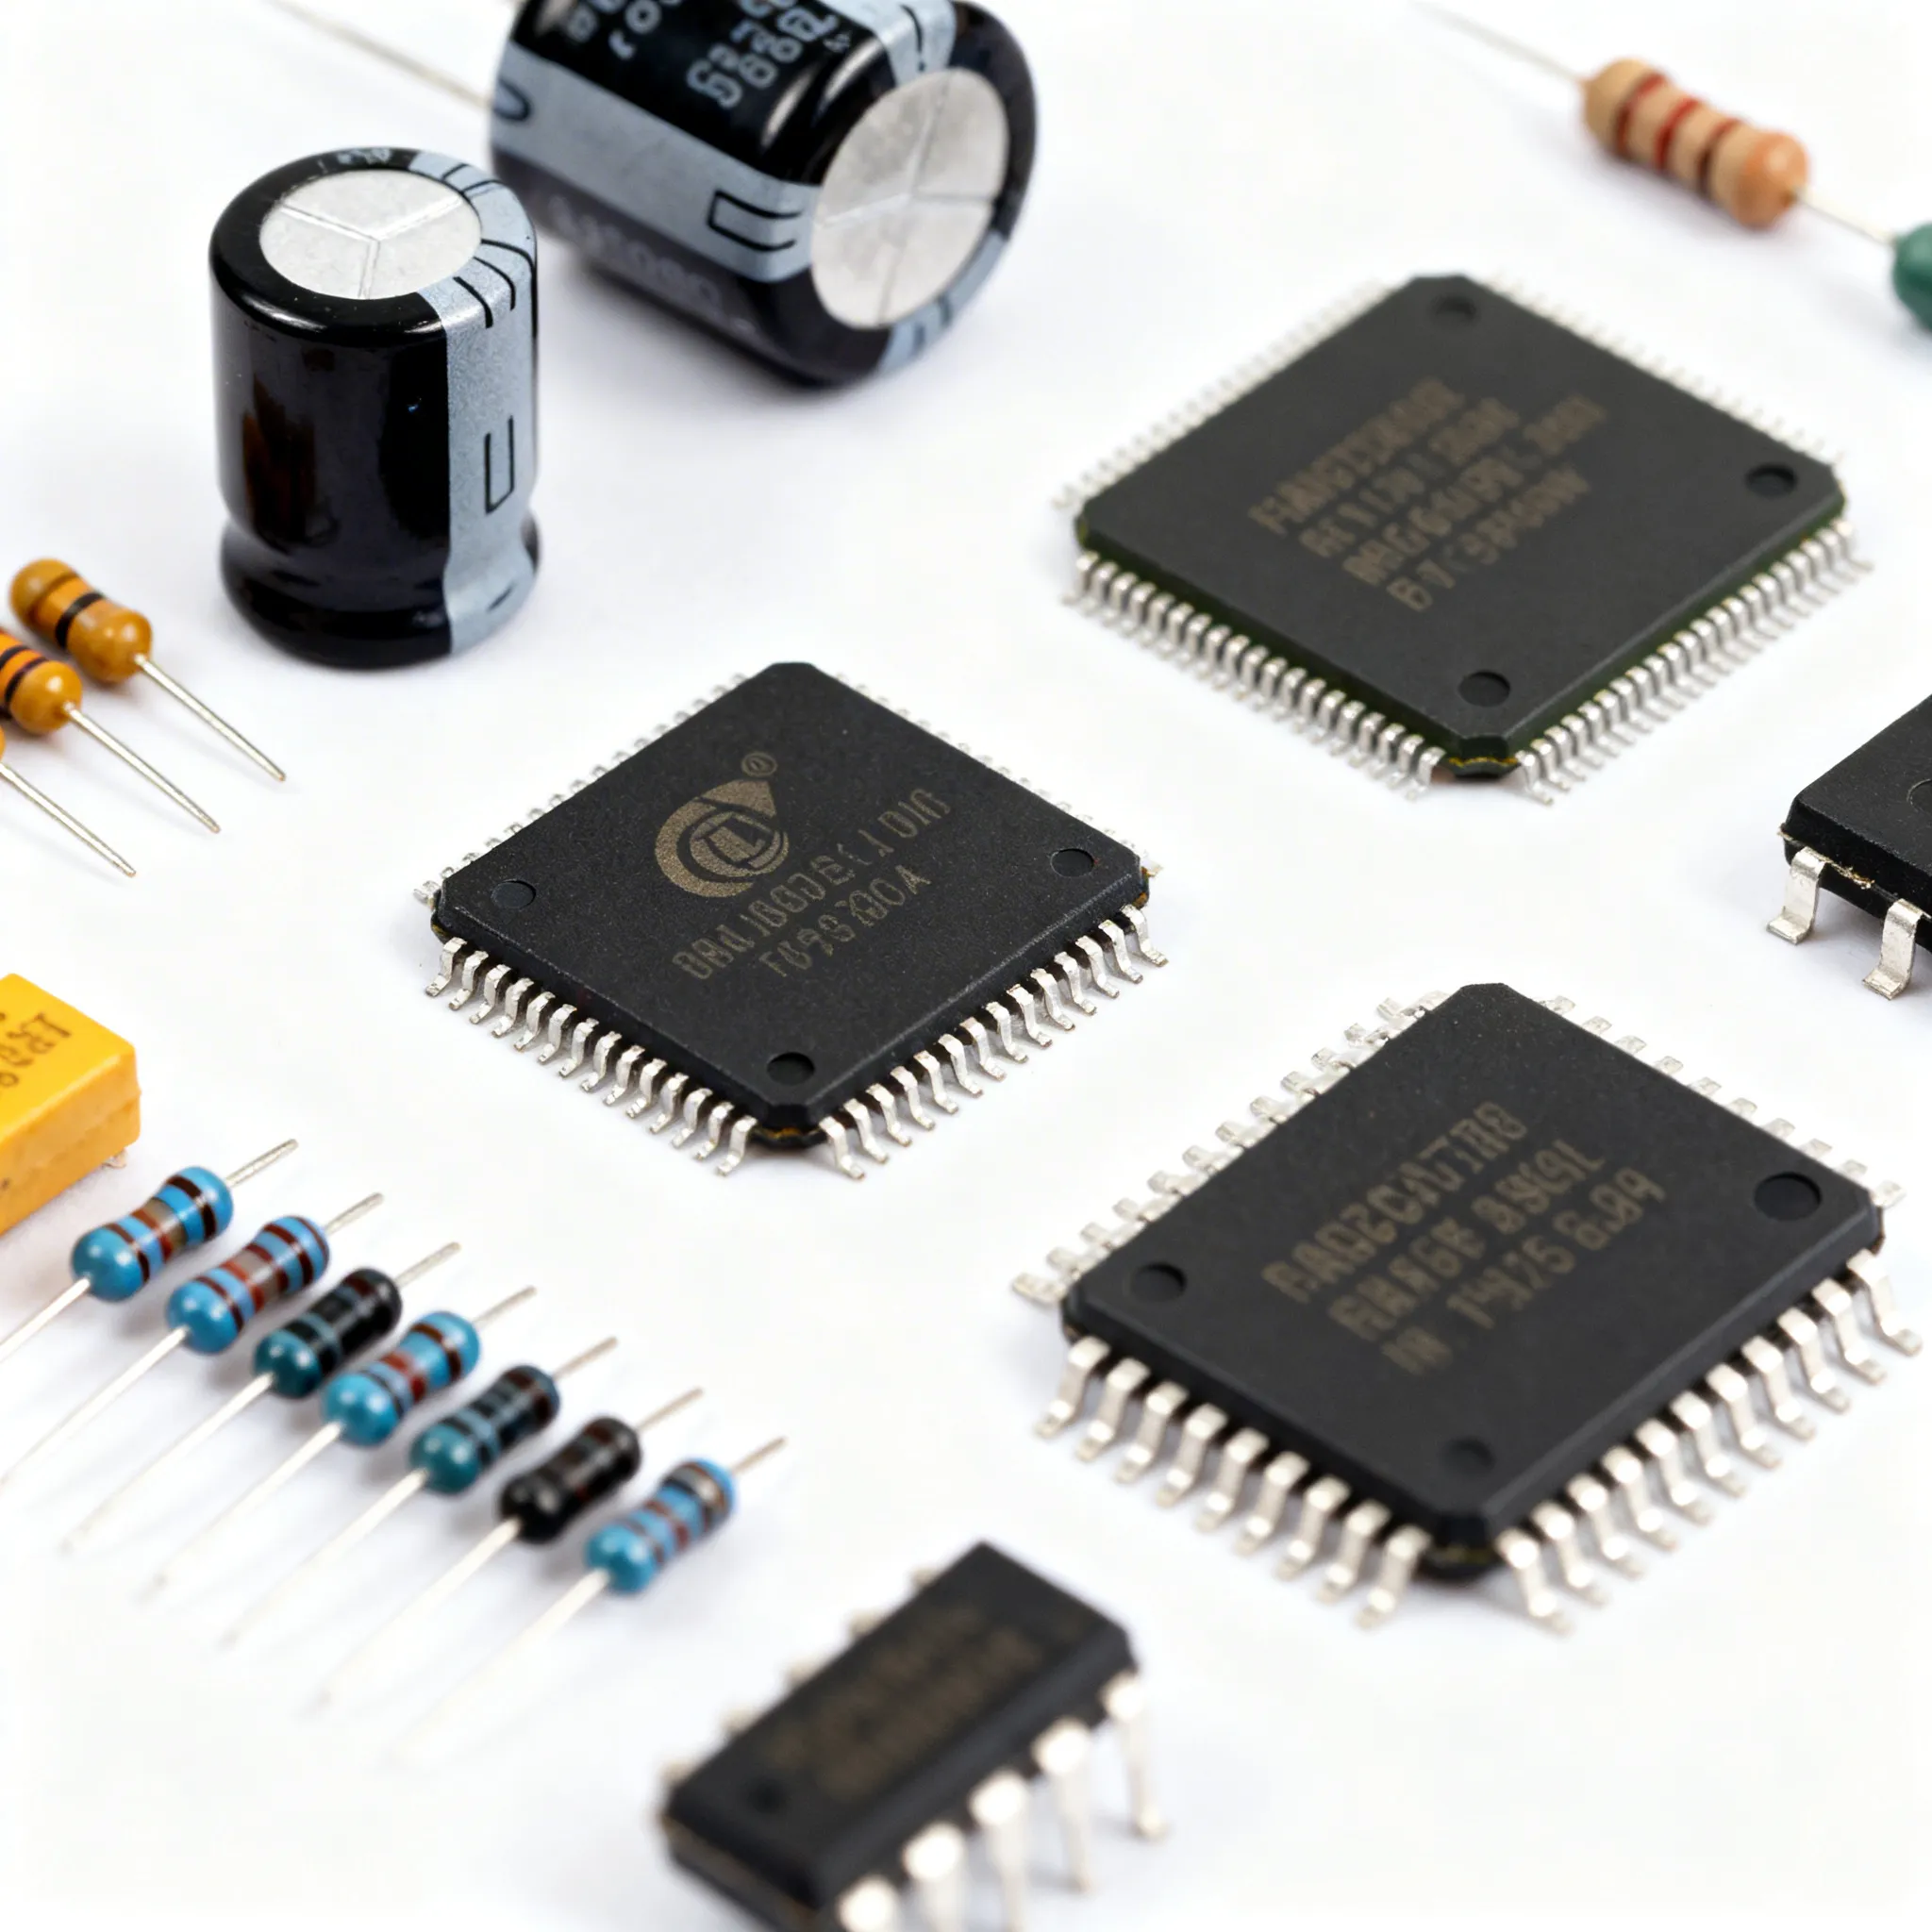
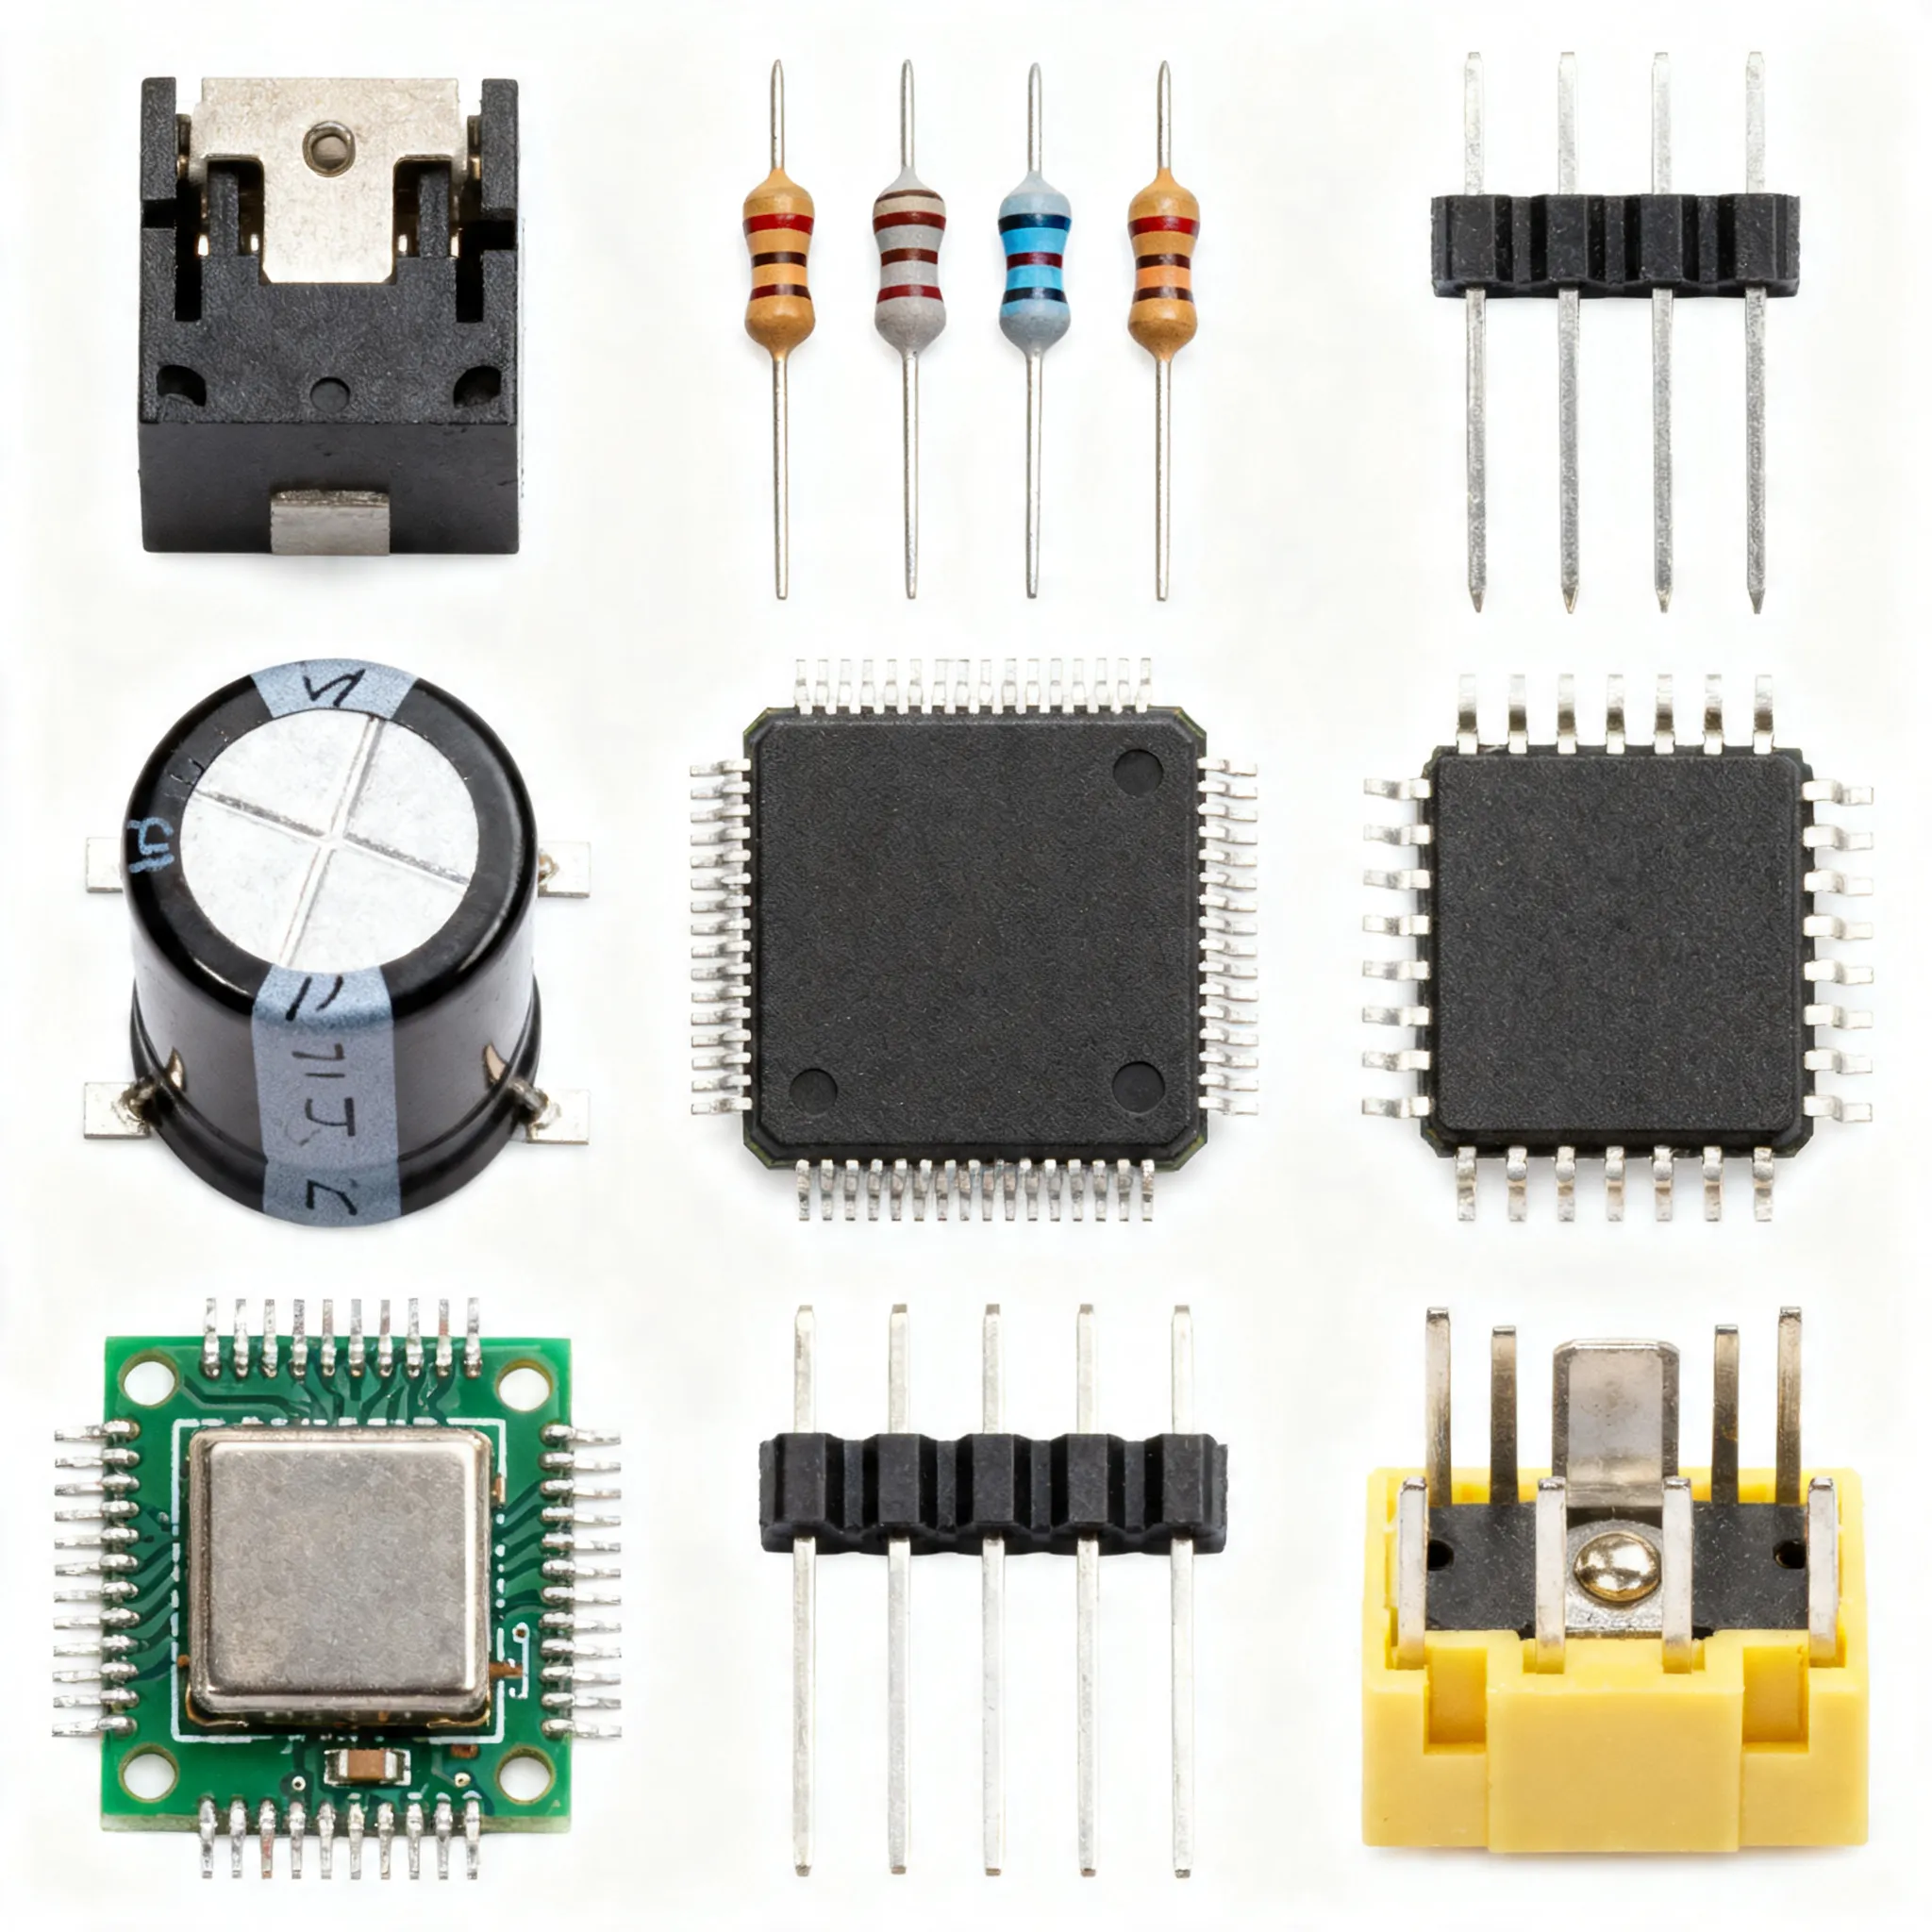
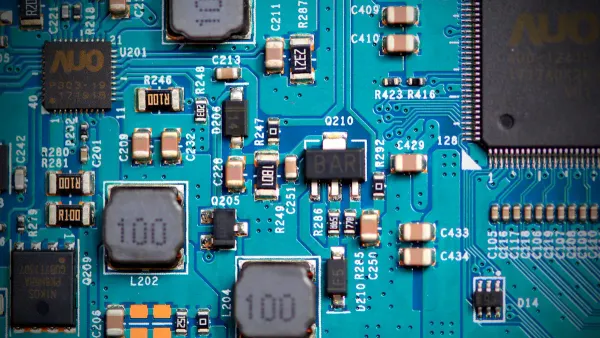
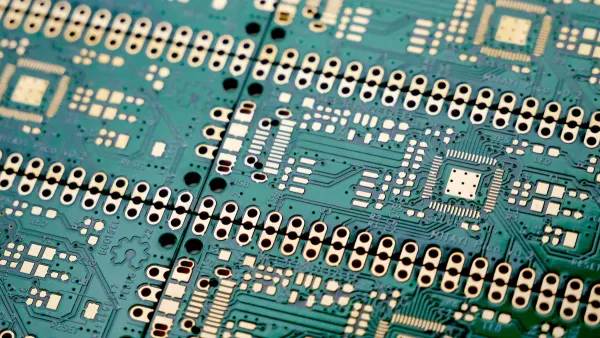
1 Ounce Copper Thickness in PCB
Definition
When you work with pcb manufacturing, you often see the term 1 ounce copper thickness. This means that one ounce of copper covers one square foot of the pcb surface. You get a layer that measures about 35 microns, or 1.37 mils, in thickness. Manufacturers also describe this as 28.35 grams per square foot. This copper thickness parameter sets the baseline for most pcb designs.
You find that 1 ounce copper thickness is the most common choice because it balances several important factors. You get enough copper weight for strong electrical performance and low resistance. The thickness supports controlled impedance, which is important for signal integrity below 100 MHz. You also benefit from physical strength, which helps your pcb resist damage during assembly and use. The copper layer provides durability for vias, holes, and cutouts.
Tip: 1 ounce copper thickness gives you reliable etching for thin traces and spaces. You avoid the extra cost and complexity that comes with thicker copper weights.
You see this standard used in many industries. Power supplies, electric vehicles, communication equipment, medical devices, military electronics, LED lighting, and industrial control systems all rely on 1 ounce copper thickness. The copper weight supports a wide range of applications without making the pcb too expensive or hard to manufacture.
Measurement
You need to measure copper thickness accurately to ensure your pcb meets design requirements. Manufacturers use several techniques to check the finished copper thickness. X-Ray Fluorescence (XRF) measurement is a fast, non-destructive method. It uses X-rays to excite the copper layer and measures the secondary X-rays to determine thickness. Eddy Current Testing (ECT) is another non-contact method. It uses electromagnetic induction to create eddy currents in the copper and analyzes their resistance and phase shift to measure thickness. For the most detailed results, microscopic cross-sectional analysis is used. This method involves cutting and polishing a sample of the pcb and measuring the copper thickness under a microscope. You usually see this method used for random batch testing because it destroys the sample.
Recent advancements in copper deposition help you achieve precise copper thickness. Vertical Continuous Plating (VCP) plates individual pcb panels, giving you better control over copper weight and thickness. This process makes copper layers flatter and more uniform. Electrolytic copper plating uses direct electric current to deposit copper onto conductive areas. Pulse electroplating improves plating in complex shapes, while real-time monitoring and closed-loop control systems ensure consistent copper thickness. These technologies help you produce high-quality pcbs with reliable copper thickness.
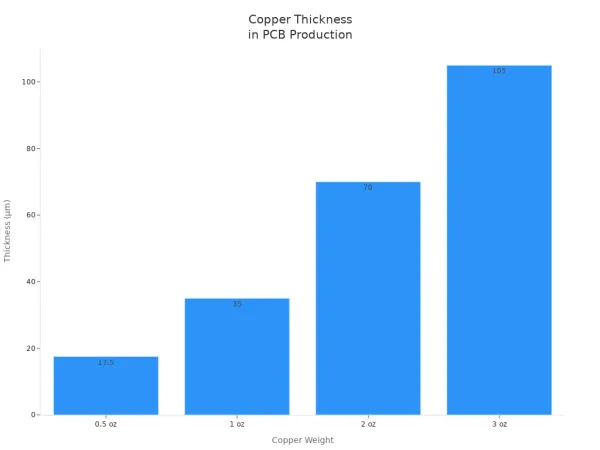
You can compare 1 ounce copper thickness to other common copper weights using the table below:
Copper Weight | Thickness (µm) | Thickness (mm) | Thickness (inches) | Tolerance |
|---|---|---|---|---|
0.5 oz | 17.5 | 0.0175 | 0.0007 | ±10% |
1 oz | 35 | 0.035 | 0.0014 | ±10% |
2 oz | 70 | 0.070 | 0.0028 | ±15% |
3 oz | 105 | 0.105 | 0.0041 | ±15% |
You see that 1 ounce copper thickness is the baseline standard. Heavier copper weights double or triple the thickness, which increases current capacity and thermal management but also raises cost and complexity.
When you choose copper thickness for your pcb, you must consider the copper weight, the finished copper thickness, and the needs of your design. The right copper thickness helps you achieve reliable performance and cost-effective manufacturing.
Copper Thickness and Performance
Conductivity
You rely on copper for its excellent electrical conductivity in every pcb. The copper thickness you choose directly affects how well your traces carry current. When you use 1 ounce copper thickness, you get about 35 micrometers of copper on each layer. This standard thickness gives you a good balance between low resistance and easy manufacturing. Thicker copper layers, such as 2 or 3 ounces, increase the cross-sectional area of each trace. This reduces resistance and improves current carrying capacity. Lower resistance means less voltage drop and less heat generated as current flows through the pcb.
If you design a trace that is 100 mils wide with 1 ounce copper thickness, you can safely carry up to 4.2 amps with only a 10°C temperature rise. This value comes from industry standards like MIL-STD-275 and IPC-2221. You can see how current capacity changes with trace width and copper thickness in the table below:
Trace Width (mil) | 1 oz Copper Max Current (A) | Temperature Rise (°C) |
|---|---|---|
10 | ~1 | 10 |
20 | 1.5 - 2 | 10 |
35 - 40 | 3 | 10 |
50 | 3 - 4 | 10 - 20 |
100 | 4.2 | 10 |
Note: Increasing copper thickness or trace width boosts current carrying capacity and reduces temperature rise. This helps you maintain circuit performance and signal integrity.
Thicker copper also helps with high-frequency signals. It reduces resistive losses and supports better signal integrity by lowering the effects of the skin effect. However, if you use very thick copper, you may need to adjust trace width or spacing to keep impedance under control. For most pcb designs, 1 ounce copper thickness gives you a strong balance between conductivity, manufacturability, and signal integrity.
Thermal Management
Copper thickness plays a key role in thermal management for your pcb. Copper has a high thermal conductivity of 385 W/mK. This property allows it to spread and remove heat from hot spots on your board. With 1 ounce copper thickness, you get enough thermal conductivity for most low to moderate power applications. This thickness helps prevent overheating and keeps your components safe.
1 ounce copper thickness provides stable thermal management for high current spots.
You can use copper pours and thermal vias to move heat away from sensitive areas.
Thicker copper layers, such as 2 or 3 ounces, offer even better heat dissipation for power supplies, motor drivers, or automotive electronics.
Using 1 ounce copper thickness keeps your pcb budget-friendly and easy to manufacture.
If your design needs more thermal performance, you can increase copper thickness or add more copper weight. This reduces electrical resistance and power loss, which also helps with thermal management. You must balance copper thickness, cost, and the needs of your application to achieve the best results.
Reliability
You want your pcb to last and perform well, even in tough environments. Copper thickness affects the long-term reliability of your board. With 1 ounce copper thickness, you get about 35 microns of copper, which is the industry standard. This thickness gives your pcb enough mechanical strength to resist bending, warping, and vibration. Copper’s natural corrosion resistance also protects your board from environmental damage.
1 ounce copper thickness improves current carrying capacity and reduces electrical resistance, which supports reliable power distribution.
Thicker copper layers increase structural integrity and help prevent warping or cracking, especially in high-stress settings.
Good thermal management from copper thickness prevents local hot spots and protects components from overheating.
The right copper thickness helps maintain signal integrity and reduces the risk of failure over time.
Studies show that thicker copper layers can improve mechanical strength and thermal reliability. However, if you use too much copper, you may increase mechanical stress and reduce the fatigue life of solder joints. You must find the right balance between copper thickness, mechanical strength, and manufacturability. For most applications, 1 ounce copper thickness gives you a reliable, cost-effective solution that supports strong circuit performance and signal integrity.
Copper Thickness Comparison
1 Ounce vs. Thicker Copper
When you compare 1 ounce copper thickness to thicker options like 2 ounce or 3 ounce, you notice important differences in performance and cost. 1 ounce copper thickness measures about 1.37 mils. This thickness works well for low-to-moderate current needs. If you increase copper thickness to 2 ounce, you double the layer to about 2.8 mils. This change lets you carry more current through each trace. For example, a 10-mil-wide trace with 1 ounce copper can handle about 1 amp. With 2 ounce copper, the same trace can carry about 2 amps. Thicker copper also improves heat dissipation and lowers electrical resistance.
You must remember that thicker copper layers require wider spacing between traces. For 1 ounce copper, the minimum spacing is about 3.5 mils. For 2 ounce copper, it increases to 8 mils. This change affects how you design your pcb and may limit how many traces fit on each layer.
Thicker copper increases manufacturing complexity. All traces become thicker, even if only a few need higher current capacity. This change raises the cost of your pcb. The table below shows how copper thickness affects current capacity for a 0.4 mm trace width:
Copper Thickness | Approximate Thickness (um) | Trace Width (mm) | Current Capacity (A) |
|---|---|---|---|
1oz | 35 | 0.4 | 1.1 |
1.5oz | 50 | 0.4 | 1.35 |
2oz | 70 | 0.4 | 1.7 |
You see that increasing copper thickness boosts current capacity by over 50% for the same trace width.
Application Needs
You choose copper thickness based on your application’s requirements. 1 ounce copper thickness is the most cost-effective choice for many pcb designs. It supports moderate current and keeps production costs low. You find 1 ounce copper in consumer electronics, LED lighting, IoT devices, and prototypes. These applications need reliable performance without high current or extreme heat.
If your design needs higher current or better thermal management, you may select 2 ounce or 3 ounce copper. Power electronics, motor drivers, and automotive systems often use thicker copper. These applications benefit from improved heat dissipation and lower voltage drop. However, you pay more for thicker copper. The cost of 2 ounce copper is moderately higher than 1 ounce, while 3 ounce copper can cost 30% to 50% more. Manufacturing also becomes more complex and slower.
Tip: Use 1 ounce copper thickness for standard digital circuits and low-power designs. Choose thicker copper for high-power or high-thermal environments.

When you select copper thickness, you balance current needs, thermal management, cost, and design flexibility. Thicker copper improves performance but increases cost and complexity. You must match copper thickness to your pcb’s specific needs for the best results.
Choosing Copper Thickness for PCB
Design Factors
When you select copper thickness for your pcb, you need to look at several important design factors. Each factor helps you make sure your pcb design meets your needs for performance, reliability, and cost.
Electrical requirements: Copper thickness must support the current your traces will carry. Use IPC-2221 formulas or calculators to check if your chosen thickness can handle the expected current without overheating. For high-frequency signals, you also need to consider impedance and skin effect.
Thermal management: Thicker copper spreads heat better. If your pcb has power components or gets hot, you may need more copper to keep everything cool and safe.
Mechanical strength: Thicker copper and a strong pcb stackup help your board resist bending, vibration, and stress. This is important for automotive or industrial designs.
Wiring density: If your design needs many small traces, thinner copper allows for finer lines and higher density. Heavy copper limits how close you can place traces.
Manufacturing constraints: Non-standard copper thickness increases cost and production time. Always check with your pcb manufacturing partner before finalizing your pcb stackup.
Tip: Always balance copper thickness with your design’s electrical, thermal, and mechanical needs. Too little copper can cause overheating or failure. Too much copper can make your pcb expensive and hard to build.
Manufacturer Communication
Clear communication with your pcb manufacturer is key to a successful pcb stackup. You should always specify copper thickness in your fabrication drawings or stackup tables. Gerber files do not include this information, so you must provide it separately.
Start by discussing your copper thickness needs early in the design process. Ask your manufacturer about their standard copper weights and any limitations.
Use stackup tables or detailed drawings (PDF or DXF) to show copper thickness for each layer. This helps avoid mistakes and delays.
Follow industry standards like IPC-2221 for trace width and spacing rules. Use simulation tools to check your design before production.
For custom copper thickness, expect a special quote and longer lead times. Manufacturers may need extra steps or tools for heavy copper.
Test your design with prototypes if possible. This helps you catch problems before mass production.
Note: Good communication with your manufacturer ensures your pcb stackup meets your copper thickness and integrity needs. It also helps you avoid costly errors and get the best results for your pcb design.
You see that 1 ounce copper thickness offers a strong balance for most PCB designs.
It provides good electrical and thermal conductivity, mechanical strength, and cost savings.
This copper thickness supports reliable performance in many standard applications.
To get the best results, follow these steps:
Check your current and heat needs.
Match copper thickness to your design and budget.
Talk with your manufacturer about copper options.
Careful planning helps you choose the right copper thickness for safe, reliable, and cost-effective PCBs.
FAQ
What does "1 ounce copper" mean in PCB design?
You see "1 ounce copper" when you read PCB specs. This means one ounce of copper covers one square foot of the board. The layer is about 35 microns thick.
Why should you choose 1 ounce copper for your PCB?
You get a good balance of cost, strength, and electrical performance with 1 ounce copper. Most electronics use this thickness because it works well for many designs.
Can you use thicker copper for higher current?
You can use thicker copper, like 2 or 3 ounces, if your PCB needs to carry more current. Thicker copper lets you move more electricity without overheating.
Tip: Always check your current needs before picking copper thickness.
Does copper thickness affect PCB cost?
You pay more for thicker copper. Manufacturing gets harder and slower with heavy copper. For most projects, 1 ounce copper keeps costs low and quality high.
Copper Thickness | Cost Impact | Use Case |
|---|---|---|
1 oz | Low | Standard designs |
2 oz | Medium | Power electronics |
3 oz | High | Industrial, motors |