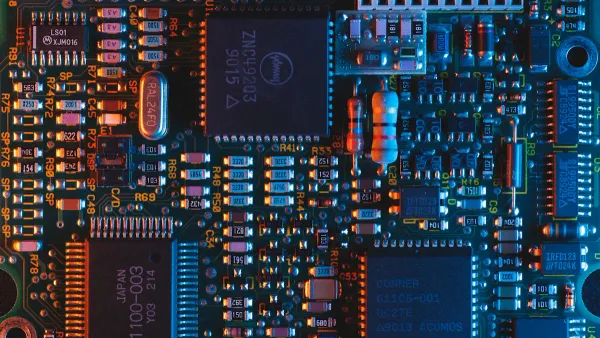
The Ultimate HiSilicon Migration Checklist for 2025
Your successful HiSilicon migration begins with a structured plan. This migration checklist provides the high-level roadmap

Your successful HiSilicon migration begins with a structured plan. This migration checklist provides the high-level roadmap for your entire project, ensuring a smooth transition and superior performance.
Your complete migration journey is broken down into four key phases. Follow this checklist to achieve peak performance with your new HiSilicon hardware.
- Phase 1: Pre-Migration Analysis
- Goal: Map hardware differences and prepare the HiSilicon SDK and toolchain.
- Phase 2: Low-Level System Porting
- Goal: Adapt the bootloader and kernel for the target device.
- Phase 3: Driver and Middleware Migration
- Goal: Port peripheral drivers and transition to the HiSilicon Media Processing Platform (MPP).
- Phase 4: Validation and Optimization
- Goal: Recompile applications and perform system-wide testing to validate the migration.
Key Takeaways
- Plan your HiSilicon migration in four steps: analyze, port low-level systems, move drivers, and test everything.
- Before you start, check hardware differences and set up your tools. This helps avoid problems later.
- Make sure the bootloader and kernel work on the new HiSilicon hardware. This lets your device start up correctly.
- Update drivers for your hardware and use HiSilicon's special software for media. This makes your device's features work well.
- Test your applications and make them faster. This ensures your new HiSilicon device runs smoothly and reliably.
PHASE 1: THE PRE-MIGRATION CHECKLIST
This initial phase is the foundation of your entire migration project. A thorough pre-migration analysis prevents future roadblocks and ensures a smooth transition. You will map hardware capabilities and prepare your development environment for the new HiSilicon platform.
HARDWARE FEATURE MAPPING
Your first step is to understand the architectural differences between your source platform and the target HiSilicon SoC. This analysis helps you anticipate porting challenges. Create a detailed comparison table to map resources. This checklist item is critical for a successful migration.
For a migration from a generic single-core ARM Cortex-A7 to a dual-core HiSilicon ARM Cortex-A7, your map might look like this:
| Feature | Source Platform (Example) | Target HiSilicon Platform | Migration Notes |
|---|---|---|---|
| CPU | Single-Core ARM Cortex-A7 | Dual-Core ARM Cortex-A7 | Update kernel configuration for SMP. |
| GPU | Mali-400 MP1 | Mali-450 MP4 | Requires new graphics drivers and MPP integration. |
| Memory | DDR3 @ 533MHz | DDR4 @ 800MHz | Adjust memory controller timings in U-Boot. |
| Peripherals | 2x UART, 1x I2C, 1x SPI | 4x UART, 2x I2C, 2x SPI | Map device tree nodes to new peripheral addresses. |
TOOLCHAIN AND SDK SETUP
Next, you must set up the official HiSilicon cross-compilation toolchain and Software Development Kit (SDK). This environment is essential for building the bootloader, kernel, and applications for your new ARM hardware.
-
Install the Cross-Compiler:
# Unpack the ARM toolchain tar -xzf arm-himix200-linux.tgz # Add the compiler to your system's PATH export PATH=$(pwd)/arm-himix200-linux/bin:$PATH -
Unpack the HiSilicon SDK:
# Unpack the main SDK package
tar -xzf Hi35XX_SDK_V2.0.X.X.tgz
NETWORK BOOT ENVIRONMENT SETUP
A network boot setup using TFTP and NFS accelerates development by letting you test changes without flashing the device each time. This is a key part of the migration checklist for improving efficiency.
Set up your development PC as a server:
- Install Servers: On Ubuntu, install the necessary packages.
sudo apt-get install nfs-kernel-server tftpd-hpa - Configure NFS: Create a shared directory and grant permissions.
sudo mkdir /home/${USER}/nfs sudo chmod 777 /home/${USER}/nfs - Export the Directory: Edit
/etc/exportsand add this line, then restart the service./home/<user>/nfs *(rw,sync,no_root_squash)sudo service nfs-kernel-server restart
Pro Tip: Troubleshooting TFTP Timeouts If you encounter TFTP timeouts, do not just increase the timeout value. Instead, use a network sniffer like Wireshark to check if the HiSilicon board is sending ACKs. Also, verify your PC's firewall rules are not blocking traffic. An incorrect ARM timer implementation can also cause network transactions to fail, impacting overall performance. This pre-migration analysis step ensures your hardware and software work together for optimal performance. The migration to a new ARM Cortex-A7 platform requires this level of detail.
PHASE 2: LOW-LEVEL SYSTEM PORTING
You are now entering the core technical phase of the migration. The goal of low-level system porting is to make the fundamental software—the bootloader and the kernel—run on your new HiSilicon hardware. Success in this stage ensures your device can boot and recognize its core components. This is a critical step in your migration checklist.
BOOTLOADER (U-BOOT) CONFIGURATION
Your first task in low-level system porting is to configure the Das U-Boot bootloader. You must adapt U-Boot to the specific memory and storage layout of your new HiSilicon board. This involves adjusting memory controller timings for the new DDR type and defining the flash partition map.
For instance, you will define how the eMMC storage is divided for the bootloader, kernel, and root filesystem. You control this layout directly within the U-Boot environment variables.
You define the flash memory partition layout using the
blkdevpartsparameter inside thebootargsvariable. This tells the kernel how the storage is organized.bootargs=console=ttyAMA0,115200 root=/dev/mmcblk0p4 rootfstype=ext4 rootwait blkdevparts=mmcblk0:1M(fastboot),1M(bootargs),8M(kernel),128M(rootfs),-(system)In this example for an ARM device, you create separate partitions for
fastboot,kernel, androotfs. You must ensure these definitions match your actual partition scheme to avoid boot failures.
KERNEL PORTING AND DTS ADAPTATION
Next, you will adapt the Linux kernel to the HiSilicon System-on-Chip (SoC). The most important part of this process is modifying the Device Tree Source (DTS) file. The DTS is a data structure that describes the hardware to the kernel, telling it which drivers to load and what resources (like memory addresses and interrupts) they use.
You must correctly configure clock and reset controller nodes in the DTS. This ensures all peripherals receive the correct clock signals for proper operation. For a HiSilicon SoC, you can set specific clock frequencies for different parts of a peripheral. For example, you can assign a 24 MHz clock to the SPI NOR interface while assigning a 30 MHz clock to the SPI NAND interface, all within the same Flash Memory Controller. This fine-grained control is key to achieving optimal performance.
To ensure your peripherals initialize correctly, your DTS configuration for the HiSilicon platform must include:
- Clock Driver Support: You need to enable the correct clock drivers for your specific SoC, which register all necessary clocks from the Clock and Reset Generator (CRG) module.
- DT Bindings: Your DTS structure must follow the official
dt-bindings. These bindings define required properties likeregand#reset-cellsfor the hardware to work. - Reset Controller: You should always use the reset controller to manage peripheral resets. Writing directly to registers is not a reliable practice for a stable ARM system.
ARM ARCHITECTURE CONSIDERATIONS
The final step in this phase is to account for differences in the ARM architecture. Moving from a simple single-core ARM Cortex-A7 to a multi-core or big.LITTLE HiSilicon SoC introduces new opportunities for performance optimization but also requires careful software configuration. The success of your migration depends on how well you manage these new complexities.
If your new HiSilicon SoC uses a big.LITTLE architecture (combining powerful "big" ARM cores with efficient "little" ARM cores), you must configure the kernel scheduler. This scheduler decides which tasks run on which cores to balance performance and power consumption.
- IKS (In-Kernel Switcher) Mode: This mode presents a set of virtual cores to the kernel. It dynamically moves tasks between big and little cores based on system load.
- HMP (Heterogeneous Multi-Processing) Mode: This mode treats the big and little core clusters separately. The scheduler assigns lightweight tasks to the little cores and demanding tasks to the big cores for maximum efficiency.
Beyond the scheduler, a migration to a newer ARM architecture, such as from ARMv7 (used in many Cortex-A7 SoCs) to ARMv8, presents other challenges. This checklist helps you prepare for them.
- Update Libraries and Tools: You may need to upgrade your software libraries to newer versions that support the 64-bit ARM architecture.
- Handle Limited Third-Party Support: Some of your existing tools may not have an ARM-compatible version. You might need to find alternatives or work with vendors.
- Migrate Containerized Services: If you use Docker, you must create multi-architecture container images that can run on both your old and new ARM platforms.
PHASE 3: DRIVER AND MIDDLEWARE MIGRATION
With your device booting, you can now focus on making its features functional. This phase of the migration involves porting the software that controls your hardware peripherals and integrating HiSilicon's powerful middleware. Your goal is to bring your product's unique features to life on the new ARM platform.
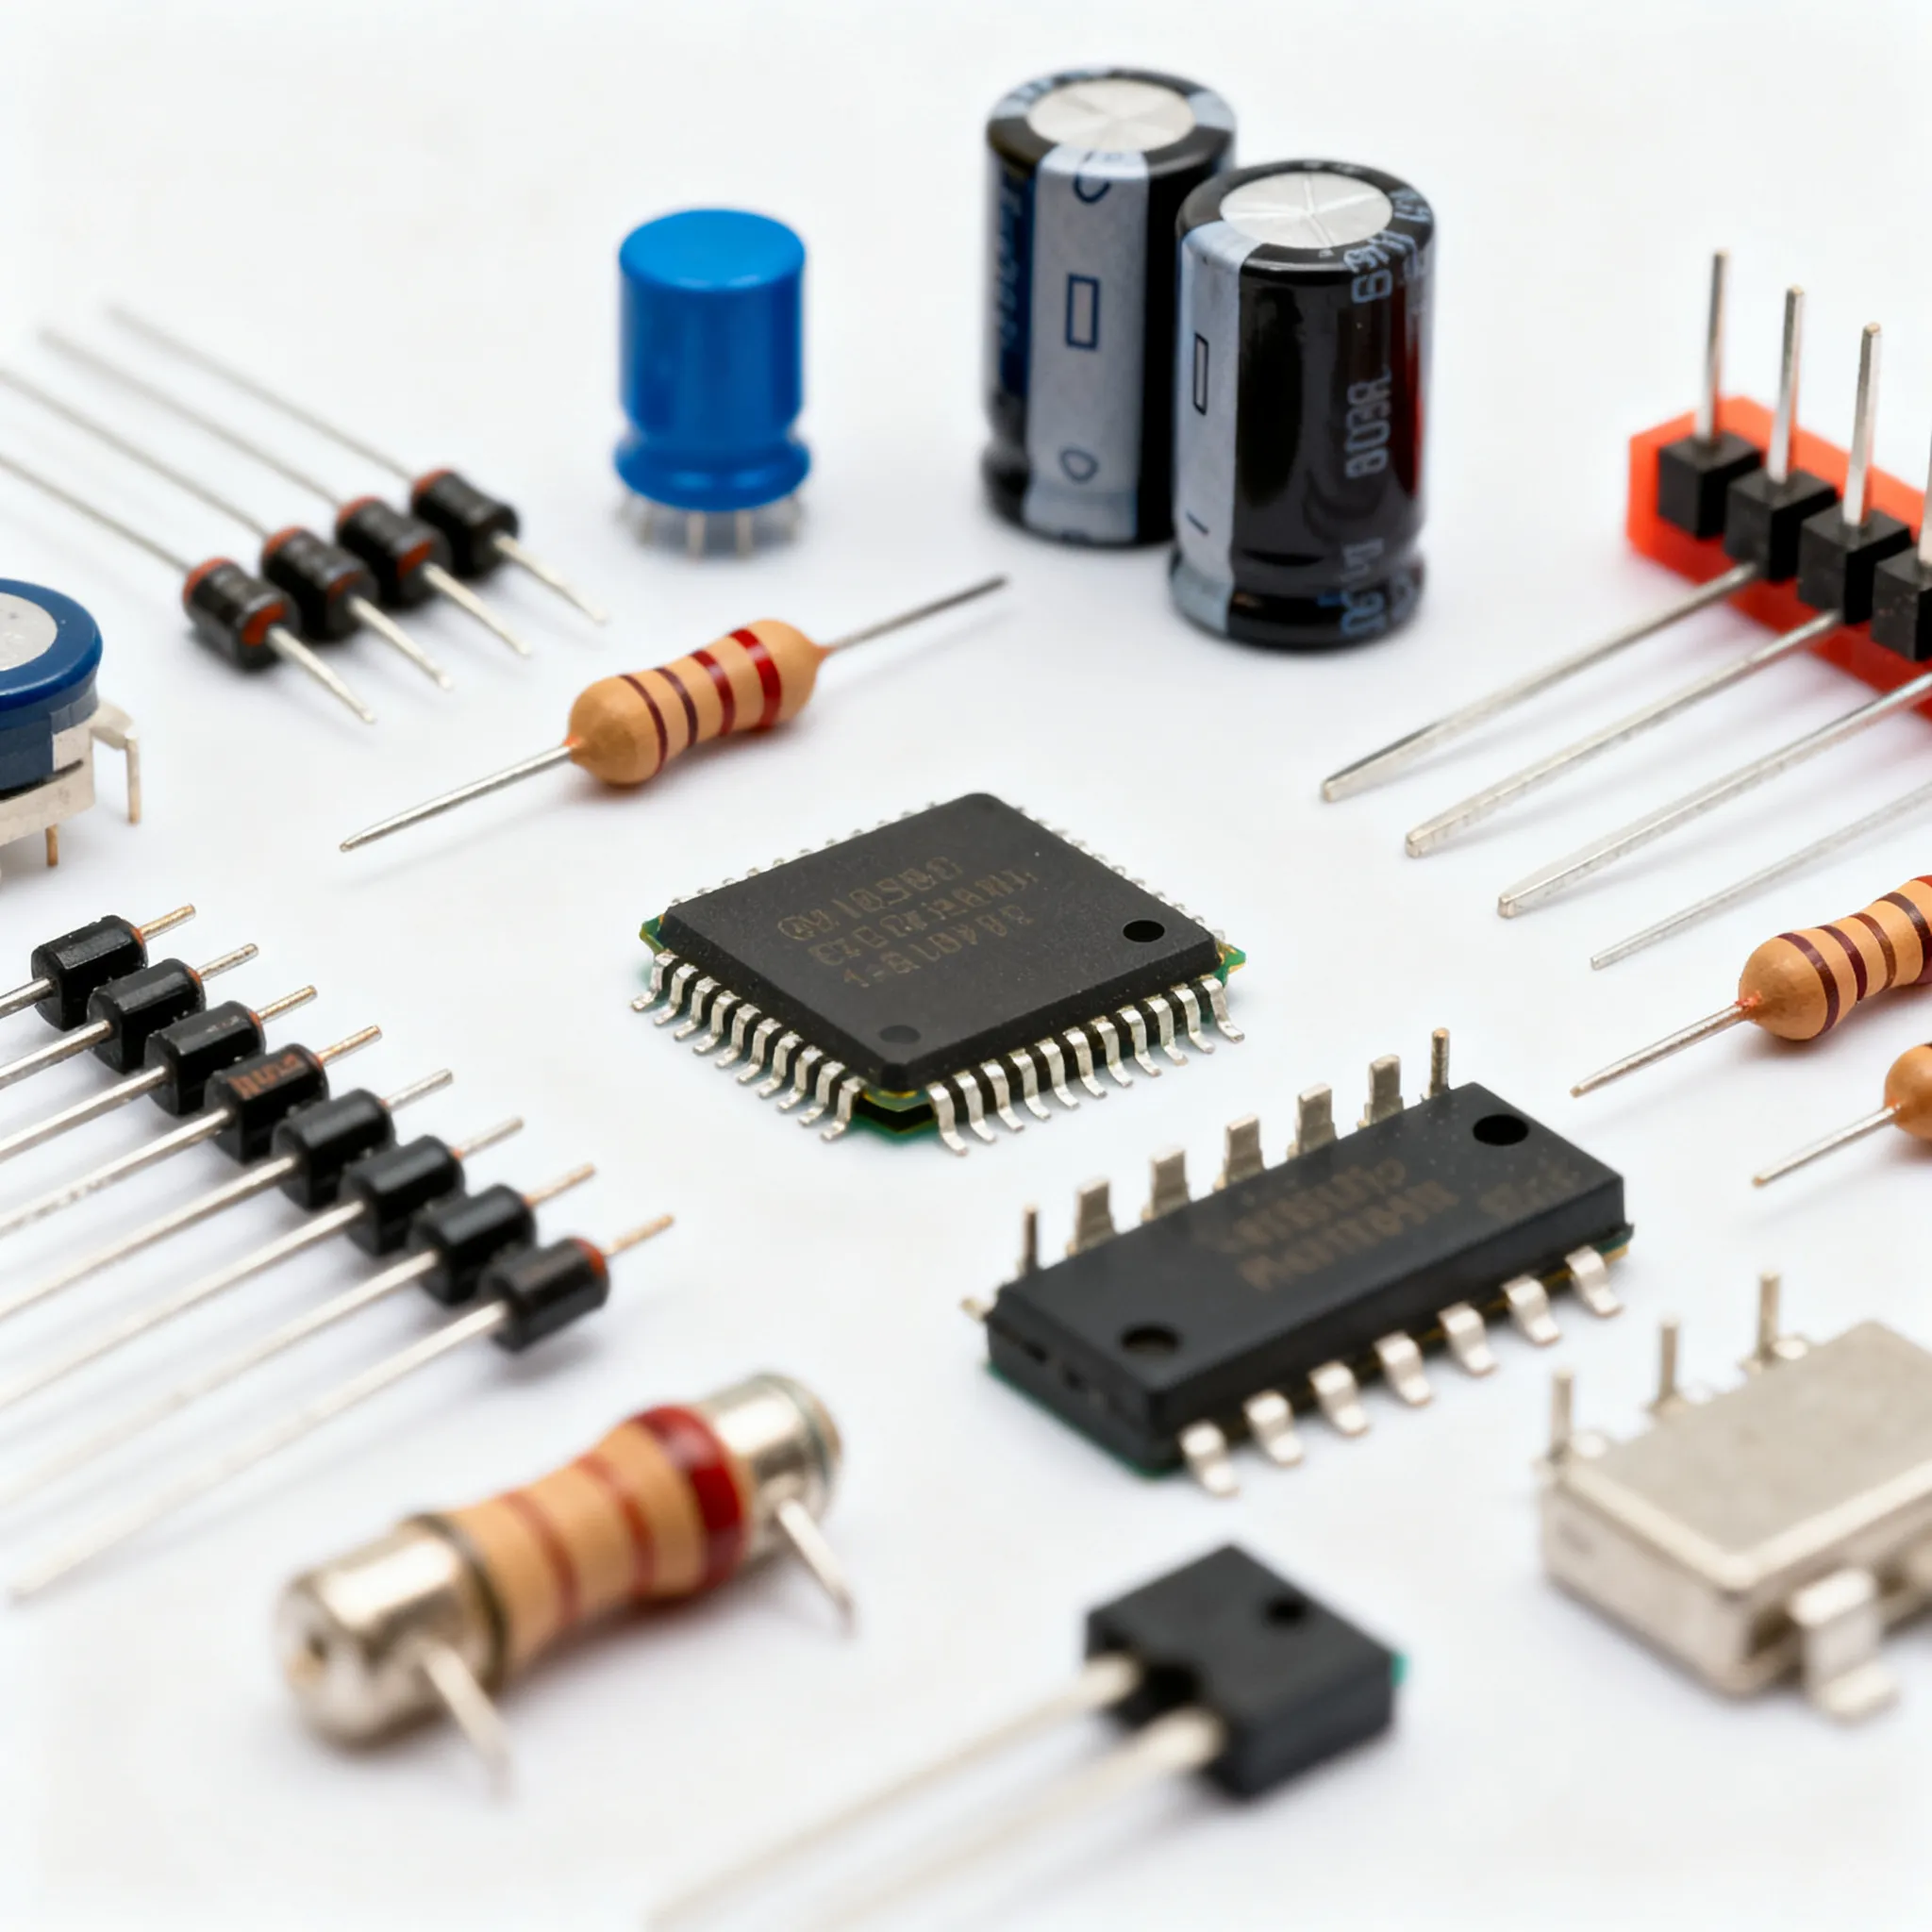
PERIPHERAL DRIVER MIGRATION
Peripheral drivers are the software bridges between your Linux kernel and physical hardware like I2C sensors, SPI flash, and UART ports. Your migration requires you to adapt these drivers for the new HiSilicon SoC. Many generic ARM drivers may work with minor changes, but others will need significant updates.
Your first step is to review the drivers from your old ARM platform. You must identify which drivers are custom and which are standard. The HiSilicon SDK often provides ready-to-use drivers for its internal peripherals. You should prioritize using these official drivers for the best stability and performance.
For custom drivers, you will need to modify the source code. This usually involves updating memory-mapped I/O addresses and interrupt numbers to match the new HiSilicon hardware. You find these new values in the SoC's datasheet.
Pro Tip: Use
regmapfor Cleaner Drivers The LinuxregmapAPI helps you create cleaner and more portable ARM drivers. It abstracts away direct register reads and writes. This makes your driver code easier to maintain and adapt for future ARM hardware. Usingregmapsimplifies your driver migration.
For example, you might update a driver's device tree compatibility string and register definitions.
// Old driver's device tree match table
static const struct of_device_id my_sensor_of_match[] = {
    { .compatible = "vendor,old-soc-i2c" },
    { }
};

// New driver's device tree match table for HiSilicon
static const struct of_device_id my_sensor_of_match[] = {
    { .compatible = "hisilicon,hi35xx-i2c" }, // Match the HiSilicon I2C controller
    { }
};
This change tells the kernel to load your driver when it finds the corresponding HiSilicon I2C node in the device tree. This careful driver work is essential for a successful ARM system.
TRANSITION TO HISILICON MPP
A major advantage of using a HiSilicon SoC is its dedicated Media Processing Platform (MPP). The MPP is a high-performance software library that uses hardware accelerators for video encoding, decoding, and image processing. This is a critical part of the migration for any multimedia product. Moving from a generic library like FFmpeg to the HiSilicon MPP unlocks massive performance gains.
The MPP API gives your application direct control over the powerful video engine in the ARM SoC. This transition allows you to offload heavy processing from the main ARM CPU cores, freeing them up for other tasks. The result is lower power consumption and higher overall system performance.
The performance benefits are significant. For example, the HiSilicon Hi3559A ARM SoC delivers impressive H.265 encoding results using its MPP hardware accelerator.
- It achieves real-time 8K (7680 x 4320) encoding at 30 frames per second (fps).
- It can simultaneously encode a separate 1080p stream at 30 fps.
- It also supports high-resolution snapshots at 2 fps even while encoding video.
These capabilities are nearly impossible to achieve with software-only encoding on a similar ARM processor. Integrating the HiSilicon MPP is key to building a competitive product.
FILESYSTEM AND STORAGE SETUP
The final step in this phase is preparing the root filesystem. The root filesystem contains all the libraries, applications, and configuration files your product needs to run. You will create this filesystem on your development PC and then flash it to the device's storage, such as an eMMC or NAND flash chip.
First, you must choose a filesystem type. For eMMC or SD cards, ext4 is a reliable choice. For raw NAND flash, a flash-aware filesystem like UBIFS is better because it manages wear-leveling and bad blocks, extending the life of the storage.
Next, you will populate the filesystem. This involves:
- Creating a root directory structure (
/bin,/lib,/etc, etc.). - Copying the cross-compiled ARM toolchain's C library (
libc.so) and dynamic linker (ld-linux.so) into the/libdirectory. - Installing your cross-compiled applications and any required third-party libraries.
- Copying the HiSilicon MPP libraries (
libmpi.so, etc.) to ensure your application can access the hardware accelerators.
Completing this checklist item prepares your device with a fully functional software environment. This comprehensive driver and middleware migration sets the stage for final application testing and optimization, moving you closer to finishing your migration checklist.
PHASE 4: VALIDATION AND OPTIMIZATION
You have reached the final stage of your migration. This phase focuses on validating your work and unlocking the full performance potential of your new HiSilicon hardware. You will recompile your software, optimize critical code paths, and conduct rigorous system-wide testing. Success here ensures your product is stable, reliable, and fast.
APPLICATION RECOMPILATION
Your first task is to recompile all your custom applications and libraries. You must use the HiSilicon cross-compiler you set up in Phase 1. This step ensures your software is built specifically for the new ARM processor architecture. This initial recompilation gets your applications running on the target device, setting the stage for performance tuning.
NEON INSTRUCTION UTILIZATION
To achieve maximum performance, you should leverage the ARM NEON engine. NEON is a SIMD (Single Instruction, Multiple Data) architecture extension for ARM processors. It allows a single instruction to perform an operation on multiple pieces of data simultaneously. This is extremely effective for multimedia and signal processing tasks, leading to a massive performance boost.
You can refactor performance-critical C functions to use ARM NEON intrinsics. This migration of your code unlocks the true power of the HiSilicon ARM SoC.
- Standard C Function: This version processes one pixel at a time.
void AddImage8( uint8_t *dst, uint8_t const *src1, uint8_t const *src2, int width, int height ) { int index = 0; for( int y = 0; y < height; y++ ) { for( int x = 0; x < width; x++ ) { int t = src1[index] + src2[index]; dst[index] = t > 255 ? 255 : t; index++; } } } - ARM NEON Optimized Function: This ARM version processes 16 pixels (bytes) at once, dramatically improving performance.
void AddImage8AlignedNEON( uint8_t *dst, uint8_t const *src1, uint8_t const *src2, int width, int height )
{
 int const vectorNumberPerRow = width / 16;
 for( int y = 0; y < height; y++ )
 {
  for( int i = 0; i < vectorNumberPerRow; i++ )
  {
   uint8x16_t a = vld1q_u8( src1 );
   uint8x16_t b = vld1q_u8( src2 );
   uint8x16_t r = vqaddq_u8( a, b ); // Perform saturated add on 16 bytes
   vst1q_u8( dst, r );
   src1 += 16;
   src2 += 16;
   dst += 16;
  }
 }
}
SYSTEM TESTING AND DEBUGGING
Finally, you must perform comprehensive system testing. This goes beyond checking if applications run. You need to validate the entire system's stability and performance under load. Run stress tests to monitor CPU usage, memory consumption, and thermal performance. This final checklist item in your migration checklist verifies that your ARM device meets all functional and performance requirements, concluding a successful migration.
You have successfully completed the HiSilicon migration checklist. This structured migration minimizes risks and ensures a smooth transition. You should treat this checklist as a living document for your projects. Your successful HiSilicon migration unlocks superior performance. You gain access to HiSilicon's dedicated hardware for unmatched performance, ensuring excellent system performance and application performance. This leads to long-term performance benefits.
FAQ
Can I reuse my old ARM drivers?
You can sometimes reuse generic drivers. However, you should prioritize the official HiSilicon drivers for core peripherals. This ensures the best stability and performance for your new arm hardware. Custom drivers will require updates to match the new SoC's memory map and interrupt assignments.
Why is transitioning to the HiSilicon MPP necessary?
You should transition to the Media Processing Platform (MPP) to unlock hardware acceleration. The MPP offloads video and image tasks from the main arm CPU. This provides significant performance gains and lowers power consumption, which is critical for competitive multimedia products.
What are the main challenges when moving to a 64-bit ARM architecture?
You must recompile all software with a 64-bit toolchain. You may also need to find 64-bit compatible versions of third-party libraries. Migrating containerized services requires creating multi-architecture images to support the new arm platform during the transition.
How important is the Device Tree (DTS) file?
The Device Tree is essential for a successful migration. You use it to describe your hardware layout to the Linux kernel. Correctly configuring the DTS ensures the system loads the right drivers and assigns the proper resources for your new arm device.