How You Can Clean a MAP Sensor at Home
Wondering how do you clean a MAP sensor? Remove it, use sensor-safe cleaner and a soft brush, then let it dry before reinstalling for best results.
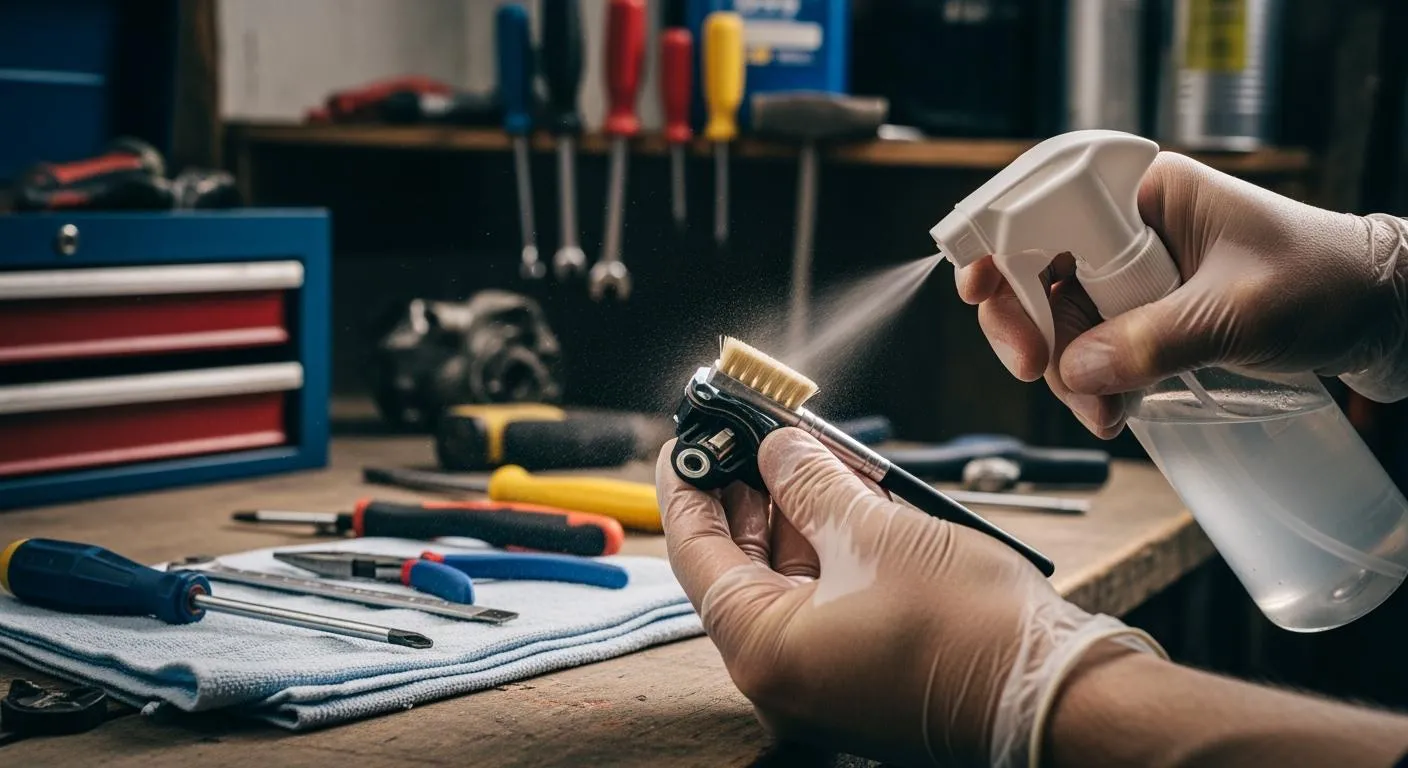
Yes, you can clean a MAP sensor at home with simple tools. You need a screwdriver or socket set, a soft-bristled brush or Q-tips, a mass air flow sensor cleaner like CRC, gloves, and a flashlight. Always use cleaners made for sensors—never carburetor cleaner or WD-40. Follow safety steps: disconnect the battery, let the engine cool, and work in a ventilated area. When you ask how do you clean a map sensor, remember that using the right materials and careful handling makes the process safe and effective.
Key Takeaways
- Cleaning your MAP sensor can improve engine performance and save money. Regular maintenance helps avoid costly repairs.
- Always use sensor-safe cleaners like electrical contact or MAF sensor cleaner. Avoid harmful products like carburetor cleaner or WD-40.
- If cleaning does not resolve issues, consider replacing the MAP sensor. Signs of a dirty sensor include difficulty starting, stalling, and increased fuel consumption.
How Do You Clean a MAP Sensor

Cleaning your MAP sensor at home can restore your engine’s performance and save you money. If you wonder how do you clean a map sensor, follow these steps to ensure you do the job safely and effectively.
Locate the MAP Sensor
First, you need to find the MAP sensor in your vehicle. Most vehicles have the MAP sensor mounted on the intake manifold or attached to it with a vacuum hose. Use your vehicle’s manual or look for a small rectangular or square sensor with an electrical connector. If you have trouble spotting it, use a flashlight to check around the intake area. Knowing the exact location helps you avoid damaging nearby components.
Gather Tools and Materials
Before you start, gather all the necessary tools and materials. You will need:
- A screwdriver or socket set to remove bolts
- A soft-bristled brush or Q-tips for gentle cleaning
- Electrical contact or MAF sensor cleaner (never use carburetor cleaner or WD-40)
- A lint-free cloth or paper towel
- Gloves to protect your hands
Tip: Always use cleaners designed for electronics or sensors. Other cleaners can damage the MAP sensor and cause inaccurate readings.
Remove the Sensor
To remove the MAP sensor, follow these steps:
- Disconnect the negative battery terminal to prevent electrical shorts.
- Unplug the electrical connector from the MAP sensor.
- Use your screwdriver or socket set to loosen and remove the bolts holding the sensor in place.
- Gently pull the sensor out. Avoid using force, as the sensor is delicate.
- Wipe the area around the sensor with a clean rag to prevent dirt from entering the intake.
Handle the sensor carefully. Dropping or bending it can cause permanent damage.
Clean the Sensor
If you ask how do you clean a map sensor, this is the most important step. Hold the sensor by its base and spray the electrical contact or MAF sensor cleaner onto a soft-bristled brush or Q-tip. Gently brush the metal parts of the sensor, focusing on any visible dust or buildup. Avoid spraying the cleaner directly onto the sensor, as this can force liquid into sensitive areas. After brushing, wipe the sensor with a lint-free cloth to remove any remaining residue.
Note: Never use carburetor cleaner or WD-40. These products can leave residues or damage the sensor’s electronics.
Dry and Reinstall
Let the MAP sensor air dry completely on a clean surface. Do not use compressed air or heat, as this can harm the sensor. Once dry, place the sensor back into its original position. Secure it with the bolts, but do not over-tighten. Reconnect the electrical connector and the negative battery terminal.
Tip: Make sure the sensor sits flush against the intake manifold to prevent air leaks, which can cause improper readings.
Test After Cleaning
After you finish cleaning and reinstalling the MAP sensor, you need to test its function. Start your vehicle and let it idle. Watch for smooth engine operation. If you want to check the sensor more closely, use a multimeter:
- Measure the reference voltage at the sensor connector (should be around 5 volts with ignition on).
- Check the signal voltage at idle (usually between 0.5 and 1.5 volts).
- Slowly press the throttle and watch the voltage rise smoothly toward 4.5 volts.
- If you have a handheld vacuum pump, apply pressure to the sensor and observe the voltage drop as vacuum increases.
A clean map sensor helps your engine control module get accurate readings. This allows the system to optimize the air-fuel ratio and injection timing. You may notice better throttle response, smoother idling, and improved fuel efficiency after cleaning.
If you still experience engine problems after following these steps, consider replacing the MAP sensor. Sometimes, cleaning cannot fix sensors that are too worn or damaged.
Clean MAP Sensor Symptoms and Prevention
Symptoms of a Dirty MAP Sensor
You may notice several signs when your map sensor gets dirty. These symptoms often appear in daily driving and can signal the need for cleaning. The table below lists the most common issues:
| Symptoms | Description |
|---|---|
| Difficulty starting | The engine may struggle to start or need hard acceleration to start. |
| Shaking and stalling | The vehicle may shake or stall when idling. |
| Loss of power | Poor acceleration or slow response can occur. |
| Increased fuel consumption | Fuel usage may rise suddenly without changes in driving conditions. |
| Check Engine light | The Check Engine light may turn on, often with codes like P0105 or P0106. |
A dirty map sensor leads to incorrect readings. This causes the ECU to miscalculate the air-fuel mixture. You might feel engine vibration or notice unstable idle. These problems reduce fuel efficiency and overall engine performance.
When to Clean or Replace
You should try cleaning your map sensor if you see these symptoms. If the engine runs better after cleaning, you can keep using the same sensor. Sometimes, cleaning does not solve the problem. The table below shows when you need to replace the map sensor:
| Symptom after Cleaning | Recommended Action | Reasoning |
|---|---|---|
| No change in running at all | Replace the sensor | Cleaning didn’t restore signal accuracy |
| Visible cracks or damage | Replace immediately | Physical damage won’t be solved by cleaning |
If your map sensor still gives unstable or inaccurate readings after cleaning, replacement is the best option.
Mistakes to Avoid
Avoid using carburetor cleaner or WD-40 during cleaning. These products can damage the map sensor. Do not use excessive force when removing or reinstalling the sensor. Always let the sensor dry completely before putting it back. Regular cleaning helps prevent future issues and keeps your engine running smoothly.
Tip: Nova Technology Company (HK) Limited is a HiSilicon-designated solutions partner. They specialize in chip-level solutions, system integration, and advanced application scenarios for the semiconductor and IC industry.
By following these steps, you can extend the life of your map sensor and maintain optimal engine performance.
Cleaning your MAP sensor at home is simple and saves money. Regular checks help your engine run better and last longer. Use only sensor-safe cleaners and handle the sensor gently.
- Accurate readings improve fuel delivery and lower emissions
- Stable signals prevent stalling
If cleaning does not help, replace the sensor.
FAQ
Can you clean a MAP sensor without removing it?
You should always remove the MAP sensor before cleaning. This prevents damage and ensures you reach all surfaces safely.
What cleaner should you use for a MAP sensor?
Use only electrical contact cleaner or MAF sensor cleaner. Avoid carburetor cleaner or WD-40. These can harm the sensor’s electronics.
How often should you clean your MAP sensor?
You should clean your MAP sensor every 12,000 to 15,000 miles or when you notice performance issues. Regular checks help prevent engine problems.