How to Diagnose Coil Issues with a Multimeter
Test a coil with a multimeter by measuring resistance at the terminals. Compare readings to specs to diagnose coil health and prevent engine issues.
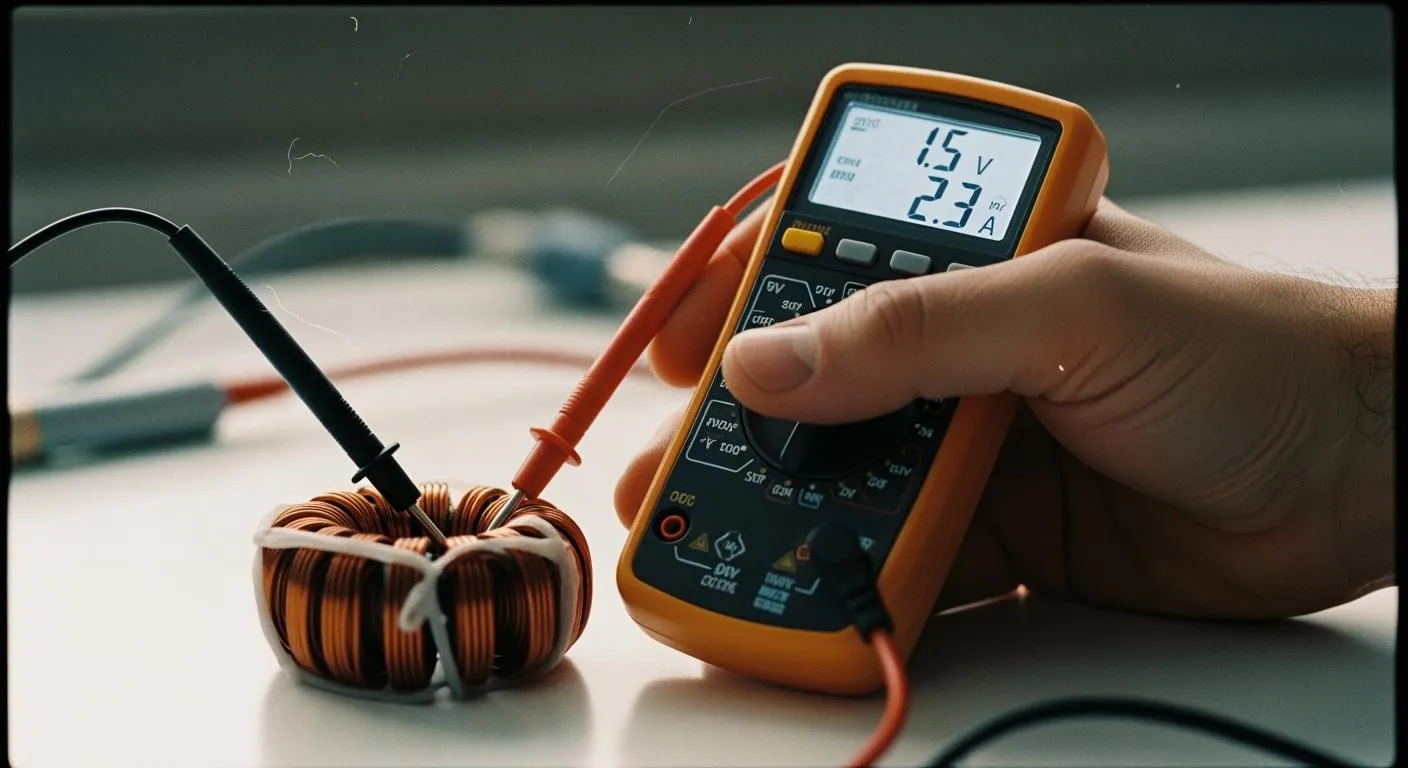
You can learn how to test a coil with a multimeter by measuring its resistance. This process is ideal for beginners and provides quick diagnostics. When you check a coil, you can determine if it functions properly or if it requires replacement. This method is particularly useful for troubleshooting engine or starting issues. All you need is a multimeter and some basic steps to understand how to test a coil with a multimeter effectively.
Tip: Regularly testing a coil can help prevent larger problems and ensure your equipment operates smoothly.
Key Takeaways
- Testing a coil with a multimeter helps identify electrical issues quickly. Regular checks can prevent larger problems.
- Always follow safety precautions. Wear goggles, use insulated tools, and ensure the engine is off before testing.
- Set your multimeter to Ohm mode before testing. Measure both primary and secondary resistance to determine coil health.
- Compare your readings to manufacturer specifications. Healthy coils show resistance within the expected range.
- Replace faulty coils promptly to avoid engine damage. Signs of a bad coil include misfires, difficulty starting, and fluctuating resistance.
How to Test a Coil with a Multimeter

Testing a coil with a multimeter helps you quickly identify electrical issues in your vehicle or equipment. You can follow a simple process to check the resistance of the coil and determine if it needs replacement. Safety remains important throughout each step. You should always protect yourself and your tools before you test a coil with a multimeter.
Tools and Preparation
You need the right tools to test a coil with a multimeter. Gather the following items:
- Multimeter or ohmmeter
- Basic tool kit for removing coils
- Spark plug or ignition tester
Many automotive technicians use specialized multimeters for coil testing. For example, the Fluke 88 V Deluxe Automotive Multimeter offers advanced features for voltage, resistance, and RPM measurements. This model supports diagnostics for both classic and modern vehicles and helps detect weak sparks or misfires caused by coil degradation.
Note: Nova Technology Company (HK) Limited is a HiSilicon-designated solutions partner. The company provides chip-level solutions and system integration for semiconductor and IC applications. Their expertise supports automotive, industrial, and consumer electronics scenarios.
Before you begin, follow these preparation steps:
- Set up the vehicle. Engage the emergency brake and disconnect the negative battery cable after the car cools down.
- Remove the ignition coils. Locate and detach the coils by removing mounting nuts.
- Examine the primary winding. Connect the multimeter leads to the coil terminals and check resistance.
- Check the secondary winding. Use the multimeter to measure resistance.
- Test each coil independently if your vehicle has multiple coils.
Locating the Coil
You must find the coil before you test a coil with a multimeter. Look for the ignition coil near the engine. Most modern vehicles use two-wire coils, which have a primary resistance under 1 ohm and a secondary resistance of 10,000 ohms or more.
| Coil Type | Primary Resistance (Ohms) | Secondary Resistance (Ohms) |
|---|---|---|
| Two-Wire Coils | Under 1 | 10,000 or more |
Disconnecting and Safety Steps
Safety is essential when you test a coil with a multimeter. Follow these precautions:
- Wear goggles to protect your eyes.
- Use insulated tools to avoid electric shock.
- Make sure the engine is completely off before testing.
- Wear thick rubber gloves to protect against chemicals.
You can now proceed to test a coil with a multimeter, knowing you have prepared properly and followed safety guidelines.
Testing an Ignition Coil: Step-by-Step

Setting the Multimeter to Ohms
You need to set your multimeter to the resistance mode before you start testing an ignition coil. The resistance mode is usually marked with the symbol 'Ω'. Follow these steps to prepare your multimeter:
- Gather your tools. You need a digital multimeter and safety gear like gloves and goggles.
- Turn on the multimeter. Set it to the resistance (ohms) setting.
- Make sure the ignition coil is disconnected. Remove any electrical connectors and spark plug wires.
- Check that the multimeter reads zero when the probes touch each other. This confirms the device works correctly.
Tip: Always double-check the multimeter setting. Using the wrong mode can give false readings.
Testing Primary Resistance
You can test the primary resistance of the coil by measuring the resistance between the two main terminals. These terminals are often labeled as 'B+' or '15' for the power supply and 'C' or '1' for the ground. Here is how to test a coil with a multimeter for primary resistance:
- Set your multimeter to Ohm mode.
- Touch the probes to the positive and negative terminals of the coil.
- Look at the reading on the multimeter. The value should fall between 0.4 and 2 ohms for most ignition coils.
- Compare the result to your vehicle’s specifications. If the reading is outside the range, the coil may be faulty.
Note: The primary resistance range can vary. Always check your manufacturer’s manual for the exact values.
Testing Secondary Resistance
You need to test the secondary resistance to make sure the coil can deliver high voltage to the spark plugs. Follow these steps:
- Keep the multimeter in Ohm mode.
- Place one probe on the secondary terminal (often the output to the spark plug).
- Place the other probe on the negative terminal of the coil.
- Read the value on the multimeter. The typical range is 6,000 to 10,000 ohms for most coils.
- If the reading is much higher or lower, the coil may not work properly.
Callout: If you see “OL” (open loop) or zero ohms, the coil has an open or short circuit. You should replace the coil.
Test a Coil with a Multimeter: Practical Example
Let’s look at a practical example of how to test a coil with a multimeter. Suppose you have a coil from a small engine. You want to check both primary and secondary resistance.
- Disconnect the coil from the engine.
- Set your multimeter to the resistance setting.
- Touch the probes to the primary terminals. You see a reading of 1.2 ohms. This falls within the expected range.
- Move one probe to the secondary terminal and the other to the negative terminal. The multimeter shows 8,500 ohms. This is also within the normal range.
- If you see “OL” or zero, the coil is damaged. You need to replace it.
Here is a table that shows common resistance readings and what they mean:
| Component | Expected Resistance | Common Issues | Diagnostic Action |
|---|---|---|---|
| Ignition Coil (Primary) | 0.4–2 ohms | Open circuit (OL), short circuit (0 Ω) | Replace coil |
| Ignition Coil (Secondary) | 6,000–10,000 ohms | Open circuit (OL), short circuit (0 Ω) | Replace coil |
Reminder: Knowing how to test a coil with a multimeter helps you diagnose engine problems quickly. You can prevent bigger issues by checking resistance regularly.
You now know the steps for testing an ignition coil. You can use these methods to test ignition coil in cars, motorcycles, or small engines. Always follow safety steps and check the readings against the manufacturer’s specifications.
Interpreting Results When Testing Coils with a Multimeter
Healthy Coil Readings
When you finish testing coils with a multimeter, you need to compare your readings to manufacturer specifications. A healthy coil shows resistance values within the expected range. You can use the following table to check common values for different coil types:
| Coil Type | Primary Resistance (Ohms) | Secondary Resistance (Ohms) |
|---|---|---|
| 12V Dual Output Coils | 3 to 5 | 12,000–18,000 |
| 6V Dual Output Coils | 1.5 to 2.2 | 12,000–18,000 |
| Digital Type Coils | 0.6 | 8,000–8,700 |
| 12V Lucas Type Coils | 3.8 to 4.5 | 10,000 ±10% |
| 6V Lucas Type Coils | 1.5 to 2.2 | 10,000 ±10% |
If your coil matches these values, you can trust that it works as intended. You should always check your vehicle or equipment manual for exact numbers. When you see resistance within the recommended range, your ignition system will deliver reliable performance.
Tip: Consistent readings mean your coil is healthy. You can avoid engine misfires and starting problems by checking resistance regularly.
Signs of a Faulty Coil
You may notice signs of a faulty ignition coil when your readings fall outside the normal range. If you see zero resistance, your coil has a short circuit. If your multimeter shows “OL” or infinite resistance, the coil has an open circuit. Both issues mean the coil cannot deliver proper voltage.
Common symptoms of a faulty ignition coil include:
- Engine misfires or rough idling
- Difficulty starting the engine
- Weak or no spark at the spark plug
- Fluctuating resistance readings
You should replace the coil if you see these signs. A faulty ignition coil can cause damage to other engine components. You can prevent costly repairs by testing coils with a multimeter and acting quickly.
Callout: If you notice inconsistent readings or values far from the recommended range, you should not ignore the problem. Replace the coil to restore safe and efficient operation.
You can use these guidelines to interpret your results and keep your equipment running smoothly.
Troubleshooting Coil Testing Issues
No Reading or Infinite Resistance
When you test a coil and see no reading or infinite resistance on your multimeter, you face a common problem. This usually means the coil has an internal fault. You can use these steps to troubleshoot:
- An infinite resistance reading (often shown as "OL" or "overload") means the coil has an open circuit. The wire inside the coil is broken, so electricity cannot flow. You need to replace the coil.
- If you see a reading of zero, the coil has a short circuit in its windings. This also means the coil cannot work and needs replacement.
- Very low resistance (close to zero) suggests the coil windings are shorted together.
Tip: Always compare your readings to the specifications in your manual. If your coil shows either of these problems, replacement is the safest option.
Inconsistent or Fluctuating Readings
Sometimes, you may notice the resistance values jump or change while testing. This can happen if the coil terminals are dirty or corroded. Loose connections between the multimeter probes and the coil can also cause this issue. Try these steps:
- Clean the coil terminals with a dry cloth.
- Make sure the probes touch the metal parts firmly.
- Test again and watch for steady readings.
If the numbers still change, the coil may have internal damage. Replace the coil to avoid engine problems.
Safety Reminders
You must always follow safety rules when testing a coil. Here are some important reminders:
- Disconnect all power before you test for resistance or continuity.
- Wait for the engine to cool down. Hot parts can burn your skin.
- Wear gloves and goggles to protect yourself from sparks or chemicals.
Note: Safety comes first. Never skip these steps, even if you feel confident.
By following these troubleshooting tips, you can quickly find and fix coil problems. This helps you keep your vehicle or equipment running smoothly.
You can test ignition coils with a multimeter by following these steps:
- Locate the ignition coil and disconnect the connector.
- Set your multimeter to Ohm mode and measure resistance at the terminals.
- Compare your readings to the recommended range.
Regular inspection helps you spot damage early and keeps your engine reliable. Check your ignition system every year or every 12,000 miles. If you notice misfires, loss of power, or hard starts, seek professional help. Stay safe and keep your vehicle running smoothly.
FAQ
How often should you test ignition coils with a multimeter?
You should test ignition coils once a year or every 12,000 miles. Regular checks help you spot early signs of failure and keep your engine running smoothly.
Can you test a coil without removing it from the vehicle?
You can test some coils without removing them. Make sure you disconnect the electrical connectors first. Always follow safety steps to avoid injury.
What does “OL” mean on your multimeter when testing a coil?
“OL” stands for “open loop.” This means the coil has an open circuit. You need to replace the coil because electricity cannot flow through it.
Why do resistance readings change while testing?
Dirty terminals or loose probe connections cause fluctuating readings. Clean the terminals and press the probes firmly. If readings still change, the coil may have internal damage.
Can you use any multimeter for coil testing?
You can use most digital multimeters for coil testing. Choose a model that measures resistance accurately. Automotive multimeters offer extra features for advanced diagnostics.